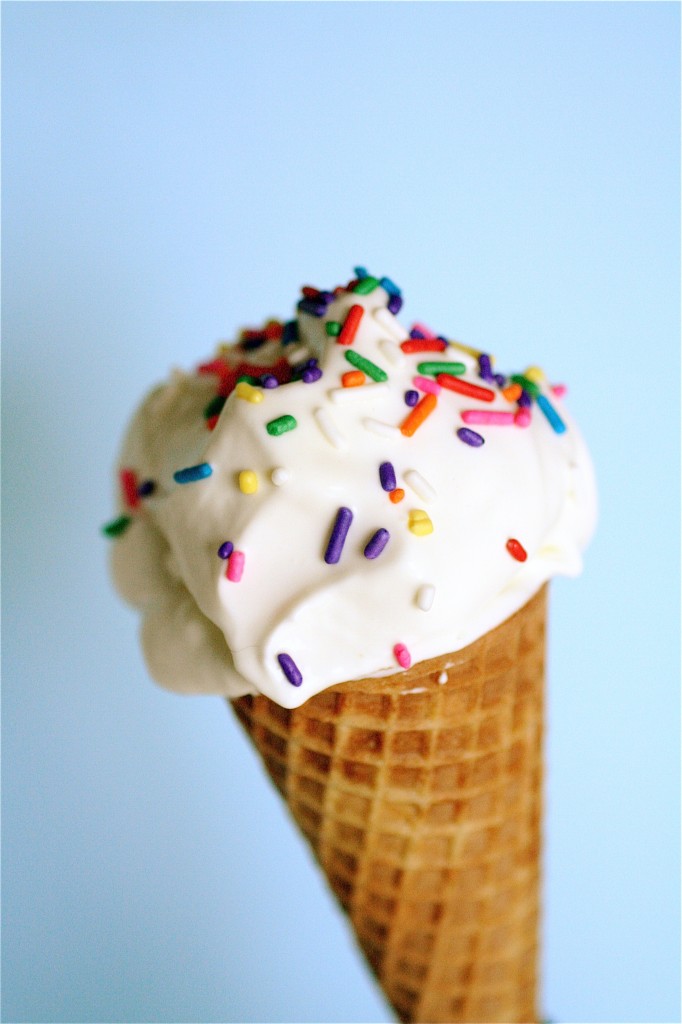
Cheesecake. Ice cream. Cheesecake ice cream. Yes, it can be done.
This is the kind of thing that you only want to make once in a while. For special occasions or for a girls’ night or for something celebratory. Because this is a whole kind of new experience with ice cream.
I thought about adding in some bits of fresh fruit, I really did-raspberries or blueberries or even a caramel swirl. But, I was a little skeptical about messing with this recipe too much. I mean, this was something that I wanted to savor in its simple self-it’s rich, creamy, “man I deserve a little of this love” kind of self. In all honesty, the end result was more tangy (think about an actual piece of soft, frozen cheesecake) than I expected, so you if you have add-ins, I would go for it. Or make yourself a little berry sauce to go on top.
I went for sprinkles. (of course).
And, as a sidenote:
HAPPY 22nd BIRTHDAY to my baby sister, Sam!
and….
HAPPY WEDDING DAY to Jill and Blake!
Cheesecake Ice Cream
Servings: about 1/2 gallon
Ingredients
6 ounces cream cheese, softened but still cool
3/4 cup superfine sugar (**give regular granulated sugar a few pulses in your food processor instead of buying a bag of superfine sugar)
1 cup cold sour cream
1 cup cold heavy cream
Pinch salt
3 tablespoons fresh lemon juice
1/4 teaspoon vanilla
Instructions
1. Chill a mixing bowl and the beaters of an electric mixer (or your stand mixer-use the paddle) in the fridge until cold, preferably overnight.
2. Beat the cream cheese at medium speed until soft and smooth, about 3 minutes.
3. Add the sugar, 1/4 cup at a time, mixing well after each addition.
4. Add the sour cream and the heavy cream, mixing until smooth.
5. Add the salt, lemon juice, and vanilla until thoroughly incorporated.
6. Cover the bowl tightly with a lid or plastic wrap and let chill overnight or until very cold (I would recommend chilling it overnight.) Make sure that you wash and dry the beaters (or paddle) and return them to the fridge to chill again as well.
7. The next day, beat the mixture on medium low speed for about 3 minutes, or until very smooth.
8. Pour the mixture into your ice cream maker and make the ice cream according to the manufactuer’s instructions.
9. Return the finished product to the freezer and let chill until frozen. Let soften slightly at room temperature before serving.
Source: Food and Wine.


Katrina @ Warm Vanilla Sugar - Oh boy! This sounds so fabulous!
Christina @ This Woman Cooks! - I think I’ll add some blueberry filling, what do you think?
srlacy - Hey Christina!
Go for it-sounds amazing!
Ann P. - One more reason to get an ice cream maker! Got any recommendations?
Chung-Ah | Damn Delicious - This is my absolute favorite flavor of ice cream! Can’t wait to try this!
srlacy - Hi Ann-
I have only used the attachment that I ordered for my KitchenAid mixer-and I love it. It’s so easy. The only downside is that you have to have the bowl completely frozen before using, and the bowl itself takes up a ton of space in my freezer. I figure any other ice cream maker has the same issue, though. 🙂
Claire - This is healthier than cheesecake since there is no crust full of butter! 😉
Maureen @ Orgasmic Chef - How easy and gorgeous is this??
natalie@thesweetslife - i can’t get over how perfect this ice cream looks! I’ve made strawberry cheesecake ice cream but i have got to try this!!
Frozen Concoction - Wow! Heavy cream, sour cream and cream cheese. Oh my!
Cheesecake Ice Cream | Lukor.net - […] View the article’s source Autor: srlacy […]
Cheesecake Ice Cream - […] source: thecurvycarrot.com […]
Super Saturday | I'll Have Seconds! - […] Cheesecake Ice Cream from The Curvy Carrot […]