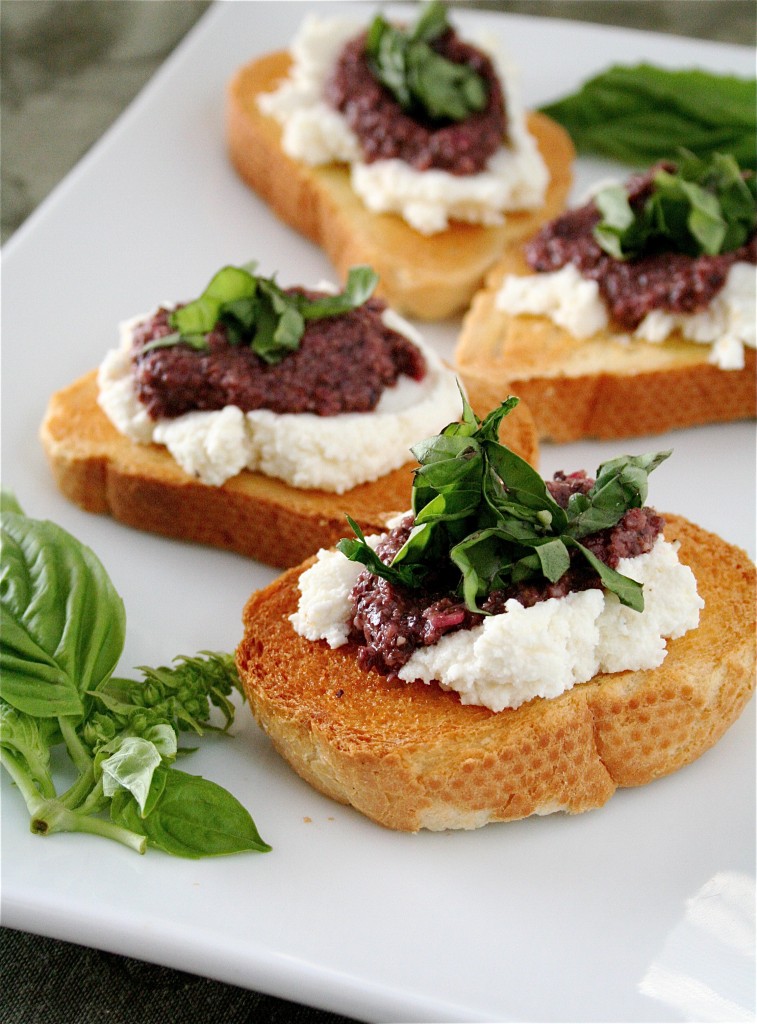
Bruschetta with Black Olive Pesto, Ricotta, and Basil

I have a weakness for bruschetta.

I recently served these when my family members were in town for the weekend.  We had a full Italian dinner planned-complete with two different main courses, finger foods, and salad.  I was quite excited to make these, considering I had them bookmarked for months, but I never had a good excuse to just randomly make bruschetta.  I learned two things when I made these:

1).  I don’t need an excuse ever to make bruschetta if I want it.  It’s excuse-free.

2). Bruschetta does not always have to be about tomatoes, contrary to my previous belief.

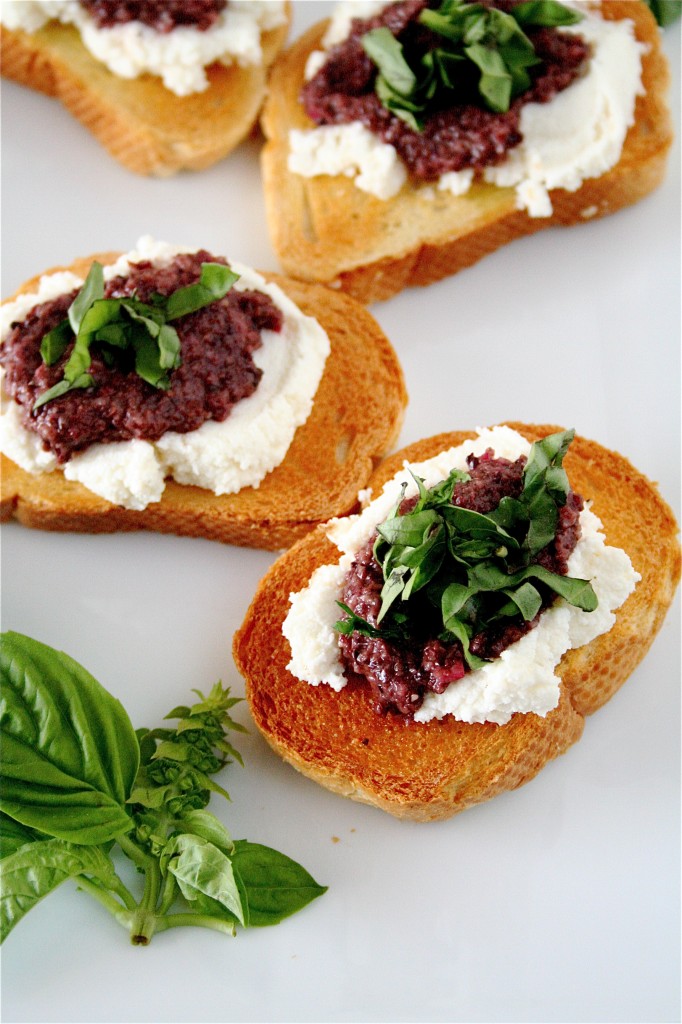
This bruschetta was amazingly simple to put together, and, all the components can be made well in advance and thrown together at the last second. I thought the presentation was quite nice, too.  I found that the saltiness of the olives was softened by the creamy ricotta.  And while I still usually dream about the traditional version of bruschetta (especially from a local Indianapolis restaurant by the name of Mama Carolla’s that serves it topped with smoked mozzarella), and since fresh vine-ripened tomatoes aren’t really in season right now-this was a great substitute.  They would make a fantastic addition to any New Year’s menu.

Bruschetta with Black Olive Pesto, Ricotta, and Basil

Servings: 8 to 10

Ingredients

For the topping:

1 medium garlic clove, minced

1/2 cup pitted kalamata olives

2 tablespoons extra-virgin olive oil, plus more for garnish

1 small shallot, minced

1 and 1/2 teaspoons juice from one lemon

1 and 1/2 cups whole milk ricotta cheese

Salt and pepper, to taste

2 tablespoons fresh basil leaves, chopped

For the bread:

1 loaf country bread with thick loaf, cut on diagonal into 3/4-inch thick pieces

1/2 medium garlic clove, peeled

1/4 cup extra-virgin olive oil

Salt, to taste

Instructions

1. For the bread: Adjust an oven rack so that it is about 4 inches from the heating element and preheat the broiler.

2.  Place bread on foil-lined baking sheet.

3. Broil until bread is deep golden, about 1 or 2 minutes.

4. Flip and repeat on second side.

5. Lightly rub one side of each slice with garlic clove and brush with oil.  Season with salt, to taste.

6. For the topping: Process olives, garlic, olive oil, shallot, and lemon juice in food processor until uniform paste forms, about 10 seconds, scraping down sides of bowl once during processing.

7. Combine ricotta with salt and pepper to taste in a small bowl.

8. Spread ricotta mixture evenly among toasts, top with olive pesto, and garnish with chopped fresh basil.  Drizzle with extra-virgin olive oil, if desired.
Source:  Cook’s Illustrated.

December 29, 2010 - 6:01 am

Aku - Shanon, these bruschetta look fabulous. My mouth is watering! I am also a massive bruschetta fan–I have a fair few varieties that I want to get round to making myself but I think yours have sprung to the top of the list!

December 30, 2010 - 6:33 pm

Sandie {A Bloggable Life} - Gorgeous photo, and this recipe is calling my name—love appetizers like this!

December 30, 2010 - 11:30 pm

Mei Teng - Looks delicious.

December 30, 2010 - 11:38 pm

baobabs - what a great healthy snack, fantastic photos. This is perfect for aperitif ideas!

December 31, 2010 - 7:44 am

Sylvie @ Gourmande in the Kitchen - Hmm, ricotta cheese, now there’s an idea. I’ve made this with goat cheese before, but never ricotta, sounds delicious though.

January 1, 2011 - 6:07 pm

healthy mamma - I just drooled on my keyboard thinking about this olive pesto! Yum Me! Love the combo of flavours, this will be a new go-to snack for me!!

January 1, 2011 - 6:08 pm

healthy mamma - hmmmm, are Kalmata’s considered a black olive?

January 1, 2011 - 6:42 pm

srlacy - Healthy Mama-

Some are. It depends on when they are picked (i.e. the ripeness) and the type of brine used. You can find different varieties in specialty stores.

January 19, 2011 - 5:38 am

Sally - It looks just so delicious. That really makes me wanna eat some bruschetta too. Thanks for sharing.

April 10, 2012 - 2:10 am

Bruschette di Primavera | Mamma Felice - […] condite con formaggio gorgonzola piccante, fettine di pera e foglie di rucola fresca; 06. Bruschette con ricotta: da preparare con ricotta fresca, crema di olive nere e […]

St. Elmo’s (almost) Cocktail Sauce

There’s a steakhouse in downtown Indianapolis which is almost an entire century old.  It’s known for its fabulous menu of steaks…..and knock-your-socks-off cocktail sauce.  It’s called St. Elmo’s.

I’ve only been to this restaurant once, and I went for the sole reason of trying this cocktail sauce because I had heard of its major reputation.  A reputation for clearing out your sinuses with an intense burst of horseradish.  Warning: it’s a tad bit (almost) painful on the first dip (go easy with your first shrimp…..), but, it then becomes so insanely addicting and flavorful that you just want more and more…and more.

So I’ve been trying and trying to perfect a copycat recipe.  Apparently, it’s a secret thing.  I found some recipes online from “people who know people who work there”, so I set out to make my own rendition and attempt to come as close as possible to perfecting it.  I will say, though, that the recipe I was initially modeling after let me down quite a bit.  I bought my own fresh horseradish root, shredded it with a food processor, and even soaked it in a cider vinegar “marinade” overnight, as the recipe stated.  Now, while my whole kitchen smelled of horseradish, the root I bought must not have been very strong.  It didn’t have that spicy kick that I so desired…so I scrapped the whole horseradish root altogether.  I ended up using freshly ground plain horseradish, right out of the glass container.  And this, my friends, seemed to do the trick.  If you want to go with the fresh horseradish root, I would recommend grating several tablespoons, covering it entirely with cider vinegar, and letting it soak overnight in the refrigerator. Maybe you will have better luck with a spicier root. 🙂

The other thing was this: I wasn’t counting on so many people coming over that night, so I quickly had to double the recipe.  I had purchased a bottle of the recommended brand of chili sauce, but it wasn’t enough.  Thankfully, though, I had another generic store-brand  bottle of chili sauce in my pantry (random, yes, but a very good thing for me!).  Together, I actually thought that they blended well, especially because the Bennett brand of chili sauce had a sweeter taste to it.  You could actually try plain old ketchup, too, if you’re in a pinch.

My brother-in-law is usually my faithful, honest, and very blunt taste-taster.  This recipe was a major victory by his standards.  My sister coughed on the first bite.  That’s the goal, people.  This stuff is not for the palate-challenged.  This cocktail sauce is what a champion eats.  But, I’m warning you:  go easy on the first bite.

St. Elmo’s (almost) Cocktail Sauce

Servings: About 2 cups of cocktail sauce

Ingredients

4-5 tablespoons (go easy on yourself-taste test it before serving) ground horseradish (look for it in the refrigerated section of your grocery store-alternatively, you can do the shredded fresh horseradish root/cider vinegar marinade)****Add more or less if you desire.

2 cups Bennett’s chili sauce

2 cups regular chili sauce

2 squirts of fresh lemon juice

4 squirts of fresh lime juice

Jumbo shrimp, cleaned, with tails on

Parsley, for garnish (optional)

Instructions

1.  Combine horseradish and chili sauces together in medium bowl.

2.  Add lemon and lime juices, combine well.

3. Refrigerate, covered, until ready to serve.

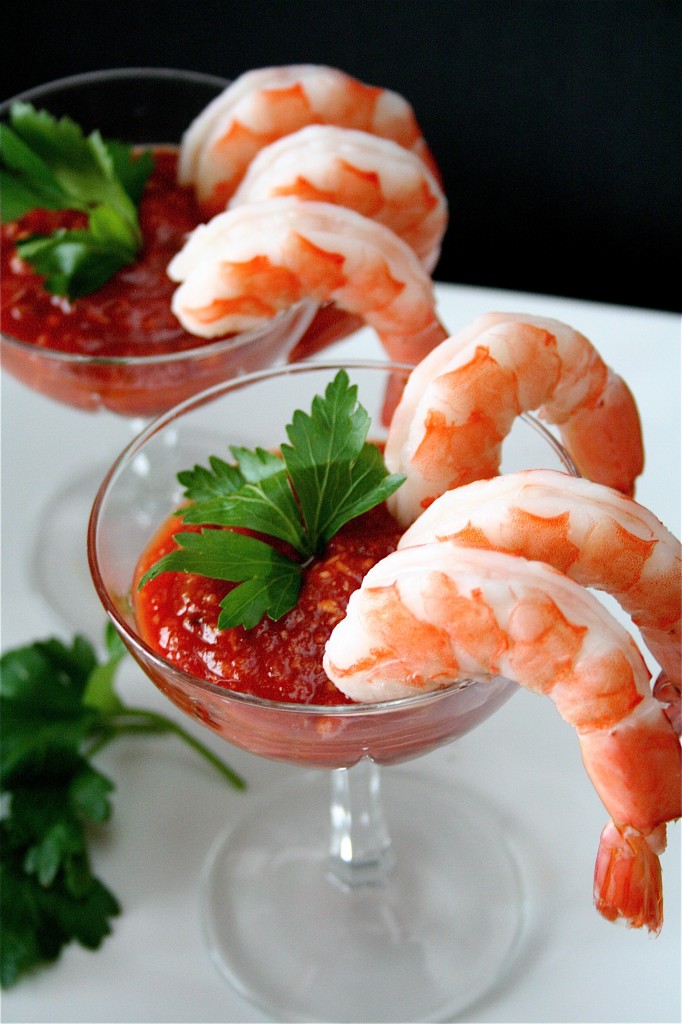
My favorite way of serving shrimp cocktail is the way I photographed it:  in individual wine or martini glasses and a sprig of parsley for garnish.  It’s a classy way to knock your friends’ socks off!  🙂

Adapted from www.myrecipefriends.com

December 27, 2010 - 5:55 am

Aku - Shanon, love your pics and the sound of this recipe. Your use of the word ‘addicting’ reminded me of a friend who says ‘addictable’ instead of addictive 😀 I am a big fan of horseradish in a bloody Mary–think it adds another dimension of spicy hotness that chilli/tabasco just can’t.

December 27, 2010 - 8:33 pm

Meghan - I’m trying this over the weekend. My fiance and I LOVE St. Elmo’s and the shrimp cocktail. I just tried searching for the recipe today, so talk about good timing!

December 28, 2010 - 2:00 am

Cindy - This looks so delicious,
Appealing to the eye and definitely my stomach too!

January 12, 2011 - 9:37 pm

Jane - Thank you. My son-in-law loves St. Elmos cocktail sauce and we even picked up some to take to him in Arizona. How wonderful if I can make it for him (and cheaper) and satisfy his craving. Can’t wait to try. Hope I can find the Bennets chili sauce.

February 2, 2011 - 1:08 pm

Meghan - My in-laws live outside of Indianapolis and have told us about this cocktail sauce. I’m going to send along the link!

May 13, 2011 - 7:24 pm

Erin Z - Apparently, horseradish gets stronger and stronger the longer you wait to add in the vinegar. The vinegar acts as a giant STOP! sign for the heat factor. It could still work with fresh, hand-ground ‘radish if you were still up for trying it again!

Love your blog! <3

December 29, 2011 - 3:37 pm

7 Spins on Cocktail Sauce for New Year's Eve Shrimp Cocktail | Family Kitchen - […] Above: St. Elmo’s (almost) Cocktail Sauce by The Curvy […]

February 5, 2012 - 5:01 am

The Curvy Carrot » Super Bowl Sunday Finger Food Recap - […] St. Elmo’s (Almost) Cocktail Sauce […]

Raspberry Marble Cheesecakes

Merry Christmas from The Curvy Carrot and Family.

I hope everyone out there, whether you are celebrating this holiday today or not, is having a blessed time with family and friends.  Last night I spent the evening with my favorite people in the whole world:  my parents, my sisters, my brother, my two beautiful nephews (who wore their shiny black lace-up shoes…super adorable), as well as my brother-in-law, future brother-in-law, and future sister-in-law.  There’s nothing like spending time with people who support you and love you unconditionally.

Although these individual raspberry cheesecakes do come close.  😉  I had been waiting to make these for a long time, and with the holiday line-up of finger foods and desserts that I had planned for Christmas Eve, I knew that these would look beautiful on my serving plates.

Have a wonderful holiday.

Shanon

Raspberry Marble Cheesecakes

Servings: Approximately 32 individual cheesecakes

Ingredients

1 and 1/2 cups finely ground graham crackers

3 tablespoons unsalted butter, melted

1 and 1/2 cups plus 5 tablespoons sugar

1 container (6 ounces) fresh raspberries

2 pounds cream cheese, room temperature

Pinch of salt

1 teaspoon pure vanilla extract

4 large eggs, room temperature

Instructions

1. Preheat the oven to 325 degrees.

2. Line standard muffin tins with paper liners.

3.  Stir together the ground graham crackers, butter, and 3 tablespoons sugar.

4.  Press 1 tablespoon crust mixture firmly into the bottom of each lined cup.

5.  Bake until set, about 5 minutes.

6.  Transfer tins to a wire rack to cool.

7.  Process raspberries in a food processor until smooth, about 30 seconds.

8. Pass puree through a fine sieve into a small bowl, pressing with a flexible spatula to remove as much liquid as possible; discard solids.

9. Whisk in 2 tablespoons sugar.

10. With an electric mixer on medium-high speed, beat cream cheese until fluffy, scraping down the sides of the bowl as needed.

11.  With mixer on low speed, add remaining 1 and 1/2 cups sugar in a steady stream.

12.  Add salt and vanilla; mix until well combined.

13. Add eggs, one at a time, until just combined after each.

14.  Spoon 3 tablespoons filling over crust in each cup.

15.  Dollop 1/2 teaspoon raspberry puree in a few dots over each.

16. With a wooden skewer or toothpick, swirl sauce into filling.

17.  Place each tin in a roasting pan (bake in batches, if necessary.)

18.  Pour enough hot water into pan to come halfway up sides of cups.

19.  Bake, rotating pans halfway through, until filling is set, 27 to 30 minutes.

20.  Carefully remove tins from water bath and transfer to wire racks to cool completely.

21.  Refrigerate in tins, uncovered, at least 4 hours.

22.  Remove from tins just before serving.

Source:  Martha Stewart’s Cupcakes

December 25, 2010 - 1:13 pm

Ilke - They look very pretty!
Merry Christmas to you and your family!

December 25, 2010 - 1:30 pm

Tiffany @ Conor & Bella - Beautiful treats!

Merry Christmas! 🙂

December 26, 2010 - 12:48 am

Jenn@eatcakefordinner - What a great idea swirling them with raspberry puree. They have all the great flavor, but no messy topping to deal with. Love it.