

.jpg)
I’m back in the United States after one of the best weeks of my life…in Argentina! I’ll tell you more about it later, but for now…it’s my main dish choice for Thanksgiving 2013.
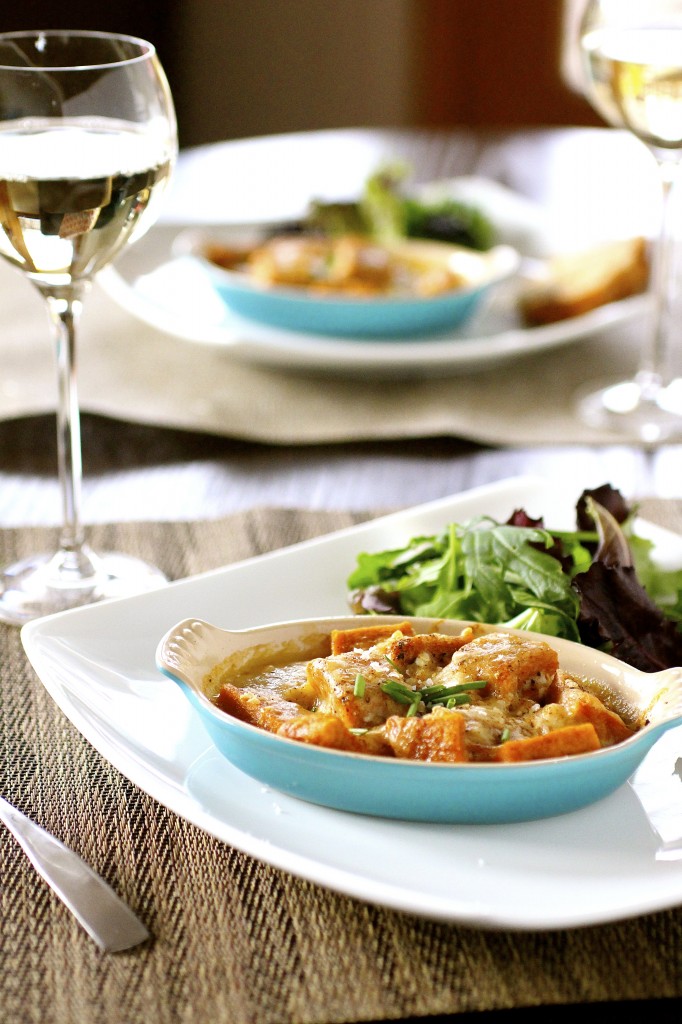
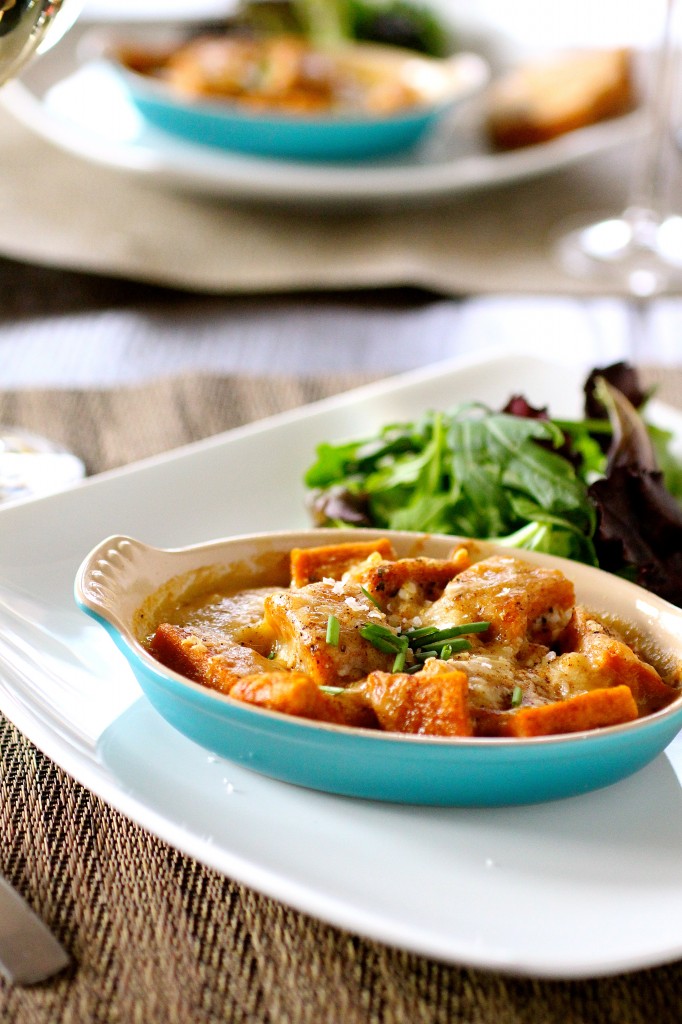
Ah, pumpkin gnocchi. (Actually, ah in general for gnocchi). What could be better than light, pillowy pumpkin-y dumplings nestled in a bit of melty, ooey gooey cheese? I figured this might be the perfect vegetarian dish for me this year. And, in all honesty, these little guys don’t take all that much time to make. You could even make the gnocchi a few hours beforehand, chill, and then simply assemble/bake them right before serving time.
I adapted the recipe here to use whole wheat pastry flour instead of an all-purpose flour, so feel free to play around with what kind of flours you use (I kept the all-purpose flour in the bechamel sauce because I felt a little uncomfortable experimenting with that part.) You could also substitute another squash puree here-like butternut or acorn squash (just make sure you get all of the excess moisture out). I also made a few smaller servings in little au gratin dishes, as well as a larger 8 x8-inch baking dish. You must watch your dishes closely during the baking time to make sure that the cheese doesn’t burn. My baking time of 15-20 minutes worked well with both baking dish sizes.
Although the sauce here has a little bit of butter in it, it’s worth the extra step of making it. I took one bite and literally squealed-the sauce makes the dish here.
From me to you, Happy Early Thanksgiving. I’m thankful for so so many things this year. 🙂
Whole Wheat Pumpkin Gnocchi
Servings: about 4-6
Ingredients
For the sauce:
1 tablespoon unsalted butter
2 tablespoons all-purpose flour
2 tablespoons dry white wine
1 and 1/2 cups vegetable broth
Pinch salt
For the gnocchi:
1 and 3/4 cups whole wheat pastry flour
1 cup pumpkin puree
1/2 teaspoon salt
1/4 teaspoon ground nutmeg
1/3 cup grated Parmesan cheese
1/4 teaspoon paprika
Salt and pepper, to taste

Instructions
1. For the sauce: Over medium heat in a saucepan, melt the butter.
2. Stir in the 2 tablespoons of all-purpose flour; cook 30 seconds, stirring constantly.
3. Add the wine and vegetable broth, and bring the mixture to a boil, stirring constantly.
4. Reduce the heat to low and simmer 3 minutes or until thick.
5. Add a pinch of salt.
6. Remove from heat; set aside, and keep warm.
7. For the gnocchi: In a large bowl, combine the whole wheat pastry flour, pumpkin puree, 1/2 teaspoon salt, and nutmeg. Stir until a smooth dough is formed (it will be a little sticky).
8. Turn dough out onto a lightly floured surface.
9. Shape the dough into a 12 x 3-inch-long roll.
10. Cut roll lengthwise into 6 (1/2-inch-thick) strips, and cut each strip into 12 (1-inch) pieces.
11. Place gnocchi on a lightly floured baking sheet; set aside.
12. Preheat the oven to 400 degrees.
13. Bring about 10 cups of water to a boil in a large Dutch oven.
14. Add half of the gnocchi; cook 3 minutes or until done (they will float). Remove the gnocchi with a slotted spoon; place in a colander to drain off excess moisture. Repeat with remaining gnocchi.
15. Lightly spray au gratin dishes (I used Le Creuset’s petite au gratin pan) or a baking dish (I used an 8×8-inch baking dish for the leftovers) with cooking spray.
16. Place the gnocchi in the prepared dishes and cover them evenly with the sauce.
17. Sprinkle with cheese, paprika, and salt/pepper. Bake at 400 degrees for 15-20 minutes or until thoroughly heated.
Source: Adapted from Cooking Light as part of my monthly contribution to the Cooking Light Bloggers’ Connection.


Katrina @ Warm Vanilla Sugar - I love that you made this a gratin!! So delicious!
Sweetphi - These look absolutely amazing! My husband loves when I make Butternut Squash Gnocchi, but this recipe with the bechamel sauce…not even gonna lie…I might just be the best wife ever and make this tonight!
Maria Tadic - Mmmmmm that looks so good!!! I definitely need to try this – love gnocchi AND pumpkin!
Joanne - I’m going to make these for me and The.boy this year as a pre-Thanksgiving dinner! Gnocchi are one of my absolute favorite things and homemade just take the cake!
Pinterest popular - Hummmm i surlike this gratin.. I will try it
Thanks for share !
Courtney - While I liked this recipe and would make again, I could not taste the pumpkin very well and thought the sauce was too thin. Next time I would up the flour by another tablespoon or reduce the broth by half a cup. I made a double batch of the gnocchi and froze half, they cooked up beautifully after being frozen for about a week.