

.jpg)
Sometimes I really miss store-bought marshmallows (it’s the whole gelatin issue). I have yet to try various vegan-friendly brands or make my own from scratch (because, if I have something like that in front of me, I will inevitably over-indulge.) So I miss impromptu batches of traditional rice krispie treats (I also miss piling store-bought frosting on graham crackers, which also used to be a bad habit of mine..35 pounds ago, but that’s another story)…but now I have found an equally crave-satisfying alternative.
These.
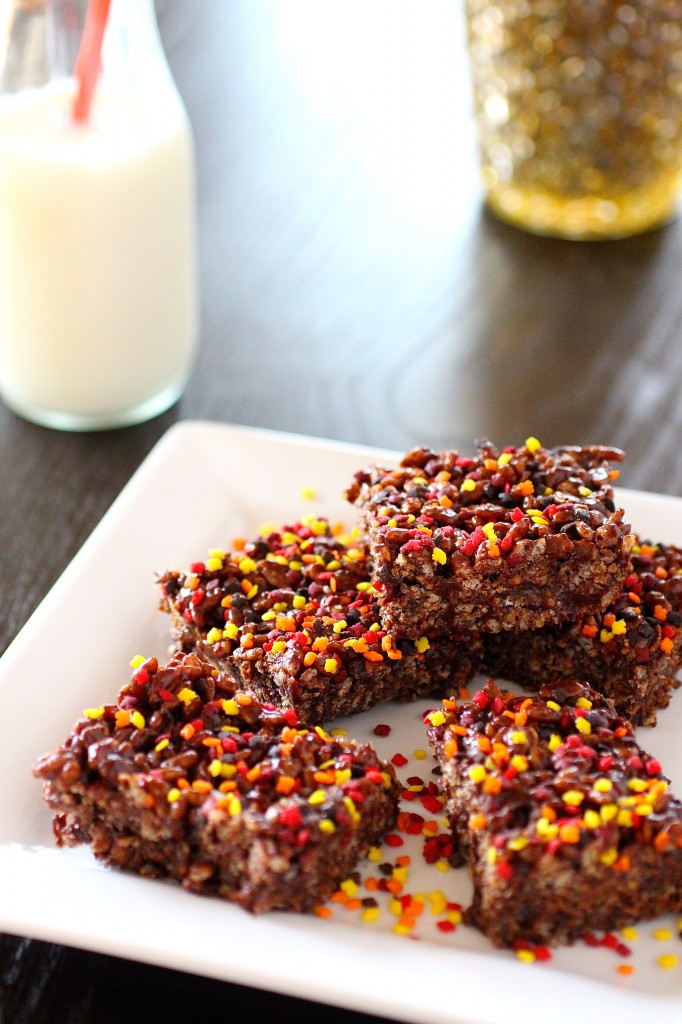
Made with peanut butter and honey, these crispie treats avoid the use of a marshmallow binder but have a healthy dose of sweetness. And, of course, chocolate. I had to hide the pan of these inside my microwave…because…out of sight, out of mind, right? Yeah, right. They were gone within a few days (have you ever noticed how easy it is to slowly empty out an entire pan of treats by just taking a bite here and there?)
And, I added some fall-themed sprinkles…you know, to be festive for Halloween.
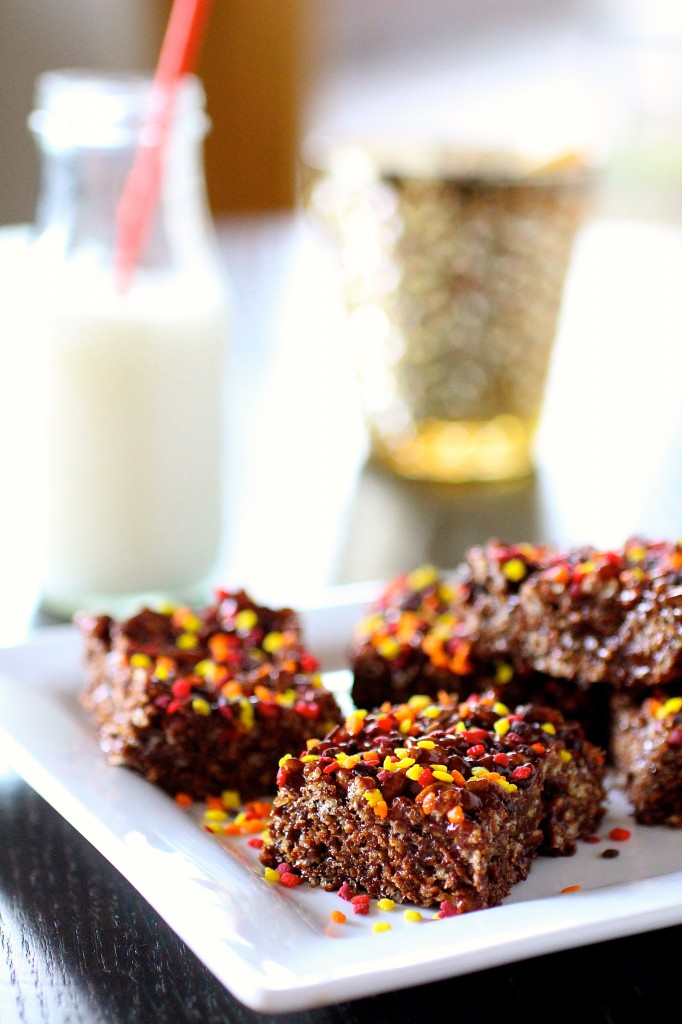
Chocolate Crispie Treats
Servings: about 16 pieces (depends on how you cut them)
Ingredients
½ cup peanut butter (I used a chocolate-flavored peanut butter here, and I found the crispies to be a tad bit sweet. Ordinary peanut butter should be just fine here. Or substitute any kind of nut butter.)
¾ cup brown rice syrup or honey (I used a combination of agave nectar and honey because I was low on honey)
½ cup chocolate chips
3 cups crispy brown rice cereal
Instructions
1. Line a 9- x 9-inch square baking pan with aluminum foil and lightly coat the foil with cooking spray.
2. In a large saucepan over medium heat, combine the peanut butter, honey, and chocolate chips, stirring constantly until completely melted.
3. Remove the saucepan from the heat, and stir in the cereal.
4. Carefully pour and press the mixture evenly into the prepared baking pan.
5. Cut the treats into your desired portion sizes. Enjoy.
Source: Adapted from Vegetarian Times.


Rachel - These look awesome! And I totally get what you mean about the marshmellows – I thought I would never have one again after I became vegan. We had a bonfire to go to this summer and I didn’t want to be left out on the smores front so I ordered some marshmellows and graham crackers online from Sweet and Sara. They are AMAZING! It took all I had to not just eat the whole box, seriously. And they even put a free smore in my package. I am so happy with these and if I had any left I would probably definitely make krispy treats again. I’m definitely going to try your squares soon. Thank you!
Dawn - Did hou use liquid honey?
srlacy - Hi Dawn-
Yes, I used honey that was liquid at room temperature.
Joanne - I haven’t made krispie treats in forever because of the whole marshmallow gelatin thing so I love how au naturel these are!
Allison - I have the same “gelatin issue” and I missed Rice Krispie treats…until I realized that several brands of marshmallow fluff do not contain gelatin and there are easy recipes to make the treats with that instead! Enjoy! (But I am also going to make these ones…they look delicious!)