

.jpg)
I’m a firm believer in the saying about keeping a bottle of champagne on hand…well, you know, just because. Which is why, apparently, I don’t have one on hand right now.
I’ve celebrated with a glass at the end of a long week, because I paid off a credit card, toasted a friend via a phone call for some fantastic news, or…well, you know. Just because. Because my Amazon shipment of paperback books came in (I can’t get used to e-books. There. I said it.) Because my little sister asked me to be her Maid of Honor next summer at her wedding (which is painfully and brutally bittersweet, in a way). Because it is a rainy Sunday afternoon and I am suddenly hooked on watching Netflix’s Orange is the New Black (thanks Audra for the recommendation…it IS good..in it’s own randomly ironic way).
Champagne. The sparkly way to get tipsy.
I had these amazing plans of making these truffles for a get-together a couple of weeks ago. Except I realized that I didn’t have the champagne on hand when I went to make them, so an extra trip out the store was necessary. Of course, since I was on a tight time frame, I HAD to stop and pick up lunch somewhere along the way, not really realizing how much time I needed to put into these little truffles. And of course I didn’t take into account that it was in the mid-90’s and humid as hell outside, so the time it took to chill/roll/temper chocolate was majorly skewed. So I made the truffle filling and realized, about three hours before I needed to leave, that it just wasn’t going to happen. So I just went out and bought a six pack of beer to call it even.
Beer is not as classy as chocolate champagne truffles. But it works. Always.
In the end, I made the truffles the next day when I had more time to chill/roll/temper..well, I basically made them for myself. Which was perfect because I suddenly realized that I might prefer chocolate champagne truffles in my fridge at the end of the day instead of a whole bottle of champagne. It was like finding a treasure each night.
My lack of short term memory sometimes is one of the most wonderful gifts to myself. Imagine the thrill I had when I realized that I had not only chocolate in my fridge (a rarity), but champagne-flavored chocolate.
Life is good.
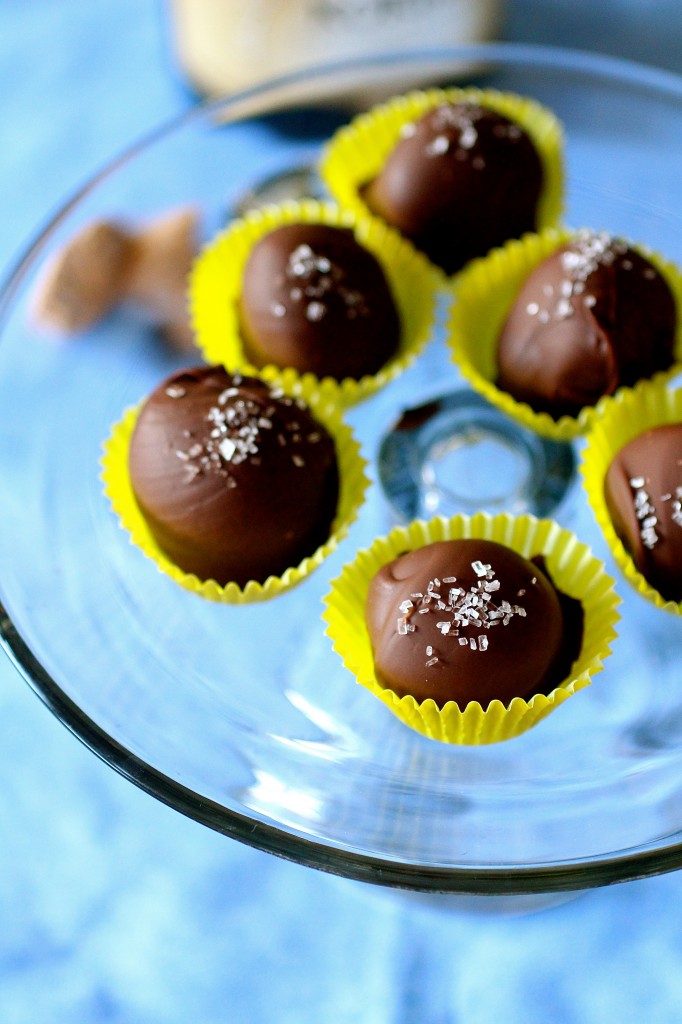
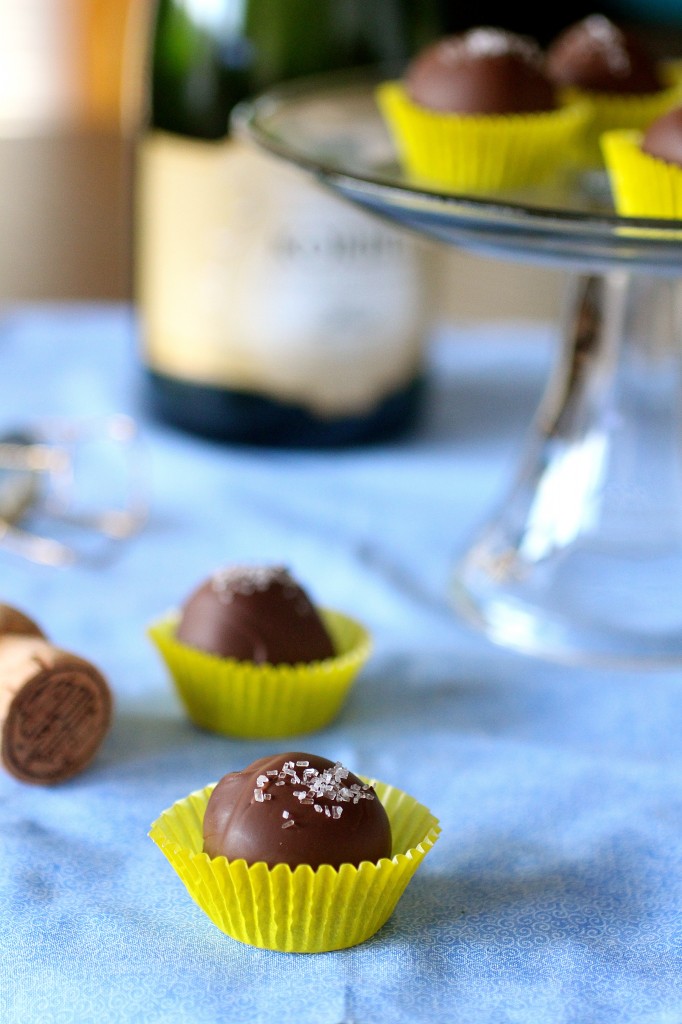
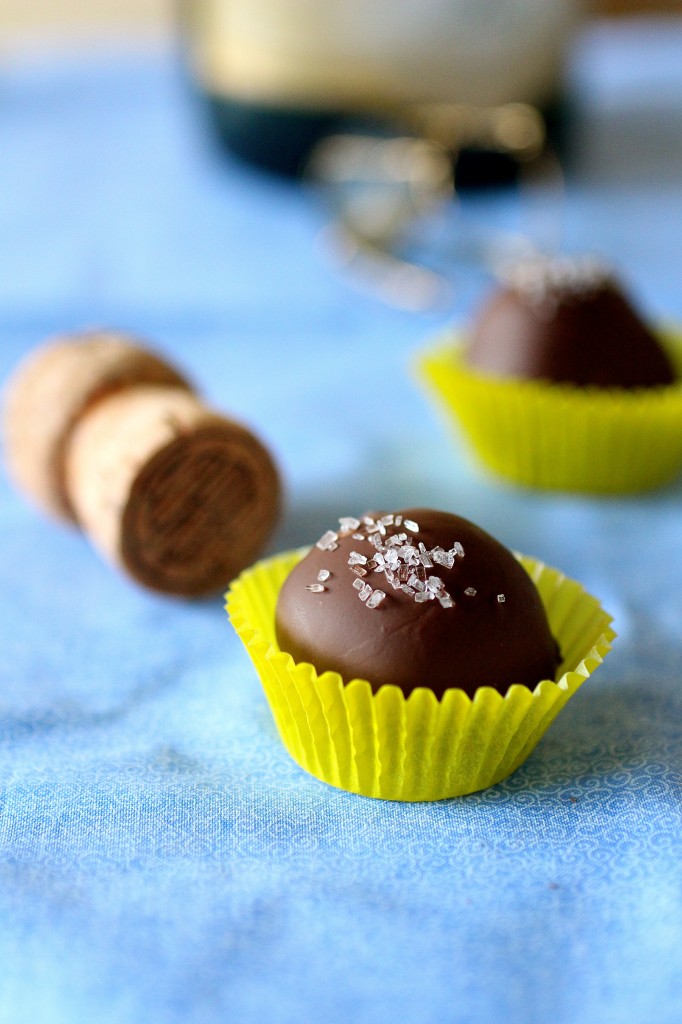
Chocolate Champagne Truffles
Servings: about 24 truffles
Ingredients
For the truffles:
1/2 cup heavy whipping cream
8 ounces semisweet chocolate, coarsely chopped (use high quality chocolate if you can)
1/4 cup, plus 2 tablespoons Champagne
For dipping:
16 ounces chocolate, coarsely chopped (The chocolate variety is of your choosing. I used a combination of the leftover semisweet chocolate from the truffles, and then I used 12 ounces of milk chocolate that I had on hand. I had leftover melted chocolate, so play around with this. You might want to start with just 12 ounces of chocolate and work your way up if you are short on chocolate.)
Coarse sugar, for sprinkling on each truffle
Instructions
1. For the truffles: In a small saucepan over medium heat, bring the cream to a boil, removing it immediately from the heat once it boils.
2. Meanwhile, place the 8 ounces of semisweet chocolate in a medium bowl.
3. Pour the hot cream over the chocolate and let sit for about one minute.
4. After one minute, stir the chocolate and cream together until smooth.
5. Add in the champagne, stirring until thoroughly mixed.
6. Cover and refrigerate the mixture until solid enough to roll, about 8 hours.
7. For rolling the truffles: Once the chocolate is firm enough to roll, use either a small scooper (some people use melon ballers) or your hands, roll and shape each ball into a 1/2-inch to 3/4-inch sphere. Chill the truffles while you prepare the chocolate.
8. For dipping the truffles: In a heatproof bowl set over simmering water, melt the chocolate you are going to roll the truffles in, stirring until smooth. Meanwhile, line a rimmed baking sheet with parchment paper.
9. Using a toothpick, gently roll each truffle in the melted chocolate, rolling it gently to thoroughly coat. Place each chocolate on your prepared baking sheet.
10. Sprinkle each truffle lightly with sugar and chill until the chocolate sets, at least 1-2 hours.
Source: Adapted from Martha Stewart.


Joanne - We recently had champagne with dinner just because. No reason. And it was awesome. It definitely made me think I should always have a bottle on hand..but now I’m rethinking that to a bottle AND a batch of these truffles!
Audra - Yay! I’m so glad you like Orange Is The New Black! It’s weird and addicting right?
Also- I love boozy truffles. These look amazing- do you think I’m allowed to have a few? 😉
Alyson J - Oh my goodness these are adorable!
Kelli @ The Corner Kitchen - I’m a big fan of having champagne, just because! Also because it’s so darn delicious! Loooove these truffles.
I’ve been hearing so many good reviews of Orange is the New Black. It’s next on my list as soon as I finish House of Cards (also awesome!).
Melanie @ Just Some Salt and Pepper - Orange is the New Black is on my “to-watch” list. I can just imagine popping these in my mouth while watching it!
2014 CHAMPAGNE WHITE WINE SANGRIA RECIPE - […] Chocolate Champagne Truffles » The Curvy Carrot […]
FRENCH SPARKLING WINE NOT CHAMPAGNE 2014 - […] Chocolate Champagne Truffles » The Curvy Carrot […]
Courtney - “Champagne. The sparkly way to get tipsy.” is going to be my new slogan. Seriously.
srlacy - Yeah. Somehow it seems fancier this way. 🙂
Kalen - I made the filling earlier and it is not getting firm. Any suggestions??? It was in a bowl so I poured it into a baking sheet. I also stuck it in the freezer…..I’m sad!!
srlacy - Hi Kalen-
I’m sad for you! All I can say is to continue to chill and chill until it becomes more firm. I ended up chilling my truffles after they were made because I found that, at room temperature, they were also a bit soft.
Christmas Cookie Roundup - […] Curvy Carrot’s Chocolate Champagne Truffles. These fancy pants truffles deserve a special occasion…we’re thinking […]
Mini Black and White Cookies for the Academy Awards | Georgia Peach On My Mind - […] Chocolate-champagne truffles! Two of my favorite things merged into one!! […]