Sometimes I can get a little too ambitious with my meal planning adventures. Working 50-60 hours per week as a fellow, trying to read/study/teaching prep in the evenings, and spend high-quality time with my friends can get a little overwhelming at times. Besides the laundry, walking the dog, running errands type of everyday chores that seem to take up way more time than I ever set aside. I’d like to have all the time in the world to bake 8-layer cakes and 7-course meals…but I don’t. And I refuse to sacrifice my sanity to achieve all that (ok, off my soap box now). I’m just a normal girl with a pretty busy life and an intense passion for all things related to food.
That being said, when I usually plan out my weekend cooking strategy, sometimes I throw in some pretty time-consuming meals. Being so busy sometimes, it’s a disaster if those meals don’t turn out the way I wanted them to (like last weekend’s homemade four cheese white pizza disaster that left me an oven full of burnt ricotta and a smoke detector that wouldn’t quit.) Talk about disappointment.
Regardless, when someone I know said that one of his favorite childhood meals was a homemade pierogi, I knew I would be venturing into very risky territory. A homemade dough that would require some chill time, some homemade filling, and a rolling pin and a dough cutter was not something that could be done with a lot of extra time. After researching several recipes, I went with the trustworthy Cook’s Illustrated. I knew I couldn’t go wrong, even though it looked like a beast of a recipe.
OK. First things first. The recipe stresses that you should make the dough and use it right then and there. Fair enough, but it was something that I couldn’t manage. So I cheated. I made the dough the day before and chilled it over night. And then I let it come to room temperature the next day before even attempting to roll it out. It worked just fine, in my opinion. I also made the filling the day before and kept it tightly covered in the fridge overnight. It also was fine once it came up to room temperature the next day.
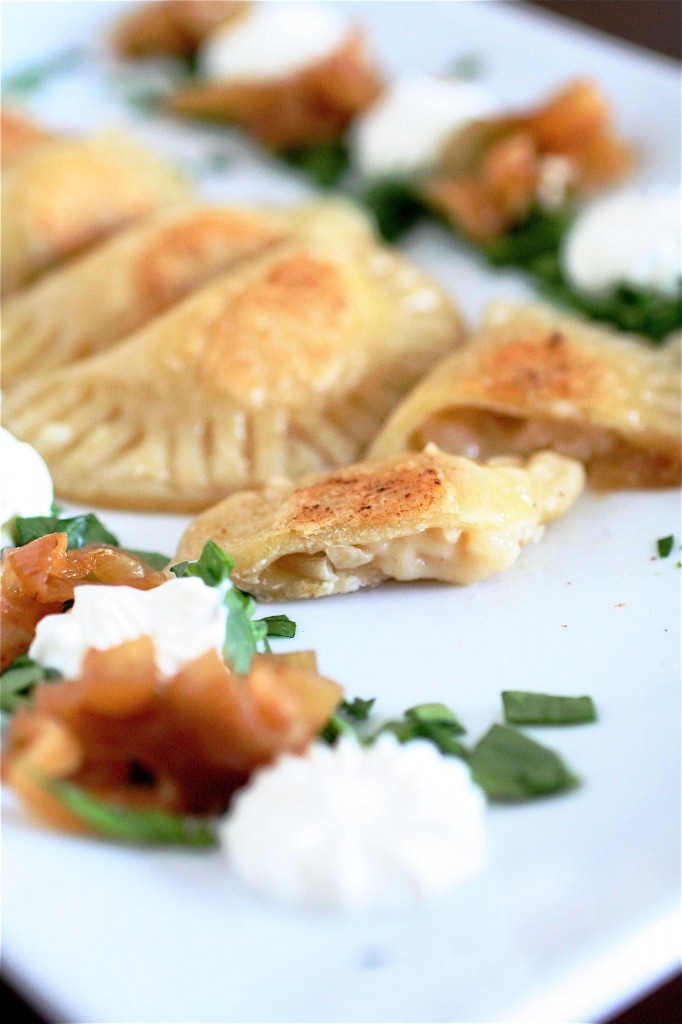
Success. Finally. After a string of frustrating time-consuming recipes, this was a winner. And a nod to my maternal grandmother’s Polish heritage. Cheesy potato and onion-filled dumplings? Ok. Game on.

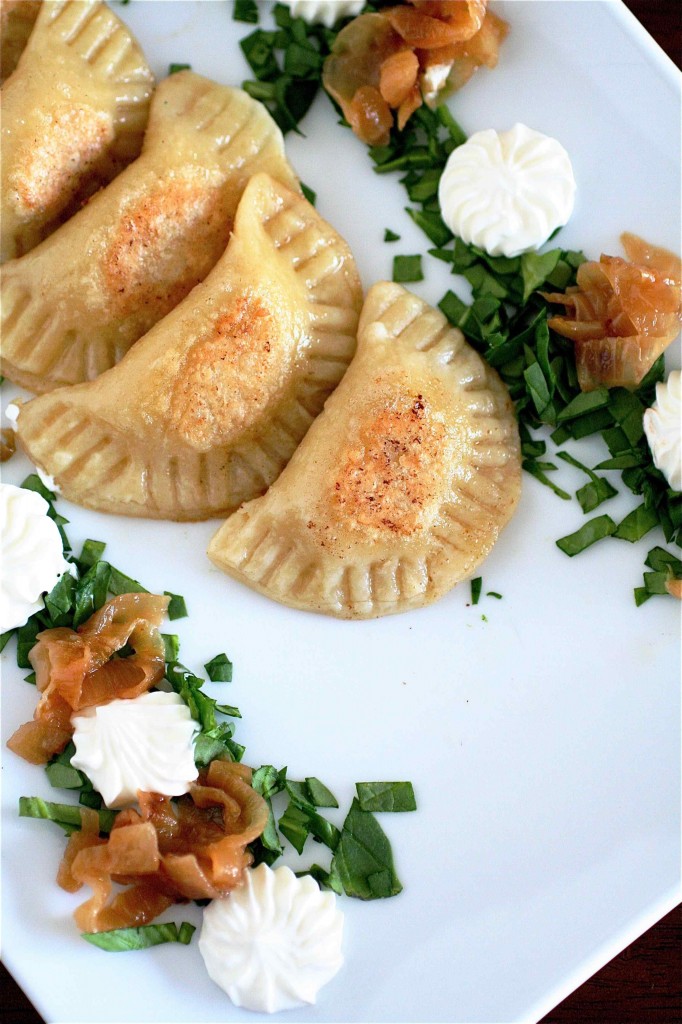
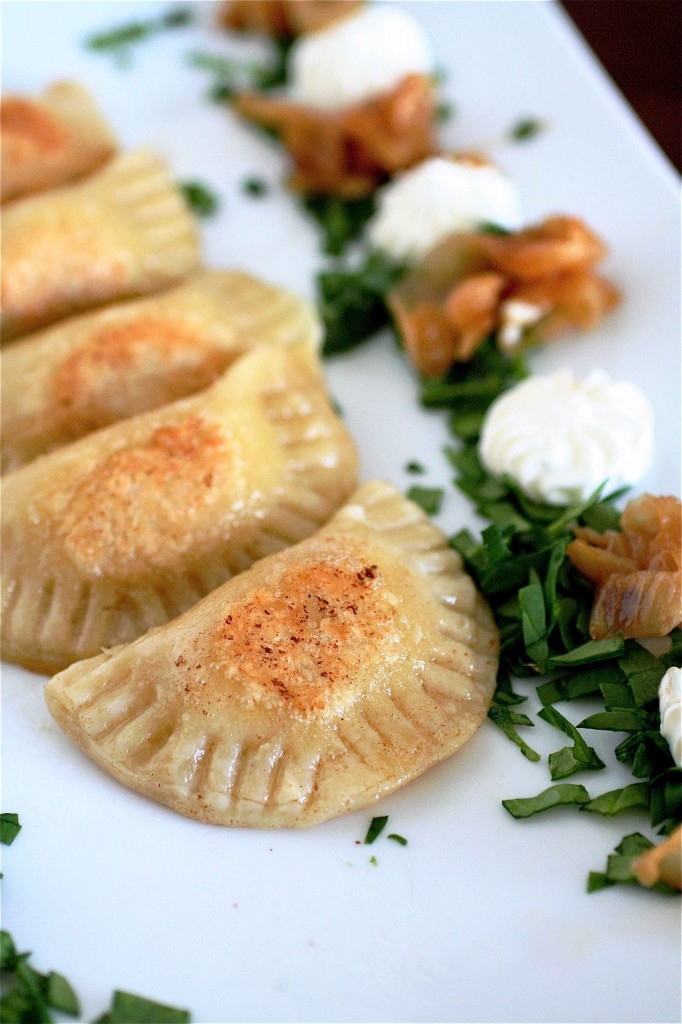
Homemade Pierogi
Servings: about 30 pierogi
Ingredients
For the dough:
2 cups all-purpose flour, plus extra for rolling out the dough
1/2 teaspoon salt
1 large egg
1 large egg yolk
1 tablespoon vegetable oil
4-6 tablespoons cold water
4 tablespoons (1/2 stick) unsalted butter, for frying the pierogi
For the onions:
4 tablespoons (1/2 stick) unsalted butter
2 large onions, sliced thinly
For the filling:
1 medium russet potato, peeled and sliced 3/4-inch thick
Salt
1/2 cup reserved caramelized onions, chopped
3/4 cup cheddar cheese, shredded
1/4 cup farmer’s cheese, shredded (you can sub in ricotta if this not available.)
1 tablespoon unsalted butter
Ground black pepper
For serving:
Sour cream
Additional caramelized onions

Instructions
1. For the dough: In a food processor, pulse together the flour and salt until combined.
2. With the machine running, slowly add the whole egg, the egg yolk, and the oil through the feed tube. Let it run for about 30 seconds or so.
3. With the machine still running, add the water (one tablespoon at a time) until the dough forms a nice ball.
4. Transfer the dough to a clean, flat, and lightly floured work surface and knead for about 2 minutes. Cover it with plastic wrap and let it rest at least 15 minutes or up to 2 hours.
5. For the onions: In a large sauté pan over medium heat, melt the butter.
6. Add the onions and 1/4 teaspoon of salt and cook until the onions are softened and browned, about 15-20 minutes.
7. Once cooked, remove 1/2 cup of the onions and chop them (you will use them in the filling later.) Keep the remaining onions covered and warm.
8. For the filling: Cover the potato by 1-inch of water in a saucepan and season with salt.
9. Bring it to a boil and reduce to a simmer, allowing to cook until the potato is tender, about 10-12 minutes. Drain the potato in a colander.
10. Using a ricer or food mill (or if you are like me, and have neither, use a potato masher), mash the potatoes until smooth or completely processed.
11. Add the caramelized onions, cheeses and butter until incorporated. Season to taste with salt and pepper.
12. Cool slightly before filling the pierogi. (Or cover tightly and refrigerate until you are ready to go.)
13. For the pierogi: Dust a baking sheet (or two) liberally with flour; set aside.
14. Divide the dough into two equal pieces and wrap one with plastic wrap.
15. Working with the non-wrapped portion of dough, roll it out onto a lightly floured surface to a thickness of 1/16-inch.
16. Using a 3-inch round biscuit cutter, cut out as many rounds as possible and place them on the prepared baking sheets, carefully gathering up the remaining scraps and re-rolling/cutting out the dough as necessary.
17. To fill the pierogi: Place about 1 teaspoon of filling into the center of each dough round.

18. Using wet fingers, lightly moisten the edges of each dough round.
19. Fold the dough rounds in half, and using a fork, crimp each one tightly shut. (Keep the pierogi moist with a wet towel once they are made. If you are planning on freezing them, transfer the baking sheets to the freezer, still covered. Once they are fully frozen, you can directly boil them for 8-10 minutes at a later time.)


20. Meanwhile, bring 4 quarts of lightly salted water to a boil.
21. Add half of the pierogi, cooking until the edges feel al dente, about 5-6 minutes.
22. Using a slotted spoon or wire spider, transfer the pierogi to a colander and set aside. Repeat with the remaining batch.
23. Melt two tablespoons of the butter in a sauté pan over medium-high heat.
24. Add the pierogi in batches, cooking until golden brown on both sides, about 1-2 minutes per side. Repeat with the entire batch.
25. Sprinkle with caramelized onions and serve with sour cream.
Source: Slightly adapted from Cook’s Illustrated: The Best International Recipe.


Lora - These look amazing! I’ve always wanted to try and make these at home. This recipe looks perfect. Thank you!
Emily @ She Makes and Bakes - I have always wanted to make these. I’ll have to try this version. Love it! Thanks for doing all the hard work. 🙂
Bryan & YiRan - Love pierogi! This looks great – maybe a bit more complicated than for a weeknight, but a good weekend idea!
Clem - Oh my god! I made them too and published them *today* on my blog! I’m a faithful reader of yours, it’s super nice — and you’re an inspiration!
Blogger Spotlight: Homemade Pierogi | The Feed - […] knew these Polish gems could be made by hand? Not me! Which leads me to Shanon’s post over at The Curvy Carrot, this week’s blogger spotlight. Not only did she find time in her hectic schedule to make a […]
mom - Shay! these look great! Nana would be proud, and your brother Ben too, since he loves pierogi’s!
Liz - These really do look good!!! Great job! 🙂
Toasty - As a polish kid, I do a giant pierogi making weekend every few months and freeze bags of potato and mushroom and pumpkin pierogis. I bought a kitchen aid pasta roller attachment SPECIFICALLY for the springy pierogi dough, cut it out with a glass, and then roll it a little oblong to make closing easier in a giant assembly line. I’ve normally done a sour cream dough, is it still a little chewy? Favorite part.
misha - muhahahaha! Reading the recipe has made me hungry. These sound soo good and relatively easy. my Polish mom is gonna love me when i serve these up this week. Bonus that I can freeze some for later too. Thank you for sharing such a nice recipe .
Javelin Warrior - Pierogi have to be one of my favorite comfort foods ever and I love that you took the time to make these from scratch – and showed HOW to do it! I am featuring this post in today’s Friday Food Fetish roundup (with a link-back and attribution), but please let me know if you have any objections. It’s a pleasure following your creations…
Emily (New York, NY) - Oh I am so happy I found this recipe! My boyfriend is Polish (I’m not) and it’s really a huge part of his life. I’m sure he would love if I surprised him by making these! Thank you for sharing 🙂
An Attempt at Pierogi’s | agirlacatandakitchen - […] the Curvy Carrot. Originally slightly adapted from Cook’s Illustrated: The Best International […]
Homemade Pierogi - […] source: thecurvycarrot.com […]