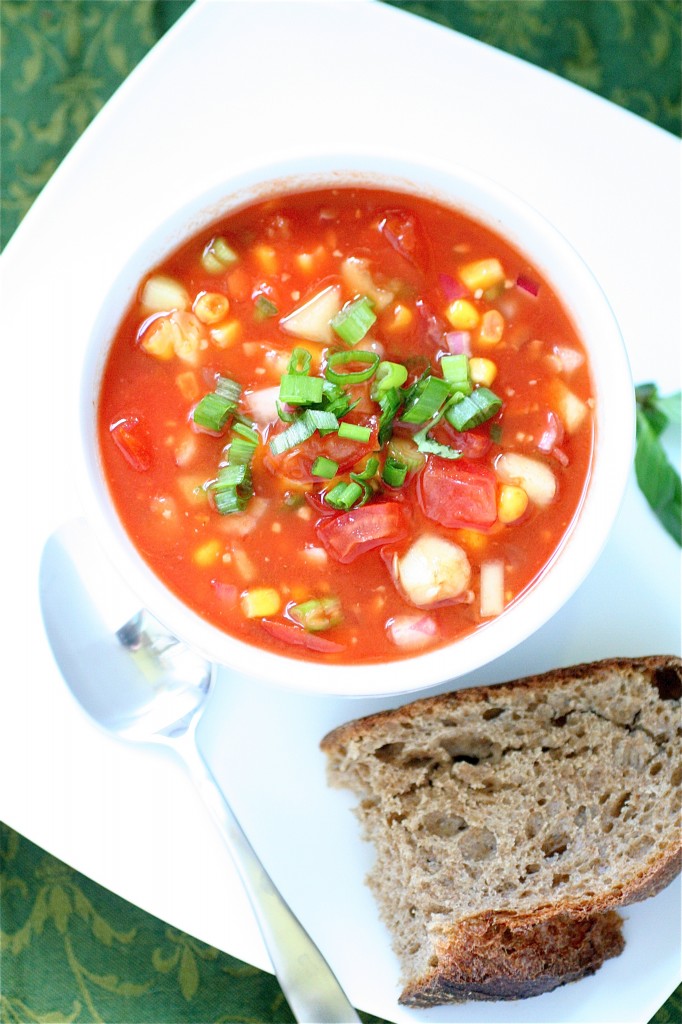
Spicy Summer Gazpacho

Apparently summer is here.  The days are sunny (for the most part), long, and I am wearing flip flops (my favorite kind of shoe).

And for those of you who read this blog regularly, you will know that I recently headed to the Upper Valley area (aka known as the Vermont/New Hampshire border).  And I may have just fallen in love.  The endless green forest-covered mountains, the cool afternoon breezes, my proximity to both work and fun…it’s pretty awesome.  But the best part for me so far?  The food.  Hands down.

I’m here where everyone promotes good, honest, local food.  When I walk into the Co-op here, there are signs and posters everywhere reminding me to “Buy Local” (and also reminding me to run back to my car to get my reusable grocery bags.)  Aisles of endless local cheeses, milks, and yogurts.  I had the best mozzarella of my life the other day (now, granted, I have never been to Italy..).  There are at least 15 different local farms to choose from (a novelty to me), and you better believe that I am trying out a new farm each week when I make my routine grocery run.  There are local bread companies, local wineries, local meats (obviously I am not hitting those up…), and local eggs (which, by the way, have the most orange and tasty yolks I have ever had).  And the produce?  Don’t even get me started.  My little sister stayed a few extra days out here with me to help me unpack, and she actually took a picture of the produce (mostly local, again) because it was so beautiful.  There are farmers’ markets everywhere.  I’m living a dream here…where it’s accessible, cheaper than what I am used to, and overwhelmed with options.

So, with all this fresh produce, I wanted to make a simple and healthy soup for the summer.  I’ve never been one for cold soups (I never really liked the idea), but I was recently served gazpacho (in little Scotch glasses, no less!) at a dinner party, and the thought of that refreshing and tasty soup was still lingering in my mind.  I wanted to take advantage of the variety of vegetables around me, and so I did.

The beauty of this recipe is (again) variation.  You can add in any kind of vegetable you want, experiment with seasonings, and completely make it your own.  It gets better after aging for a while in the fridge-I ate it for lunch for several days with a little piece of cheddar and some rustic wheat bread.  (Heaven, actually.)  You could also serve this as a starter (in little glasses, like I had) at a get-together-it’s completely versatile!
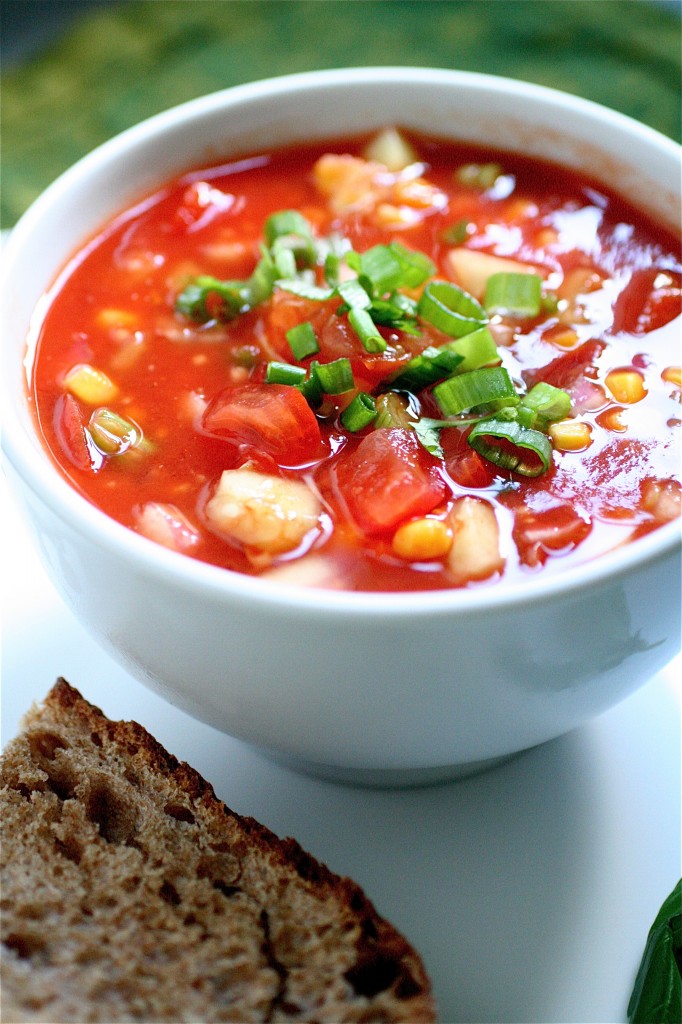
Spicy Summer Gazpacho

Servings: approximately 6


Ingredients

1 pound (approximately 4-5) medium tomatoes, any variety, seeded and chopped

1 cup frozen (or fresh) corn kernels

1 small jalapeno, seeded and minced

1 medium cucumber, peeled and chopped

4 scallions, white and light green parts only, sliced thinly**Keep the green parts for garnish, if you desire.

1/2 red onion, minced

3 teaspoons minced garlic (about 3 cloves)

1 tablespoon fresh lemon juice

Two 11.5-ounce cans of tomato juice

1/2 cup cold water

2 tablespoons sriracha sauce (or other hot sauce), or to taste

1 teaspoon garlic salt
Instructions

1. In a large bowl, combine the tomatoes, corn, jalapeno pepper, cucumber, scallions, red onion, and garlic, tossing to combine.

2. In a medium, separate bowl, add the lemon juice, tomato juice, and cold water.

3.  Add the tomato juice mixture to the chopped vegetables, mixing well.

4. Add the sriracha and the garlic salt, seasoning to taste.

5.  Cover with plastic wrap and let chill in the refrigerator for at least 4 hours before serving (I promise, it will taste better after the wait!).

6. Ladle into individual bowls, garnish with additional scallions (if desired), and season to taste.

Source:  Adapted from The Co-Op Food Stores.


July 2, 2011 - 8:25 am

Jessica - Welcome to New England! I live in VT not too far from the Upper Valley. I love following your blog! If you are interested in taking fun cooking seminar classes, King Arthur Flour in Norwich, VT offers a variety of fun classes. It’s probably not too far from where you are. Enjoy our brief and beautiful summer. It goes quick!

July 2, 2011 - 1:06 pm

miri leigh - What a beautiful soup…so great for summer. Thanks!

July 4, 2011 - 3:30 am

Maureen - What a colorful and healthy looking soup. I’ve bookmarked it for when summer does come again down under.

July 26, 2011 - 1:09 pm

Vegetables: It’s what’s for dinner « OK, Let's Do This! - […] gazpacho was inspired by The Curvy Carrot. I like my soups kind of chunky and stew like – even in a gazpacho. Certainly puree yours […]

July 27, 2011 - 1:40 pm

Vegetables: It’s what’s for dinner. | Farm Direct Coop Recipes - […] gazpacho was inspired by The Curvy Carrot. I like my soups kind of chunky and stew like – even in a gazpacho. Certainly puree yours […]

June 1, 2012 - 6:00 am

Diet June 2012 Menu | OAMC from Once A Month Mom - […] Spicy Summer Gazpacho […]

May 10, 2013 - 9:39 am

Spicy Summer Gazpacho - […] source:  thecurvycarrot.com […]

Nanaimo Bars


Nanaimo Bars.  Pronounced “Nuh-NIE-Mo” Bars.  I know this because I had to look it up.

I went for the gusto here on these bars.  Call it incredibly cheesy, or call it incredibly lame, but I decided to make these bars after debating back and forth for a while.  True, they look delicious.  True, they have many of the components that I love so dearly: chocolate, coconut, vanilla pudding (in this case, I used real vanilla custard powder…), and…digestive biscuits?  (You can easily substitute graham crackers for the digestive biscuits here).  But these Nanaimo Bars are also known as one of the national desserts of Canada, and I had decided to take them to a dinner party at one of my mentor’s homes….where he and his wife are both from Canada.

So here I am, a US citizen bringing Canadians their national dessert…one that I had never made before…and knowing that it could possibly offend them and/or completely humiliate myself if they were terrible.  No pressure.

I considered them a hit.  Either they were both extremely polite, or they really did like the Nanaimo Bars..because he asked to keep all the leftovers and brought the container the following week.  We had such a great discussion about the Nanaimo Bars that his wife took the time to hand-write some “official” Nanaimo bar recipes out for me, complete with some awesome variations (which I will definitely be trying soon).  I have to admit, though, I thought they were great…I went ahead and tried to make them as fancy as possible…using Bird’s Custard Powder (it’s a dried custard mix I found in the “English” section of my grocery store) and English digestive biscuits (also found in the same aisle), but you could use a simple instant vanilla pudding mix and graham crackers instead.

And, not only that, but they were relatively easy to make.  A no-bake dessert bar?  Sign me up!  Really, the most time-consuming parts about this recipe were the “chilling” parts.  Either that or the time it took me to eat all the crumbs out of the pan after I had cut them into bar forms.  🙂

Nanaimo Bars

Servings: approximately 12 bars


Ingredients

For the base:

1/2 cup (1 stick) unsalted butter, room temperature

1/4 cup granulated sugar

1/3 cup unsweetened cocoa powder

1 large egg

1 teaspoon vanilla extract

2 cups crushed (use your food processor) Digestive Biscuits or graham cracker crumbs

1 cup unsweetened coconut

1/2 cup walnuts, chopped

For the middle layer:

1/4 cup (4 tablespoons) unsalted butter, room temperature

2 tablespoons heavy whipping cream

2 tablespoons Bird’s vanilla custard powder or instant vanilla pudding powder

1/2 teaspoon vanilla extract

2 cups powdered sugar

For the top layer:

4 ounces semisweet chocolate chips

1 tablespoon unsalted butter, room temperature

Instructions

1. Prepare a 9 x 9-inch baking dish with cooking spray, making sure to spray all the corners.

2.  For the base: In a medium saucepan over medium-low heat, melt the butter.

3. Remove the saucepan from the heat and add the sugar and cocoa powder.

4. In a small separate bowl, lightly whisk the egg.

5. Very slowly, add the beaten egg to the warm butter mixture, whisking constantly.

6. Return the saucepan to medium-low heat, and whisk constantly (about 2 minutes) until the mixture thickens.

7.  Remove the saucepan from the heat and add the vanilla, digestive biscuits (or graham crackers), coconut and walnuts, mixing thoroughly.

8. Using your hands or a buttered rubber spatula, gently press the mixture into the bottom of the prepared baking dish and chill until firm.  ***You can place it in the freezer for about 15 minutes or refrigerate for about an hour or so.

9. For the middle layer: In the bowl of your standing mixer fitted with the paddle attachment (or using an electric hand mixer), beat the butter until light and fluffy, about 2 minutes.

10.  Slowly add the whipping cream, custard powder (or pudding mix), vanilla, and powdered sugar on low speed until well combined. **If the mixture is too thick, add a few more drops of cream.  If it’s too thin, add a little more powdered sugar.

11. Spread the middle layer over the chilled base layer and refrigerate until firm (about 20 minutes or so).

12. For the top layer: In a heatproof bowl over simmering water, melt the chocolate chips and butter until smooth, stirring occasionally.

13. Evenly pour and spread the chocolate layer over the middle layer and refrigerate until firm, about 15 minutes.

14. Once set and firm, cut the bars into squares and enjoy!

Source: Barely adapted from Joy of Baking.


June 30, 2011 - 7:42 am

Blog is the New Black - Shannon, these look great. I’ve wanted to make them ever since I saw them over on Oh She Glows. Beautiful!

June 30, 2011 - 8:17 am

Maureen - I haven’t eaten one of these for years ! I’d completely forgotten about them. In honor of Canada Day this week I will make these too. Thanks for sharing!

June 30, 2011 - 1:25 pm

Gwen - I know that the English call cookies “biscuits”, but I’d never heard of a digestive biscuit until today. The name sounds very unappetizing, but the dessert looks very yummy!

June 30, 2011 - 1:35 pm

srlacy - I know…really, right? That’s what I thought, too. But I actually did eat one of them plain from the package…and was almost like a thick graham cracker! YUM!

June 30, 2011 - 6:07 pm

Heidi @ Food Doodles - Yummy 🙂 I haven’t had a nanaimo bar in soooo long. No worries about making them wrong, I think there are a few ways to do it, and they all taste good 😀 Yours look great!

June 30, 2011 - 10:02 pm

renee@sweetsugarbean - I’m from Canada and grew up eating these! You did my country proud!

July 1, 2011 - 2:56 am

Donna - Yummy! And thank you for the pronunciation. I’ve always wondered.

March 13, 2012 - 10:35 am

Nanaimo Bars | Nutella Enchanted - […] The all-important recipe, found at The Curvy Carrot: […]

November 17, 2012 - 3:28 am

Darren - @Gwen… just call them arrowroot cookies, if it makes you more comfortable. Canadians will say either, if I may speak for all of Canada (which I really can’t). Nanaimo bars are best with graham crackers, in any case.

Easy Everything Foccacia

I’m an everything-bagel-kind-of-girl.  Either that or a massive-salt-bagel-kind-of-girl.  Some people go for the sweet bagels, like blueberry or cinnamon raisin, but not me.  I like my bagels savory, toasted, and with tons of flavor (I have to admit, I don’t really care for the lingering fear of having poppy seeds stuck in my teeth and garlic breath for the rest of the day afterwards, though.)

I have made focaccia before, but I had this recipe from King Arthur Flour Company bookmarked for a very long time.  The recipe emphasizes quickness and simplicity with very little fuss, which sounded great to me since I had been feeling like my life was in fast forward with no signs of stopping.  True to its word, this recipe is very little fuss (although it’s not “quick” in the sense that you must allow for a 1-hour rising time), but it doesn’t require much hands-on attention. I served this focaccia warm with some seasoned extra virgin olive oil as a light appetizer before a meal, and then I used the leftovers the next day as my bread for a nice veggie sandwich.  I will definitely be making this again soon.

Feel free to play around with the seasonings you have on-hand.  That’s what I did, and next time you can bet that I will be experimenting even more!

Easy Everything Focaccia

Servings: One loaf, about 12 servings


Ingredients

1 and 1/2 cups warm water

3 tablespoons olive oil, plus more for drizzling your baking pan

1 and 1/4 teaspoons salt

3 and 1/2 cups all-purpose flour

1 tablespoon instant yeast

1 tablespoon poppy seeds

1 teaspoon garlic salt

1 tablespoon dried onion

1 tablespoon toasted sesame seeds

Cooking spray

Instructions

1.  Lightly spray a 9 x 13-inch baking pan with the cooking spray, and drizzle enough olive oil to coat the bottom of the pan thoroughly.

2. In the bowl of your standing mixer fitted with the paddle attachment, combine the water, olive oil, salt, flour, and yeast and mix at high speed until combined, about a minute or so.

3. Using a rubber spatula, evenly spread the batter into your prepared pan, cover with a light towel, and let rise at room temperature for 60 minutes.

4. Meanwhile, preheat the oven to 375 degrees.

5. Once risen, gently poke the dough with your finger to create multiple little indentations on the surface.

6. Drizzle the dough lightly with a little more olive oil (to your liking) and sprinkle with the poppy seeds, garlic salt, dried onion, and toasted sesame seeds.

7. Bake the dough for about 35-40 minutes, until it is golden brown.

8. Remove the focaccia from the oven, let rest for at least 5 minutes in the pan, and then remove it from the pan and let cool slightly on a wire rack.


Source:  Adapted from King Arthur Flour Company.


June 28, 2011 - 5:27 am

Blog is the New Black - I’ve only made foccacia once (in a baking class) and haven’t tried it since. this looks divine!

June 28, 2011 - 9:42 am

sara - OH MY! This looks amazing. I too am an everything bagel girl. I can’t wait to try this.

June 28, 2011 - 10:24 am

Jessica - Mmmm… that looks delish. 🙂 I like my bagels savory too, garlic and asiago being my favorites.

June 28, 2011 - 9:25 pm

Happy When Not Hungry - Wow I’ve never thought to make Everything Focaccia like Everything bagels. What a great idea!!!

June 28, 2011 - 10:06 pm

Jen - We are two peas when it comes to the sweet vs. savory bagels. I either get an everything bagel or a sesame bagel every time I hit up a bagel shop. I would probably inhale this focacia if it was in front of me!

June 29, 2011 - 2:40 am

Maureen - Delicious. The only thing I do differently is I always add some aged balsamic vinegar with the olive oil for dipping. Nothing better.

July 1, 2011 - 8:50 am

Josie - Oh yum! Everything bagels are my favorite too – and I bet this bread makes awesome sandwiches! Definitely making this soon!

September 3, 2011 - 1:21 pm

this week’s dose of inspiration. | simply chic. - […] foccacia bread {via The Curvy Carrot} <– my latest fave food […]

December 26, 2011 - 2:11 pm

Amy - This is amazing bread. I have made 4 loafs already for gifts and the family thinks it is amazing. Fresh taste and really easy to make.
Love It!!!!

February 24, 2014 - 11:15 pm

wongmama - can I use Rapid rise yeast? Or is that different from instant yeast?

February 24, 2014 - 11:19 pm

srlacy - Hi there-

Here is a link to an article which might help you:
http://www.thekitchn.com/whats-the-difference-instant-a-54252