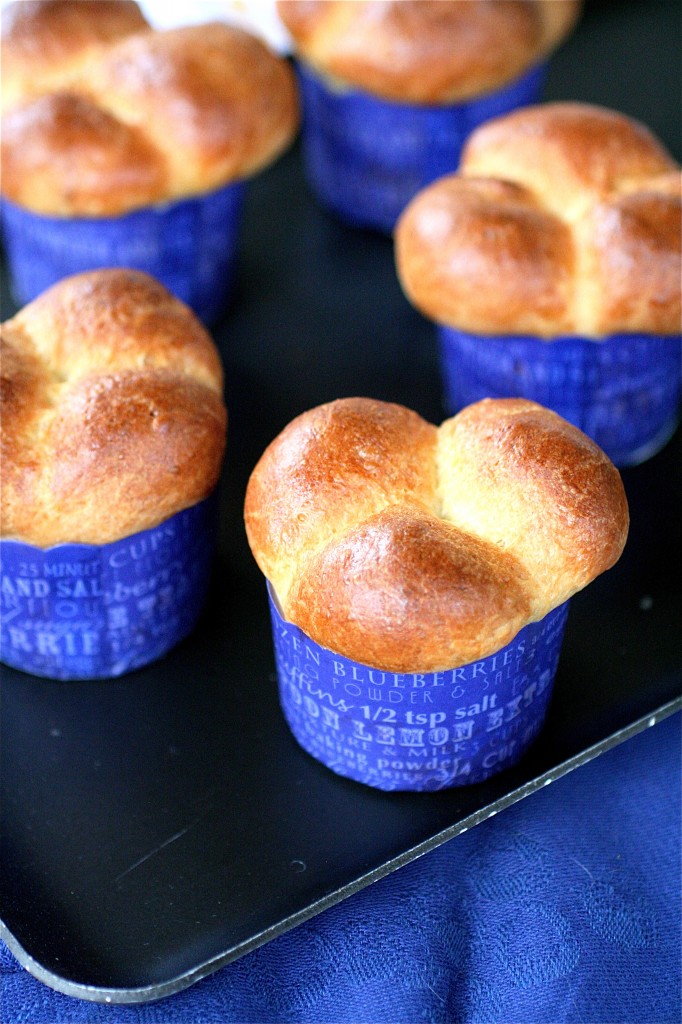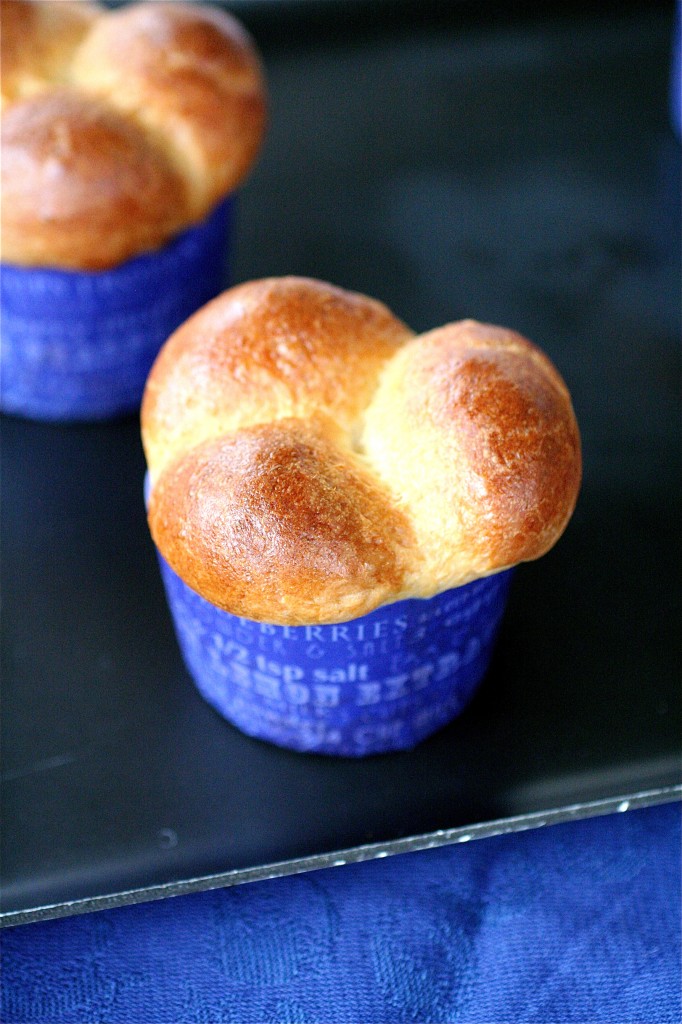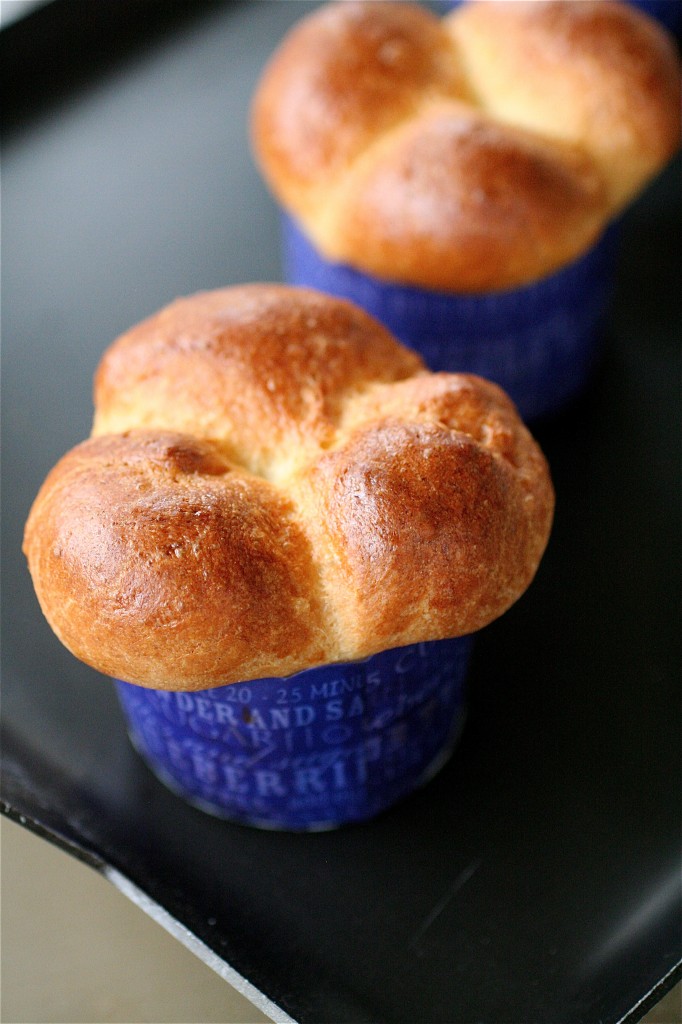
If you’ve never had brioche, you need to at least try it. It’s a beautiful thing.
I’ve actually made brioche before, but I never posted it. For some reason, I was completely intimidated by it. But, even though you need to rise and make the dough the day before (and sometimes I need the instant gratification of recipes and cannot bear to wait until the next day…), it’s really not all that hard to make. Now, granted, I almost had a heart attack while I was mixing the dough with my KitchenAid mixer because the top part of the mixer started erratically bouncing up and down and refusing to stay in the locked position. I was bound and determined to fix the mixer on my own. One complete upside-down turn and the fumbling of a screwdriver later, I had quickly fixed the single loose screw on the underside of the top of the mixer. Two months ago I completely disassembled and fixed the garbage disposal. Seriously, I must be on a roll. I can get the hang of this “girl power” routine. 🙂
Anyways, these brioche are dense and buttery and amazingly delicious. I served them with dinner with butter, but they are great with sweet or savory toppings as well. And the best part? Use your leftovers for treats like bread pudding or French toast casserole…..(don’t worry..I totally did).
Bubble-Top Brioches
Servings: 12
Ingredients
1/4 cup whole milk, warm
1/4 cup water, warm
3 tablespoons granulated sugar
4 teaspoons active dry yeast
2 and 3/4 cups all-purpose flour
1 and 1/2 teaspoons salt
3 large eggs, at room temperature
12 tablespoons (1 and 1/2 sticks) unsalted butter, at room temperature
1 large egg, lightly beaten (for brushing the tops)
1 teaspoon cold water

Instructions
1. In the bowl of your standing mixer fitted with the paddle attachment, combine the warm milk, warm water, and a pinch of the granulated sugar.
2. Sprinkle the yeast over the top of the mixture and let sit for about 5 minutes, until the yeast is foamy and slightly absorbed.
3. In a separate bowl, combine the flour and salt.
4. On low speed, gently mix the yeast mixture until creamy. Remove the paddle attachment and replace it with the dough hook.
5. Add all of the flour mixture at once to the yeast and turn the mixer on and off in short pulses to lightly moisten the dough.
6. On medium-low speed, mix the dough until dry but shaggy, scraping down the sides of the bowl as necessary, about 3 minutes.
7. Turn the mixer speed to low and add the eggs, one at a time, mixing well after each one.
8. Add in the remaining granulated sugar, increase the mixer speed to medium and mix for about 3 minutes.
9. Reduce the mixer speed to low.
10. In 2-tablespoon increments, add the butter to the bowl, mixing well after each addition.
11. Increase the mixer speed to medium-high and beat until the dough pulls away from the sides of the bowl, about 10 minutes or so.
12. Transfer the dough to a lightly oiled bowl, cover with plastic wrap or a towel, and let rise until nearly doubled in size, about 1 hour or so.
13. Once risen, pull the dough up by the edges and let it fall back on itself to deflate.
14. Cover again and place the dough in the refrigerator, slapping it down every 30 minutes, for a total of about 2 hours. (You will slap it down 4 times.)
15. Press the plastic wrap tightly against the surface of the dough and let it rest overnight in the refrigerator.
16. The next day, butter a 12-cup muffin tin (or brioche molds). ***Or use Wilton paper liners like I did.
17. On a floured surface, divide the dough into 12 even portions, then split each portion into 3 round balls.
18. Place 3 balls into each muffin liner, and set aside. Let rise in a warm place until they almost fill the cups, about 1 hour or so.
19. While the dough is rising, place a rack in the center of your oven and preheat the oven to 400 degrees.
20. In a small bowl, whisk together the cold water and egg.
21. Lightly brush the tops of each brioche with the egg glaze-making sure to be very gentle.
22. Bake the brioches for 20 minutes or so, or until deeply golden. ***Watch them. Mine were ready at exactly the 20 minute mark. If they start to brown too much, cover them with aluminum foil.
23. Remove the brioches from the oven and let cool on a wire rack for 5-10 minutes.

Source: Directly from Around My French Table by Dorie Greenspan (the queen!)


Blog is the New Black - These look gorgeous! I bet they taste even better!
Gwenevere - Isn’t it funny how a certain type of food can stike such fear in us. Come on it’s brioche, not the national debt. Then we try it and…wow, that wasn’t so bad! My list of recipes I’m afraid of is a little bit too long.
Tracey - I love the wrappers! Brioche is such a delicious bread, one of my favorites for sure – and your individual minis are beyond cute.
natalie (the sweets life) - brioche is one of my very favorite breads—yours looks gorgeous!
Josie - Those are gorgeous! I’ve been wanting to try brioche for a while now, so maybe I’ll try the bubble tops since they are so fun!
Jane M - WOW if I baked these adorable brioche I’d have to wait OVERNIGHT to bake them! AAAAAAAAH! I hate waiting!
Mai - those are so adorable. I’ve never had brioche before and I’m sure they taste amazing. Can’t wait to try this!
Kathy - Panini Happy - These look just beautiful! I’ve been intimidated by them as well, glad to know they’re actually not that difficult. Will definitely give it a try!
kellypea - I love brioche and haven’t made it in a while. Your tiny wrapped brioches are absolutely adorable! I think I’d have trouble stopping at one…
Patty - The are indeed beautiful Shanon!
branny - The liners are really cute! I bet those little things are irresistible.
Bubble Brioche « i FinD Recipes Online - […] http://www.thecurvycarrot.com/2011/04/27/bubble-top-brioche/ […]