I have Lukas to thank for transforming my kitchen into a place of adventure and firsts for me recently. (i.e. as in this recipe, too.)
Take pad thai. I love it..and by “I love it”, I mean I love it when I am eating it via either take-out or at another restaurant when someone else prepares it for me. I have always been intimidated by not only the ingredient list, but also with the method of preparation (and admittedly, the only recipes that I have ever really looked at in depth are ones that are probably best handled in a restaurant kitchen anyways….)
I don’t want to spend a whole bunch of money on random ingredients that I will never use. I want to use simple, straight-forward ingredients that any grocery store will have. And I want a delicious meal that I won’t feel guilty about eating and that I can easily re-heat for lunches during the work-week.
So, thanks, Lukas, for this meal. I was so happy and satisfied with this version of pad thai.
Not only is this easy to make, it takes less than 30 minutes to prepare, so it could be an easy weeknight treat. And, as I stated before, it re-heated really well for my lunches at work (and I even ate lunch earlier than usual on some days just because I was so excited about my lunch that day.)
You can play around with the ingredients here-I stuck to the original recipe since I was trying this out for the first time, but you can throw in some extra veggies, as Lukas suggests, to increase the nutritional value here. Omit the egg for a vegan version, and you are set.
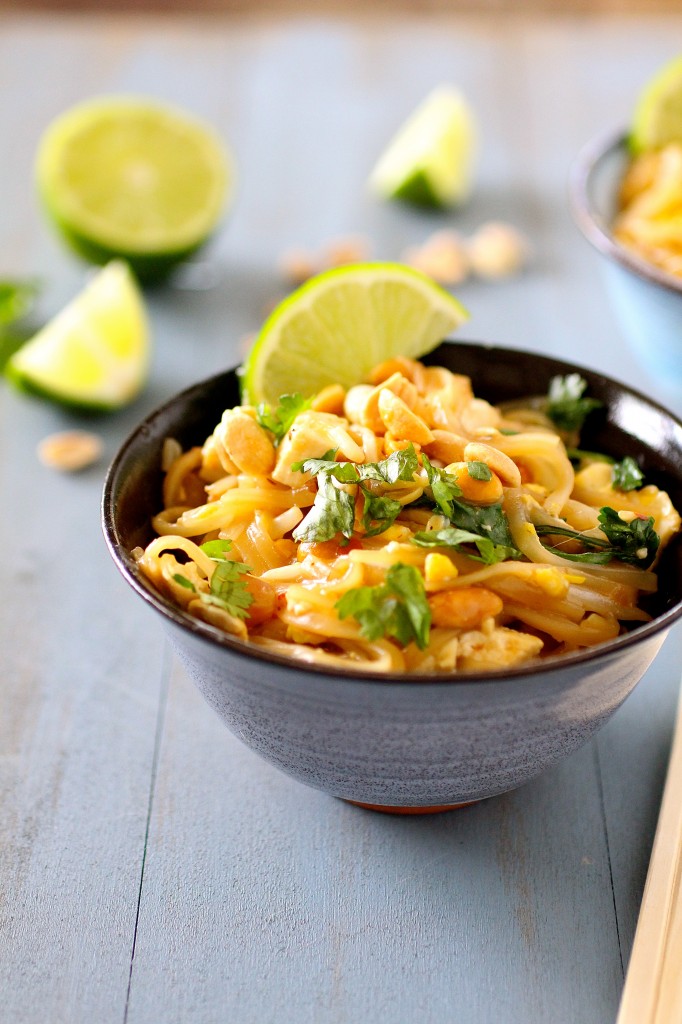
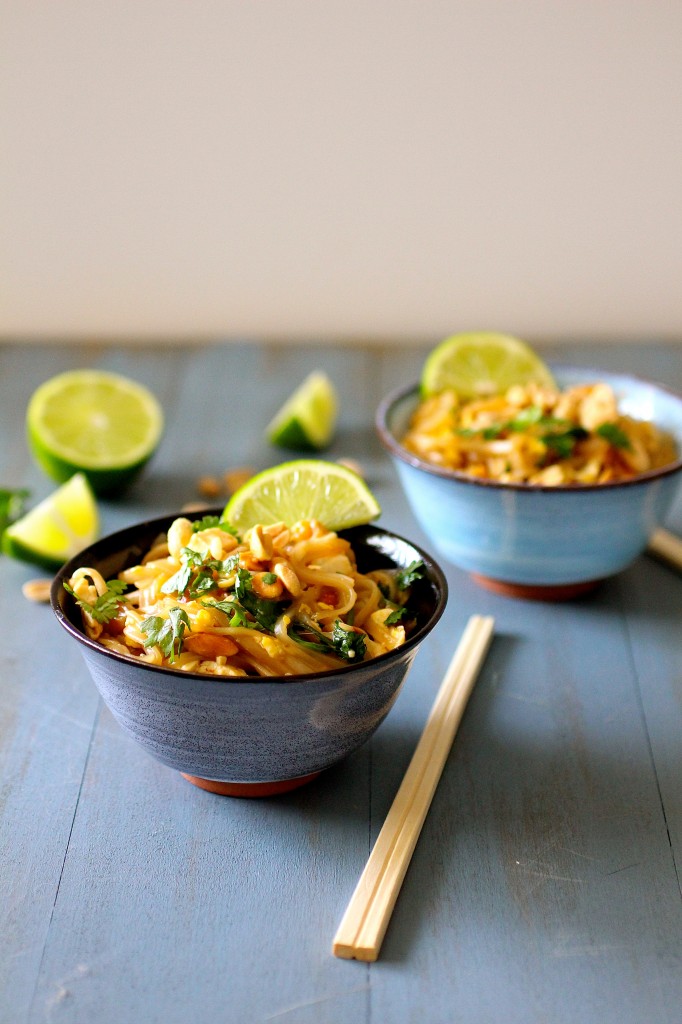
Classic Pad Thai
Servings: about 4
Ingredients
3 tablespoons peanut oil (or canola or vegetable oil), divided
2 eggs
3 tablespoons soy sauce
1 tablespoon white vinegar
2 teaspoons chili paste
Juice of one lime
2 tablespoons brown sugar
2 shallots, minced
1 teaspoon garlic, minced
2 and 1/2 cups water
8 ounces narrow rice noodles (I used Annie Chun’s brand)
7 ounces firm tofu, cubed
1 cup mung bean sprouts
1/2 cup unsalted peanuts, coarsely chopped, plus more for garnish
1/2 cup cilantro, chopped, plus more for garnish
Lime wedges, for garnish
Instructions
1. In a deep sauté pan, heat 1 tablespoon of the oil over medium-high heat until shimmering.
2. Crack the eggs into the pan, and, using a spatula, gently fold the eggs and scramble them until they are cooked and heated through, about 1-2 minutes or so. Remove the eggs from the pan and set aside.
3. In a small bowl, whisk together the soy sauce, vinegar, chili paste, lime juice, sugar, and 1/2 cup of water, mixing well.
4. Put the remaining 2 tablespoons of the oil into the pan and heat the oil again over medium-high heat until shimmering.
5. Add the shallots and the garlic to the pan, cooking until softened and fragrant, about 1 minute or so.
6. Pour the soy sauce mixture over the shallots and mix to combine.
7. Place the uncooked noodles on top of the mixture, pressing the noodles down to flatten them with a spatula. Let them sit over the soy sauce mixture for about two minutes, pressing them down occasionally to soak up the liquid.
8. Carefully flip the noodles over and add another 1/2 cup of the water. Again, gently press on the noodles with a spatula in order to soak up more liquid,
9. Repeat flipping the noodles and adding more water as necessary (up to 2 more cups or so), until the noodles are soft and can be tossed with tongs.
10. Once softened, let the noodles cook for another 15 minutes or so, tossing them occasionally in the sauce.
11. Add the tofu, the bean sprouts, peanuts, cilantro, and scrambled egg, mixing to thoroughly combine, tasting and adjusting the seasonings if desired.
12. Serve immediately, garnishing with additional peanuts, cilantro, and lime wedges.
Source: Vegetarian Entrees That Won’t Leave You Hungry by Lukas Volger.


Miss Messy - Looks amazing. I love love love pad thai, but have never tried making it. This looks like a winner recipe 🙂
Annie @ Annie's Cooking Lab - I love pad thai too, but I’ve never tried making it at home. Partially because the ingredient list always seems so long. This recipe looks great though and it doesn’t require any obscure ingredients which is awesome! I’m looking forward to trying this!
All that Glisters - I’ve always wanted to cook thai food at home but I’ve never got round to it, I love how it smells so fresh and fragant. I need to make this! I was wondering if you have to buy chili paste or can you just blitz chilis?
from Emily x
Katrina @ Warm Vanilla Sugar - Love a good pad thai!
srlacy - Hey-
I’m going to show my ignorance here…I’m not sure what bitzing chilis is…I assume drying/grinding? Educate me! 🙂
Meghan - Shanon, I love the new look! The site looks great!
srlacy - Thanks Meghan! We are running a skeleton version of it now just so people could access the recipes. I’ve got a lot of work ahead of me today still, but hopefully the complete site will be finally launched tomorrow!! Yay! So much hard work and time…and now it will look a lot nicer!
Classic Pad Thai - Can Cook, Will Travel - […] can be found on The Curvy Carrot site here.) Step by Step […]
Patricia Bachhuber - I’m going to make this!
Chicken Pad Thai | tastes.of.juniper - […] Source: Slightly Adapted from: The Curvy Carrot […]
Jaime - This looks amazing. I’m eating sugar-free right now–any suggestions as to what I could sub for brown sugar?
srlacy - Hi Jaime-
Usually a quick Google search can help with this type of question. Here’s link that I found: http://www.ehow.com/info_8658381_natural-sugarfree-substitutes-brown-sugar.html
I’m not sure of you are avoiding these types of sugars, but, if you are, I would just omit the brown sugar completely and see how it turns out. I do not know how honey or agave would do in lieu of the brown sugar in this recipe.
Fran r - Just found your site and love it Do you send out emails with updates? If so,please included me Thank you, fran
srlacy - Hi Fran-
Nice to meet you! I wish I did send email updates, and actually my web designer tried to set that feature up, but it doesn’t work for some reason. I usually try to post new things on Tuesdays and Thursdays since it seems to work better with my work schedule. Thanks for the comment! 🙂
Chi - Sounds awesome. I’m definitely going to try this soon. I also hate getting a bunch of ingredients for just one recipe, that ends up using very little of those items.
Quick note, on step 4 did you mean “simmering”? Lol. I like the slip though, it still kind of works.
anne - Made it tonight without the eggs. Delicious!
Grayson - Shimmering is a real thing… not a slip up!
Cristen - I was going to make this in a few days and I was going over the ingredients to see what I need to buy. I noticed there is no garlic listed in the ingredients but in step 5 it says to add the shallots and garlic to the pan. So do you use garlic and if so how much? Thanks in advance!
srlacy - Hi Cristen-
Thanks for catching that mistake! I have updated the recipe for you-the garlic is in there now. I hope you like it! 🙂