Herbed Spinach Dip

Spinach Dip.  It’s good for you.

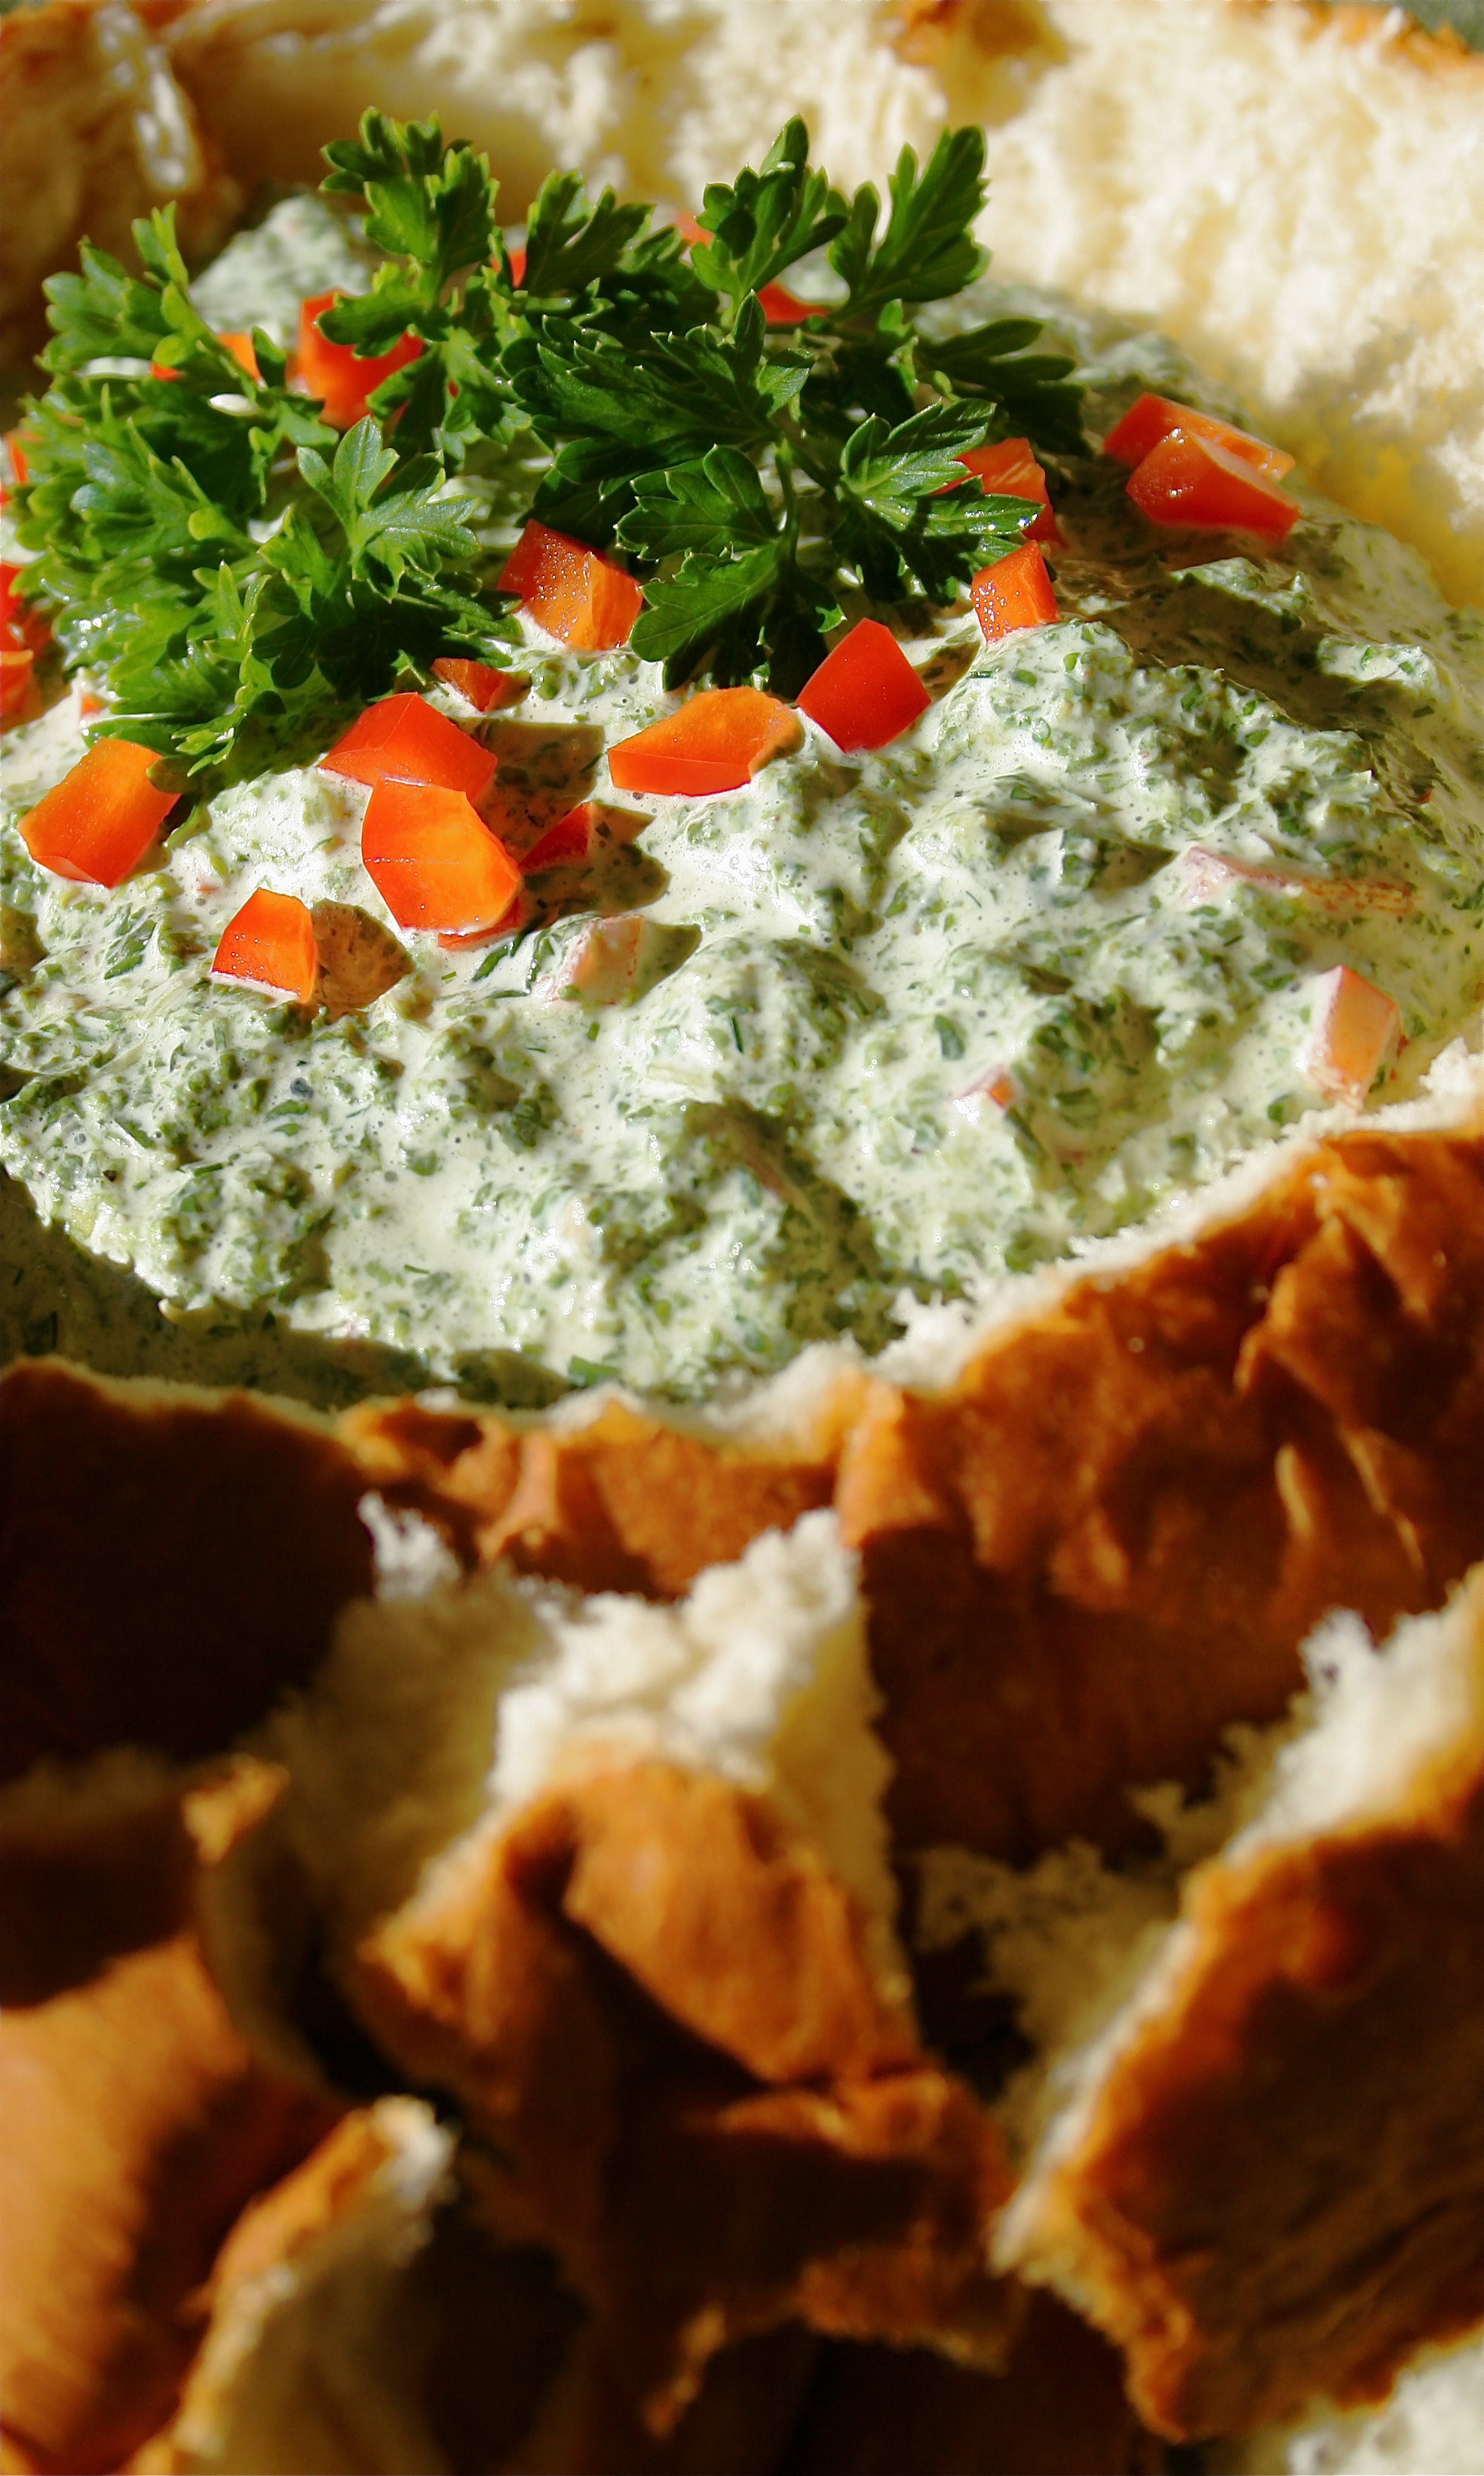
My super creative, fun, and inspiring friend Jenny B. threw a party one weeknight, and I brought this dip over to her house as a little thank-you for hosting.  I had tasted some similar spinach dip at a Fourth of July party, and I was craving more.  Honestly, I was in a rush when I got home from work (had to stop at the store on the way home to get the fresh herbs), and I had approximately 25 minutes to prepare the dip, take some pictures, rummage through my closet (Jenny was throwing a Clothes Swap and Donation Party), and get a cookie order together that I had prepared for a friend.  I was able to do all of it.  This dip took such a short time to prepare, and it was simple.  It also tasted pretty good, if I do say so myself. 😉

Herbed Spinach Dip

1 10-ounce box frozen chopped spinach

1/2 cup sour cream

1/2 cup mayonnaise

3 medium scallions, white parts only, sliced thin

1 tablespoon chopped fresh dill leaves

1/2 cup packed parsley leaves

1 small garlic clove, minced or pressed through a garlic press

1/4 teaspoon hot pepper sauce (I used sriracha, and I added WAY more than a teaspoon, just because I love it so much-just add to taste)

1/2 teaspoon salt

1/4 teaspoon ground black pepper

1/2 medium red bell pepper, cored, seeded and diced fine

Chips or bread for serving (I used a Hawaiian bread bowl…..ummm delicious…and some garlic pita chips)

Extra parsley/red pepper for garnish, optional (but it looks so much better with it!!!)

1. Thaw the spinach in a microwave for 3 minutes at 40 percent power (The edges should be thawed but not warm; the center should be soft enough to be broken into icy chunks.) squeeze the partially frozen spinach of excess water.

2. In a food processor, process the spinach, sour cream, mayonnaise, scallions, dill parsley, garlic, hot pepper sauce, salt, and pepper until smooth and creamy, about 30 seconds. Transfer the mixture to a serving bowl and stir in the bell pepper; serve. (The dip can be covered with plastic wrap and refrigerated for up to 2 days.)

Adapted from The Best New Recipe.

June 25, 2013 - 4:10 am

glenn - All your food looks and sounds awesome! I’m going to try this dip soon. Yum! Aloha 😀

Buttermilk Waffles

Sometimes I eat breakfast for dinner.  Someone once told me that it was wrong to eat breakfast for dinner, and so then I never did.  But then, one day I realized that someone telling me that it was wrong to eat breakfast was just WRONG…because breakfast for dinner can be so RIGHT!  Am I the only one who eats breakfast for dinner?  I would like to think not….

Anyways, I had all this buttermilk sitting in my fridge from when I made the Ranch Dressing, so I knew I needed to use it all up.  So, then this recipe was what ended up being my dinner for the night.  I hadn’t had waffles in probably years.  And they were delicious.  It only took me about 15 minutes total to prepare the meal…in my book, that’s perfect for a weeknight dinner (or breakfast……).

Buttermilk Waffles

Makes 6 to 8 waffles

2 cups all-purpose flour

2 tablespoons yellow cornmeal (optional)

1 teaspoon salt

1/2 teaspoon baking soda

1 3/4 cup buttermilk

4 tablespoons unsalted butter, melted and cooled

2 large eggs, separated

Pinch cream of tartar

1. Heat the waffle iron according to the manufacturer’s instructions.  Adjust an oven rack to the middle position and heat the oven to 200 degrees.  Set a wire rack over a baking sheet and set aside.

2. Meanwhile, whisk the flour, cornmeal (if using), salt, and baking soda together in a large bowl.  In a medium bowl, whisk the buttermilk, melted butter, and egg yolks together.  In another medium bowl, whip the egg whites and cream of tartar together with an electric mixer on medium-low speed until foamy, about 1 minute.  Increase the speed ro medium-high and whip the whites to stiff peaks, 2 to 4 minutes.

3.  Make a well in the center of the flour mixture, pour the buttermilk mixture into the well, and gently whisk together until just incorporated with a few lump remaining (do not overmix). Carefully fold in the whipped whites using a rubber spatula until just combined with a few streaks.

4. Spread the appropriate amount of batter onto the waffle iron and cook until golden brown, about 3 1/2 minutes.  Transfer the waffles to the wire rack (don’t overlap), cover with a clean kitchen towel, and keep warm in the oven.

5. Repeat with the remaining batter.  Before serving, remove the towel and let the waffles crisp in the oven, about 3 minutes.

Adapted from The America’s Test Kitchen Family Baking Book.

July 20, 2010 - 3:24 pm

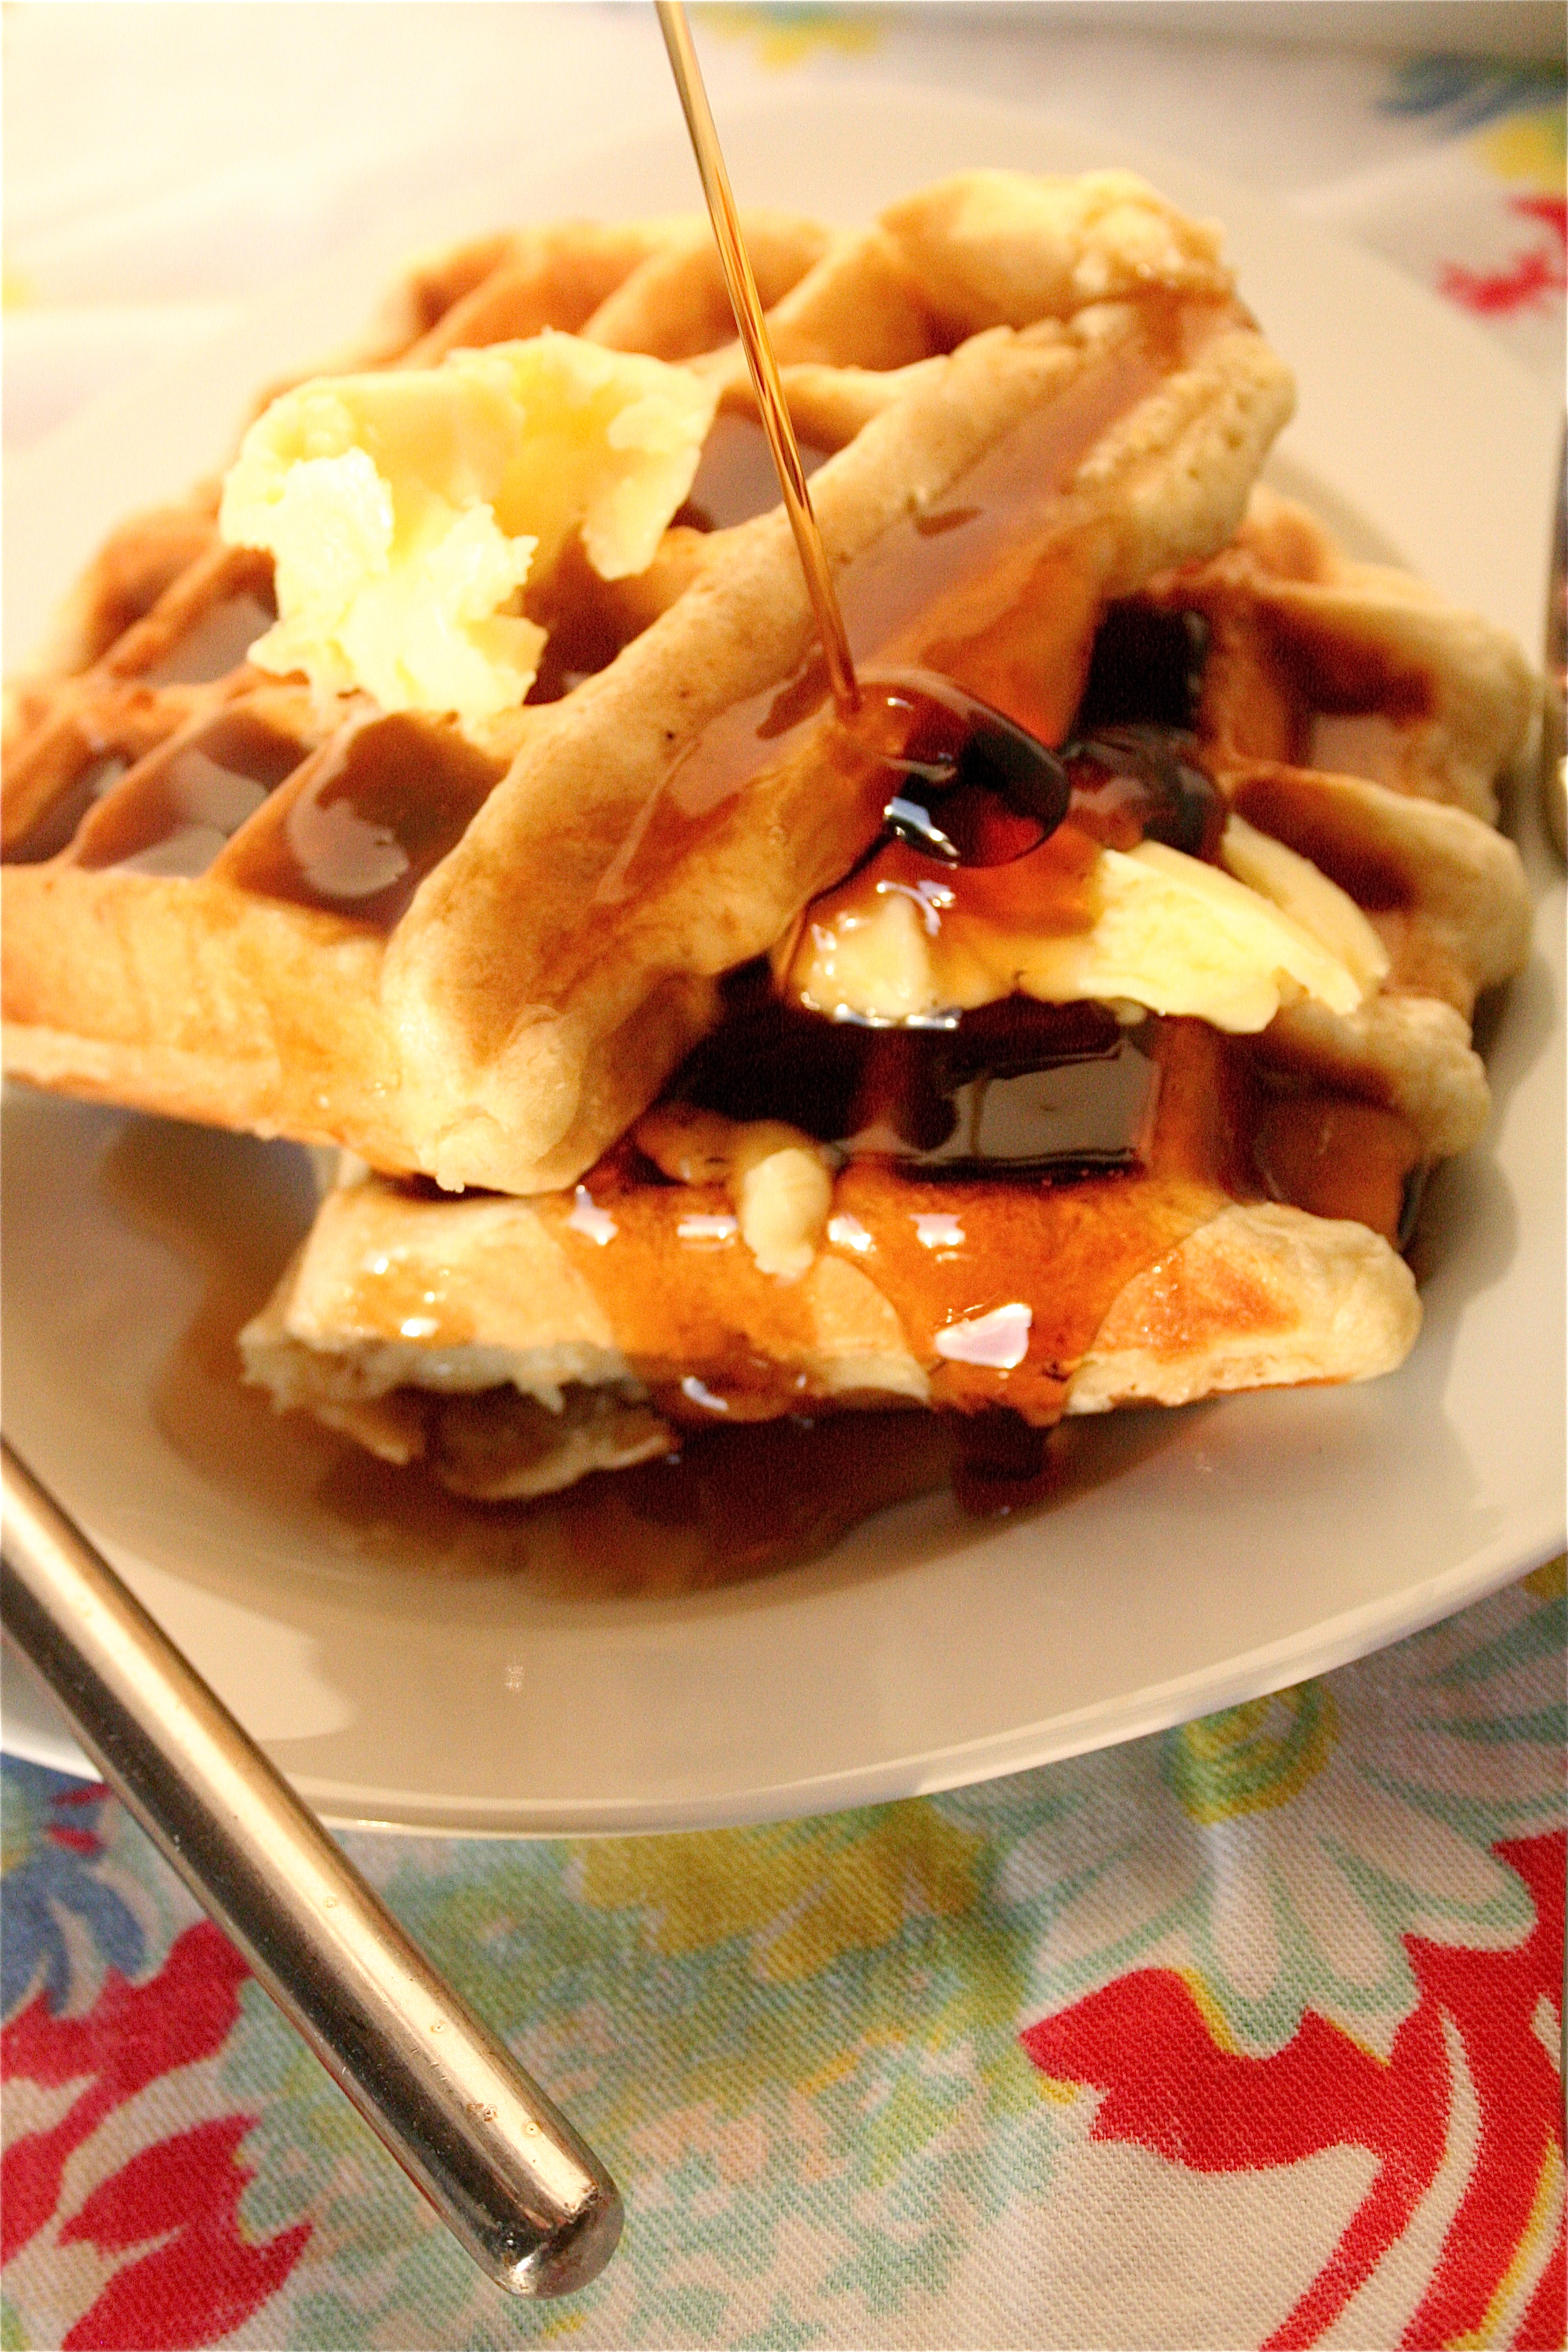
Katy - Breakfast for dinner is SO RIGHT! Yum! And I love the action shot with the syrup.

July 21, 2010 - 12:25 pm

Anne's Kitchen - Ahhh, every time I see waffles I go crazy! I want a waffle maker! Want, want, want!

August 7, 2010 - 9:37 pm

Melissa - I love breakfast for dinner. It was a tradition in my household growing up! Those waffles look amazing. I will have to get some on my waffle iron. Do you think they would work on a belgian waffle iron?

August 7, 2010 - 9:43 pm

srlacy - Hi Melissa!
They will definitely work with a Belgian waffle maker!
Thanks for the comment…I love breakfast for dinner, too. I hardly ever get to eat a real breakfast anymore, so dinner is my prime time to re-create it.
Shanon

June 21, 2012 - 10:11 am

Jesylee - This did not turn out the way I was expecting. The batter was a paste and the waffles were tasty but dense; not fluffy like I thought they would be. I must have done something wrong. 🙁

Grilled Corn with Garlic Butter and Cheese

One of the best things about living in Indiana in the summer is the fresh sweet corn.  You can get ears of corn for $0.25, sometimes even less, so it’s a staple here for us Hoosiers.  Every summer cook-out from here on out usually has it, and the beauty of corn is that there are so many different ways to prepare it.  I’ll probably be featuring many more recipes of corn before the summer is out!

This one was especially delicious. I went to a cook-out earlier this summer where the hosts prepared the corn in a way very similar to this-and I couldn’t get over how simple it was.  I’m not sure if they used the same recipe, but, either way, I have found another go-to recipe for changing up my corn menu, that’s for sure!

Grilled Corn with Garlic Butter and Cheese

Serves: 8

6 tablespoons unsalted butter

1 garlic clove, minced or pressed through a garlic press

8 ears fresh corn (do not remove the husks yet!)

1/4 cup freshly grated Parmesan cheese

Salt

Fresh herbs for garnish, optional (I used cilantro, and it was great!)

1. Melt the butter in a 10-inch skillet over medium heat.  When the foaming subsides, add the garlic and cook until fragrant, about 30 seconds.  Remove the pan from the heat.

2. Grill the corn over a medium-hot fire (you should be able to hold your hand 5 inches above the cooking grate for 3 to 4 seconds), turning the ears every 1 1/2 to 2 minutes, until the dark outlines of the kernels show through the husks and the husks are charred and beginning to peel away from the tip to expose some kernels, 8 to 10 minutes.

3. Transfer the corn to a platter.  Carefully remove and discard the charred husks and silk.  Using tongs, take each ear of corn and roll it in the garlic butter.  Sprinkle each ear with a portion of the cheese and serve immediately with salt to taste.

Adapted from The New Best Recipe.

July 19, 2010 - 8:00 pm

Julia - Yumm!! I’m enjoying reading your blog, Shanon! 🙂