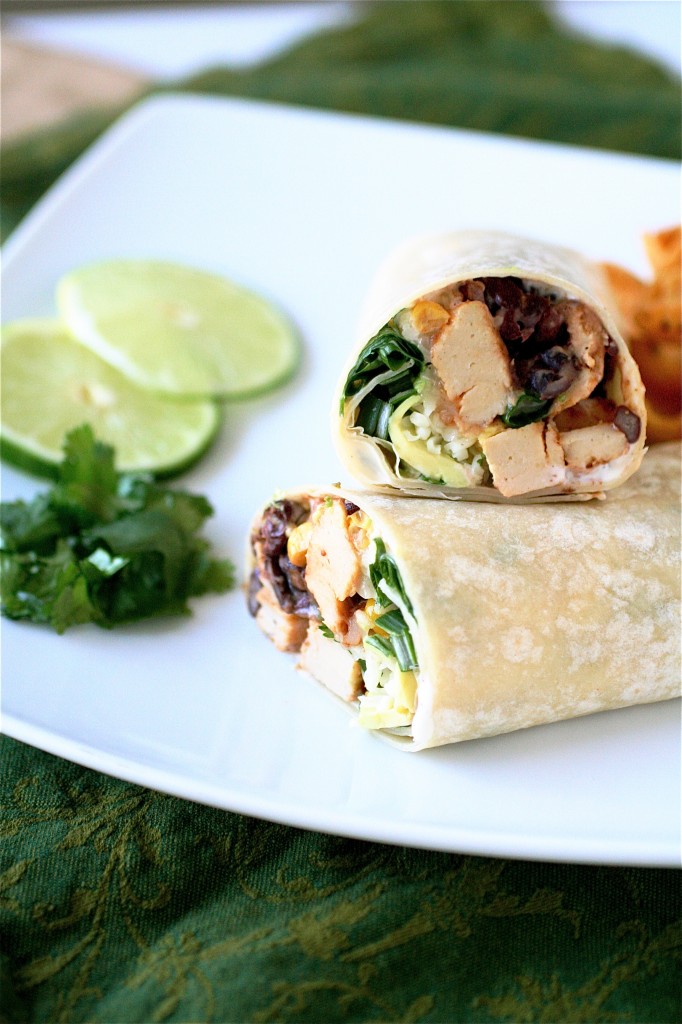
Southwestern “Chicken” Wraps

For a lack of a better name, this was the only title I could come up with for this hearty wrap.  So if anyone out there has a better name, let me know and we can revise.

I made this wrap a few months back.  It was sort of an impromptu thing.  I had picked up yet another brand of faux chicken strips (this time I used Quorn brand…not too bad in my opinion…any thoughts?), had some fresh wraps in the fridge, and a whole lot of random frozen veggies/pantry staples that needed to be used.  That’s the beauty of wraps-pretty much anything can get tossed together, drizzled with a little Ranch dressing (or not, depending on your own preferences), and rolled in burrito-esque form.

I called it Southwestern because of the flavors I used..a little chili powder, some avocado, some lime.  It packed a little heat from the spices, but the addition of lime and a little Ranch cooled it down a bit.  The black beans added in some more protein.  And all the veggies?  Just a little more vitamins/nutrients to sneak in there.  And the best part?  I made enough for about 4 servings, so I had easy re-heatable leftovers throughout the work week.

Anyone out there for a margarita?
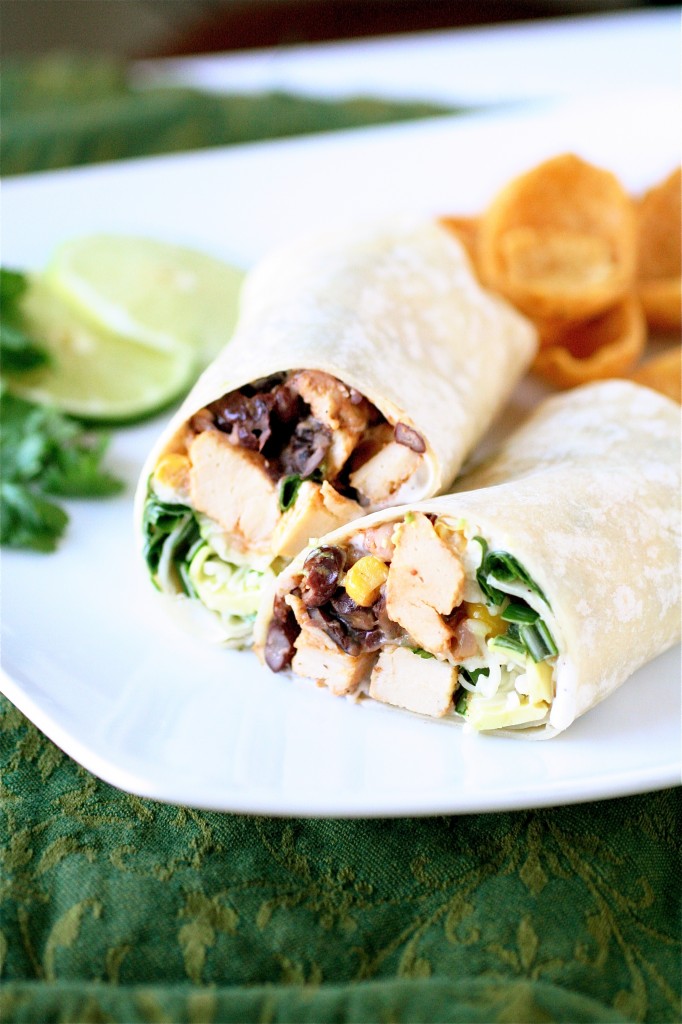


Southwestern “Chicken” Wraps

Servings: 4


Ingredients

4 large 10 or 12-inch wraps (I used a whole wheat, but feel free to use spinach, white, etc.)

Olive oil, for cooking (I used about 1/2 a tablespoon)

One 12-ounce bag chicken substitute, thawed

1/4 cup water

1 teaspoon chili powder

1 teaspoon cumin

Juice of one lime

One 15.5-ounce can black beans, drained and rinsed

1/2 cup frozen corn, thawed

1 cup spinach, chopped

Three green onions, chopped

1 avocado, thinly sliced

1 cup Monterey Jack cheese, shredded

Ranch dressing, for drizzle, if desired
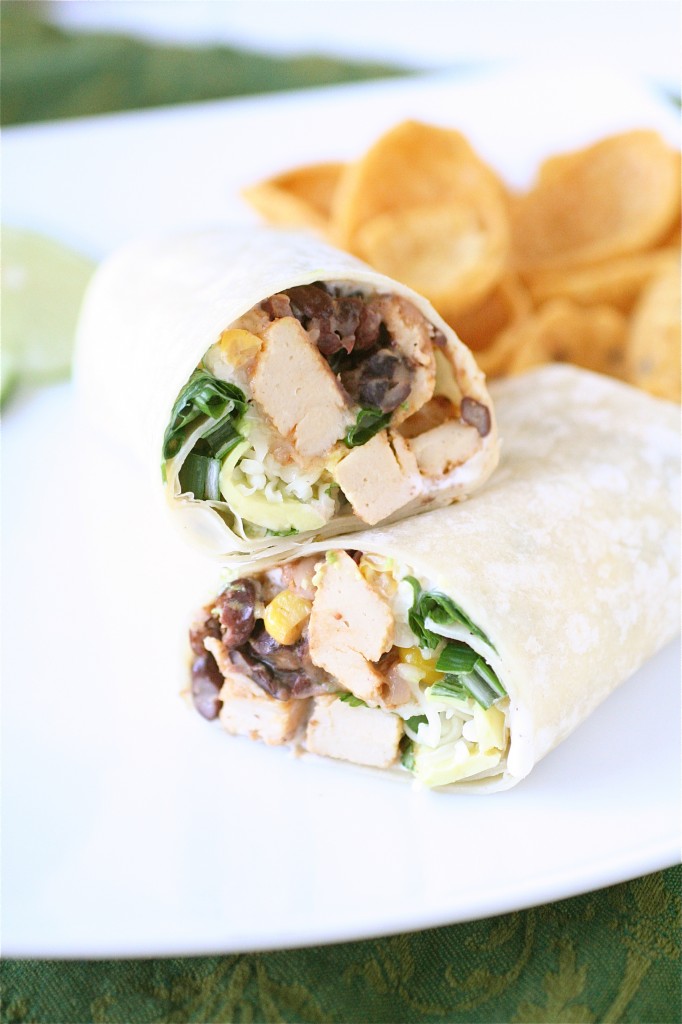


Instructions

1. In a sauté pan over medium heat, gently heat the olive oil (enough to thinly coat the bottom) until shimmering.

2. Add the faux chicken and cook, stirring frequently, until lightly browned, 1-2 minutes.

3.  Add the water, breaking up any browned bits on the bottom of the pan.

4. Add the black beans, chili powder and cumin, stir to combine, cover the pan and let cook, stirring occasionally, about 10 minutes.

5. Remove the cover and add the corn, mixing to combine.    Sprinkle the lime juice evenly over the mixture. Continue cooking until heated through, about 5-10 more minutes (most of the water should have evaporated at this point.)

6.  To prepare the wraps: Microwave the wraps for about 10 seconds to warm slightly.

7. Assemble each wrap by placing about 1/4 cup of the chicken/bean mixture, 1/4 cup spinach, 1/4 cup cheese.  Garnish each with green onion, avocado, and a drizzle of Ranch dressing.  Roll each wrap tightly and serve immediately.


Source:  A Curvy Carrot original.


April 15, 2012 - 12:41 pm

Lisa - This looks awesome. Haven’t tried Quorn yet, but it looks really good!

April 15, 2012 - 12:49 pm

Jeanette - this looks great! what brand of chicken substitute do you use?

April 15, 2012 - 1:04 pm

srlacy - Hi Jeanette-

I tried a new brand (to me, that is) this time. It’s called Quorn. I thought it was pretty good!

April 15, 2012 - 5:47 pm

Jeanette - Ahh okay! Thanks! 🙂

April 15, 2012 - 5:49 pm

Jeanette - I see now that you mentioned it in the post above but must have missed it earlier!

April 16, 2012 - 3:39 am

Nicola - Needs some color. Maybe add carrrots, tomato and sprouts and call it a Spicy California wrap?

April 16, 2012 - 9:40 pm

Chung-Ah | Damn Delicious - Yum! What a healthy, light lunch! This is just what I need – the baked goods have caught up with me :/

April 16, 2012 - 9:51 pm

Jamie - Looks delicious. I like Gardein brand of chicken substitute a lot.

April 30, 2012 - 2:50 pm

Ann P. - Wow this looks amazing! I am craving something hearty yet good for you, just like this. 🙂 this post and me were meant to be.

Peanut Butter Sandwich Cookies

This is another one from the archives…which I cannot believe that I never posted.  Ummm, hello?  Peanut butter sandwich cookies?

I’ve made my fair share of sandwich cookies, but I was a little tired of the soft cookie outside that I kept coming up with.  Instead, I wanted a crispy, almost savory-flavored cookie to hold in some creamy filling.

Enter Cook’s Illustrated magazine, which happened to make its appearance in my mailbox that day.  And, so, with my decision easily made for me, I stepped into the kitchen, bound and determined to come out with a crispy, peanut buttery sandwich cookie.

Since the cookies are made with toasted raw peanuts, they pack a lot of that savory flavor. (On the other hand, though, if you over-toast your peanuts, you could end up with some pretty icky cookies..so be careful.)  The peanuts also add an element of crunchiness to the cookie, so it wasn’t the soft, chewy kind of cookie that I was used to.  And the peanut butter filling? To die for.

Peanut Butter Sandwich Cookies

Servings: 24 cookies (12 sandwiches)


Ingredients

For the cookies:

1 and 1/4 cups raw peanuts, toasted and cooled

3/4 cup flour

1 teaspoon baking soda

1/2 teaspoon salt

3 tablespoons unsalted butter, melted

1/2 cup creamy peanut butter

1/2 cup granulated sugar

1/2 cup light brown sugar, packed

3 tablespoons whole milk

1 egg

For the filling:

3/4 cup creamy peanut butter

3 tablespoons unsalted butter

1 cup confectioners’ sugar


Instructions

1. For the cookies: Adjust the oven racks to the upper-middle and lower-middle positions, and preheat the oven to 350 degrees.

2. Line cookie sheets with parchment paper; set aside.

3.  In your food processor, pulse the peanuts until finely chopped.

4. In a medium bowl, whisk together the flour, baking soda, and salt.

5.  In the bowl of your standing mixer fitted with the paddle attachment, beat the butter, peanut butter, both sugars, milk, and the egg together on medium speed until smooth.

6. Reduce the mixer speed to low and add the flour mixture,mixing until just combined.

7. Using a rubber spatula, gently fold the peanuts into the cookie dough.

8. Using a cookie scoop or tablespoon measure, place 12 mounds of dough onto each baking sheet, gently flattening the mounds into evenly-sized discs.  (If you wet your fingers a little, this makes it easier.)

9.  Bake the cookies until golden brown, about 15 to 18 minutes, switching and rotating the baking sheets halfway through.  Let cool completely before filling.

10. For the filling:  Microwave the peanut butter until melted and warm, about 40 seconds.

11. In a medium bowl, mix together the melted peanut butter, butter, and confectioners’ sugar until smooth.

12. For assembly: Place about 1 tablespoon of the peanut butter filling on the center of 12 cookies.  Place the second cookie on top of the peanut butter filling (right side-up!) and gently press the cookies together.


Source:  Directly from Cook’s Illustrated, March and April 2012 issue.

April 13, 2012 - 5:47 am

Liz - Oh, yeah…these are worth digging out of the archives! YUM!

April 13, 2012 - 8:19 am

Blog is the New Black - Ohhhh, yes please!

April 13, 2012 - 6:14 pm

Christina @ This Woman Cooks! - Be still my heart! I’m swooning over these.

April 14, 2012 - 12:46 am

Claire - Yum! Do you have any preference on PB brand when baking?

April 14, 2012 - 12:47 am

Chung-Ah | Damn Delicious - Sandwich cookies are the best. After all, every baked good requires some sort of frosting 🙂

April 14, 2012 - 9:35 am

srlacy - Hi Claire-

That’s a good question, but, honestly, I don’t. If you have any recommendations, I would love to try them out! I’m sure someone out there has a favorite!

April 15, 2012 - 6:24 am

Angie@Angie's Recipes - I must make those too. They look crazily delicious!

April 15, 2012 - 9:01 am

myfudo - Love this for anytime-snacks! I am so into PB…This would be great for breakfast too!

April 16, 2012 - 8:51 am

Lisa Marie - Oh my yum! I totally need one of these.

April 16, 2012 - 6:33 pm

Erin @ The Speckled Palate - As someone who is a HUGE fan of peanut butter (and peanuts), I simply cannot wait to try these cookie sandwiches! They look and sound like a winner!

April 30, 2012 - 2:56 pm

Ann P. - don’t you just LOVE Cook’s Illustrated?! I got a subscription for Christmas, and had two new ones waiting for me when I got back from my trip. I’m definitely excited to try this recipe 🙂

January 30, 2015 - 7:16 pm

sonya - Just made these today, and WOW what a great cookie!!! I usually prefer a soft pb cookie (Cook’s Country’s Soft and Chewy Peanut Butter Cookies is the best soft pb recipe I’ve ever come across – also amazing!!). But these crunchy things stole my heart. So full of peanut butter flavor. The cinnamon-honey filling was especially amazing to me. I tried all of the fillings side by side and they are all great, I think I’ll make all three every time and divide them up 🙂

The Green Smoothie

I’m not usually a fan of smoothies, I have to admit.  As a nutrition science major in college, I always learned that drinking your calories isn’t the best way to get your vitamins; you need all those good things in the rind/seeds/pulp of the fruits and veggies, too to get the most bang for your buck.

But I’m blaming this post on a few giant burritos that I may have gorged upon a few weeks back while out of town for a conference.  I needed to bounce back to my usual, normal moderate American diet that consists of at least a few (hopefully) fruits and/or veggies a day and not a mountain of beans and cheese wrapped in a creamy sauce (but, seriously, those burritos were a long time coming and pretty awesome as they went down with a few margaritas.)

I had seen this recipe in the April issue of Bon Appétit, and I was a little skeptical to try it out.  For one, I’m not a fan of parsley.  But I love kale and berries, so that was a plus.  And, I knew I needed all the help I could get with taking in some great vitamins and nutrients.  So what if it was in liquid form?  Faster absorption, maybe?  I don’t know.  All I know is that I was really, REALLY surprised by this smoothie.  It didn’t have the (icky) taste of parsley, even though there’s a hefty dose of it in there.  And, even if it IS green (not my ideal color choice), it didn’t taste like something that should be green.  The berries really made it sweet and light-not too thick and texturally awkward, either.  So, the next time I have extra kale and random parsley in my fridge, this is where it’s going.

The Green Smoothie

Servings: 2


Ingredients

1/2 cup packed curly or flat-leaf parsley (leaves and stems)

4 large kale leaves, ribs removed

1 cup frozen mixed berries (or berries of your choice)

1 banana, chopped

1 teaspoon flaxseed (use either ground or whole.  *I prefer whole because I like the little bit of crunchiness it adds.)

1 cup water


Instructions

1. Combine all the ingredients in the bowl of your food processor or blender and purée until smooth.  Serve immediately.


Source:  Directly from Bon Appétit, April 2012.


April 11, 2012 - 9:48 am

Melissa @ Kids in the Sink - We’ve recently entered the realm of green smoothie and have been trying different flavors. I have been wanting to try a green other than spinach, but have been a little hesitant. I haven’t had much success with using water as the only liquid. Did you find that this held up to a true smoothie consistency? Our have come out too watery and bland unless we used milk and yogurt. I really like the idea of using berries though! Especially now that they are coming into season.

April 11, 2012 - 11:45 am

srlacy - Hi Melissa-

It definitely doesn’t have the thick, almost milkshake-like consistency of a lot of other kinds of smoothies, but I think you could adjust for the amount of water. I kind of actually liked the thinness of the liquid with this one, but I have issues with food texture to begin with, so it helped it go down for me.

April 11, 2012 - 3:24 pm

Jillian {Her Split Ends} - I totally agree with you on the not getting all the benefits of food if you don’t eat therind/seeds/pulp. I recently invested in a 3 horse power blender…so now i’m not only drinking lots of my fruits and veggies but i’m throwing in the seeds…the pulp and skin…all the good stuff!!

To your health
~ Jillian
http://www.hersplitends.com

April 11, 2012 - 11:39 pm

Crystal @ A Lovin' Forkful - I have been wanting to try a smoothie like this for a while now. I think I just finally found my recipe. I like the convenience of frozen berries. I usually always have extra parlsey on hand and it usually goes to my guinea pigs. They are gonna have to share. Thanks for the post!

April 12, 2012 - 4:19 am

Chung-Ah | Damn Delicious - All the cupcakes and muffins got the best of me so I’m on a bit of a health kick right now, which makes this smoothie perfect for my diet. Can’t wait to give this a try!

April 30, 2012 - 2:54 pm

Ann P. - Just got back into the states and gorged myself on ice cream and pancakes and candy. Looks like this smoothie for lunch in order!