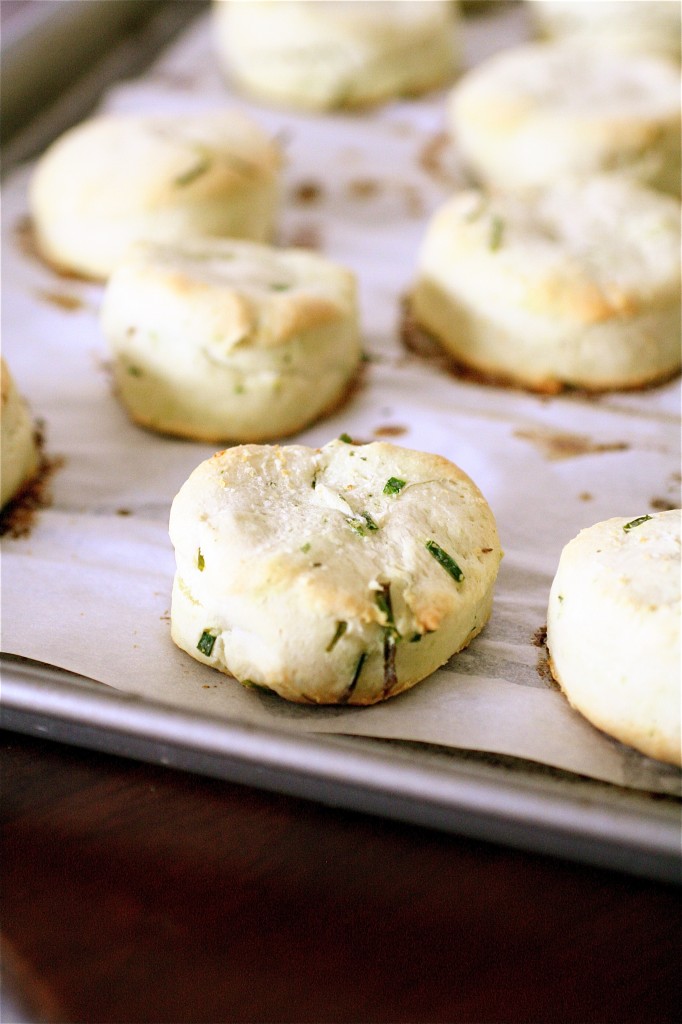
Buttermilk Chive Biscuits

Spring time means chives.  Fresh chives from my mom’s garden.  I have to say, right now that’s one of the biggest things that I miss (apart from my family and friends, of course) from Indiana.  It was so convenient to run outside and grab some fresh from the ground when I made my parents dinner during the past few years.  And, now, although I am in an apartment and don’t have access to my own garden, you can bet that when I move back to the Midwest in the coming months that a window herbal garden will be one of the first things I institute in my new place.  (hopefully it will also have a lot of windows and a nice kitchen…..)

I overbought some chives from the market and also happened to have some buttermilk on hand.  And, since I was making a nice huge batch of soup this past weekend (it was cold, gray, and even a sprinkling of snow flurries at one point), I figured some nice fluffy biscuits would be nice to go along with it.  And, believe me, these are pretty nice.  Soft and buttery with little flecks of chive flavor.  I decided to make some melted garlic butter and brush it over the tops of the biscuits as soon as they came out of the oven.  It completely added to the savory flavor.  These were great along side a soup, but I also ate them the next morning with some poached eggs.  Fantastic.
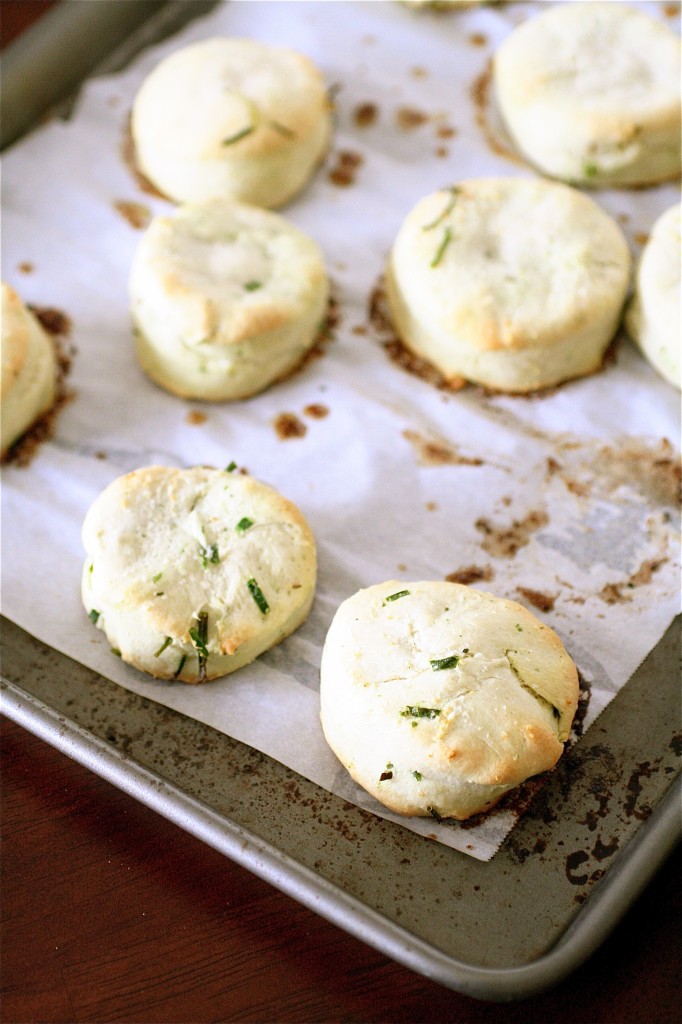
Buttermilk Chive Biscuits

Servings: about 18 biscuits


Ingredients

2 cups flour

2 tablespoons sugar

1 and 1/2 tablespoons baking powder

1/2 teaspoon salt

8 tablespoons (1 stick) cold unsalted butter, cut into 1 tablespoon pieces

1 whole egg

1 egg yolk

1 scant cup buttermilk

1/4 cup fresh chives, coarsely chopped

For garlic butter topping:

4 tablespoons (1/2 stick) unsalted butter, melted

1/4 teaspoon (or to taste) garlic salt
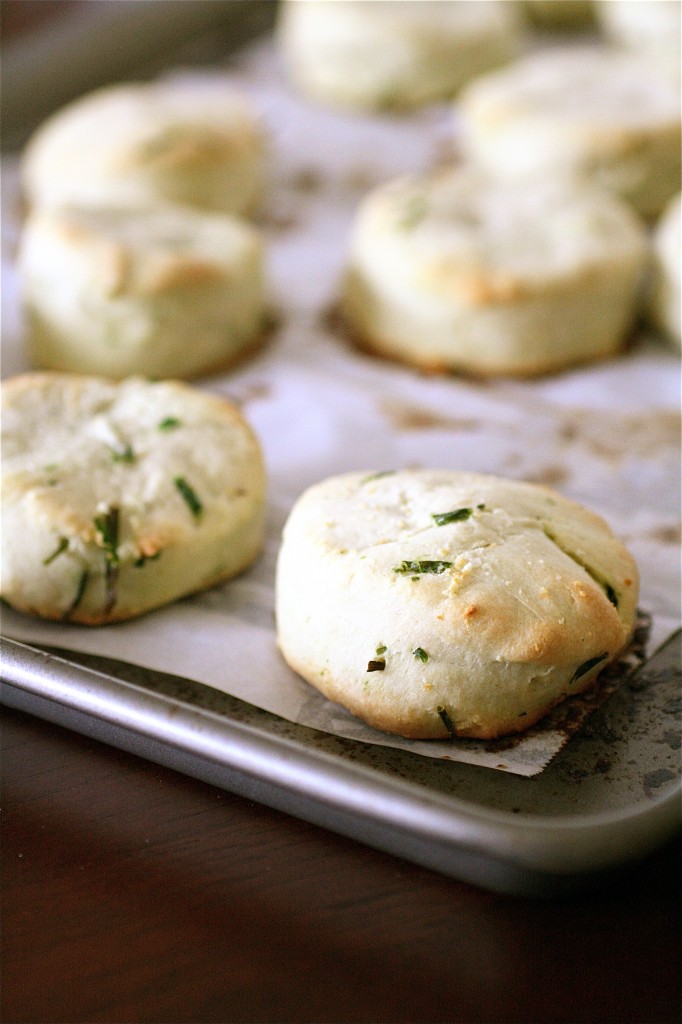
Instructions

1. Preheat the oven to 400 degrees.

2. Line a baking sheet with parchment paper.

3. In your food processor, pulse together the flour, sugar, baking powder, and salt until combined.  (You can also use your mixer instead.)

4. One at a time, add the butter pieces to the dry ingredients, mixing until the mixture resembles coarse sand.  (If doing by hand, use a pastry cutter.)

5. In a 2-cup measuring cup, whisk together the egg and egg yolk.

6. Add the buttermilk to the egg mixture to make a total of 1-cup of liquids.

7. Slowly add the liquid to the dry ingredients, mixing until just combined.

8. Add the chives to the dough.

9. Transfer the dough to a lightly floured and clean, flat surface and roll the dough out to a thickness of 1/2-inch.

10. Using a 3-inch round biscuit cutter, gently cut out rounds of dough and transfer them to the prepared baking sheet, re-rolling out the dough and cutting more rounds as necessary.

11. Bake until lightly golden, about 12-15 minutes.

12. For the garlic butter, whisk together the melted butter and the garlic salt.

13. Using a silicone brush, lightly brush the tops of each biscuit with the garlic butter once they are done baking.  Serve warm.


Source:  Originally from Williams-Sonoma, as seen on and adapted from Annie’s Eats.


April 3, 2012 - 11:21 am

Lora - ooh these are lovely. I adore chives and have some on my terrace just waiting to be used. Yum!

April 4, 2012 - 8:28 am

Clem - I’m dying to make these! thanks for the great idea

April 4, 2012 - 3:19 pm

Emily (New York, NY) - Ohh I want to make these! I’ll be honest – I usually just get the pre-paid, just have to bake, pillsbury biscuits. I could probably really impress guests if I made these -tasty! Hope to stay in touch via our blogs!

April 5, 2012 - 12:32 am

Claire - These look so yummy, especially with the chives!

April 7, 2012 - 7:51 pm

Sara - These look yummy! We live in a condo in Montana but I have herb pots outside, and my chives come back every year. They are almost harvestable!

April 30, 2012 - 3:16 pm

Ann P. - i would love to dig into one of these right now! chives are so tasty and in biscuits they’re even more awesome 🙂

Cream Cheese and Smoked Salmon Deviled Eggs

It’s Easter season.  Which equals lots of hard-boiled eggs.  If you are a fan of deviled eggs (which I know not everyone is), then this one might be right up your alley.

I’ve seen a lot of twists on deviled eggs lately:  buffalo chicken-style, fancy ones with caviar on top, and even hummus-filled ones.   And that’s the beauty of eggs in general-they pretty much complement any flavoring style.  And, after eating a few Philadelphia-style sushi rolls over the past few months, I have to admit that I thought a cream cheese and smoked salmon based deviled egg might be pretty tasty.  Growing up, we sometimes mixed cream cheese into our scrambled eggs, so I knew that combo was good.  I also knew that the salmon and cream cheese combo would be good (Philadelphia roll lovers rejoice!).  So, mixing them all together in portable, post-Easter, BBQ/baby shower/bridal shower forms, I knew I had to experiment.

Now, I kept the flavor profile here pretty straightforward, only adding a bit of flaky sea salt to the yolk base.  For my regular deviled eggs, I like to throw everything but the kitchen sink at it, but I wanted to keep it simple here. Feel free to add in your favorite herbs or spices here (I’m thinking a bit of garlic or onion powder might be pretty good).  And, if you want to keep it strictly vegetarian, omit the smoked salmon.  Play around with those leftover eggs.

Cream Cheese and Smoked Salmon Deviled Eggs

Servings: 24


Ingredients

12 eggs, hard-boiled, peeled, and halved vertically

One 8-ounce package of cream cheese, softened

1 teaspoon flaky sea salt

1/4 cup smoked salmon, coarsely chopped

1 avocado, thinly sliced (you will have leftovers…so make some guacamole.)

1-2 tablespoons fresh chives, chopped

Sesame seeds, for garnish

Salt and pepper, to taste

Instructions

1. In a medium bowl, combine the egg yolks and cream cheese, mixing until smooth.

2. Add the teaspoon of salt, mixing until thoroughly combined.

3. Using a spoon (or a piping bag attached to the tip of your choice), gently pipe the cream cheese/yolk mixture into each egg white.

4. Garnish each egg with smoked salmon, avocado, chives, and sesame seeds, as desired.

5. Season with salt and pepper, to taste.  Serve immediately.  If not using right away, be sure to cover the eggs tightly and store for up to 1 or 2 days.


A Curvy Carrot original.


April 1, 2012 - 12:20 pm

Suzi - I love these and what a beautiful presentation.

April 1, 2012 - 11:39 pm

myfudo - This will have to be in my Easter Sunday menu…Really perfect!

April 2, 2012 - 6:55 am

Medeja - They look very cute. Little and tempting! Great for any occasion!

April 2, 2012 - 12:55 pm

Bryan & YiRan - Wow, yum.

April 30, 2012 - 1:12 am

Ann P. - Very cool; i love how you were inspired by philadelphia rolls! 😀 It’s good to be back in the states, and catching up on all your posts!

March 28, 2013 - 12:21 pm

10 Deviled Egg Recipes | Today's Every Mom - […] a fancy way to dress up your deviled eggs!!  Click HERE for this […]

May 11, 2014 - 9:18 pm

BLT+Avocado Deviled Eggs | OrangespokenOrangespoken - […] Cream Cheese and Smoked Salmon Deviled Eggs from the Curvy Carrot […]

Black Bean Tacos with Red Pepper and Corn Salsa

Discovering this recipe was a little like a Hallejuhah!  I had been craving tacos recently, but I didn’t want to buy the “fake” ground beef for it. And I didn’t want to do a simple bean taco, either.  When I initially saw this recipe, I was actually quite intrigued because the idea behind it is pretty awesome.  Take some canned black beans (ok, healthy enough).  Add some rolled oats (um, ok.  Extra fiber).  Add a little cornmeal for consistency (got it.)  And then add a whole bunch of spices, mash it all together, and then BAKE it.  Bake it so that it is crumbly, filling, and devoid of icky grease.  And believe me, it has enough flavor to it so that if you didn’t want to add your own concoction of spices, it would still taste great (unlike some of those soy ground beef substitutes I have tried).

I tried the suggested red pepper and corn salsa to go with the tacos, but I added in some fresh tomatoes and extra flavors.  And, to keep it low-fat, don’t feel like you have to fry the corn tortillas, either.  I sprayed a little cooking spray on mine, lightly toasted them in a frying pan, and then sprinkled a little flaky sea salt on top before assembling the tacos.  And, for leftovers, I made nachos with the bean mixture. Fantastic!  I also topped my tacos with Monterey Jack cheese, but you don’t need the cheese if you are looking to make this a vegan recipe.

Is it Cinco de Mayo yet?

Black Bean Tacos with Red Pepper and Corn Salsa


Servings: 4

For the tacos:

3 cloves garlic, minced

2 15-ounce cans black beans, rinsed and drained

1/4 cup rolled oats

1/4 cup cornmeal

1 tablespoon chili powder

1 teaspoon salt, divided

1/2 teaspoon pepper, divided

8 corn tortillas (I used 6-inch)

For the salsa:

1 cup frozen corn, thawed

1 red bell pepper, seeded and chopped

1 jalepeno, seeded and chopped

1 medium tomato, chopped

3 scallions, chopped

Lime juice from two limes

1/4 cup cilantro, chopped

For the tacos:  cheese, sour cream, etc.


Instructions

1. For the tacos:  Preheat the oven to 400 degrees.

2. Generously spray a rimmed baking sheet with cooking spray; set aside.

3. Using your food processor, combine the garlic, beans, oats, cornmeal, chili powder, 3/4 teaspoon salt, and 1/4 teaspoon pepper, and process for about 1 minute, or until well-mixed.

4.  Crumble the bean mixture evenly over the baking sheet and lightly spray with cooking spray.

5. Bake for about 10-15 minutes.

6. After 10-15 minutes, lightly toss the beans to break up the crumbles more with a spatula.

7. Lightly spray the beans again with cooking spray and bake for another 10-15 minutes.

8. For the salsa:  Combine all of the ingredients in a large bowl, mixing well.  Cover until ready to use.

9.  For the tacos: Warm or lightly toast the tortillas as desired.  Fill each taco with a generous serving of the bean crumbles, followed by cheese (if using), and top with salsa.  Serve immediately.


Source:  Adapted from SELF magazine via Epicurious.


1

March 30, 2012 - 8:28 am

Jillian {Her Split Ends} - this sounds so YUMMY! Question…is the texture of the bean “crumbles” at all similar to a ground meat? I have a meat eater husband…but I think i could get these in the regular circulation 🙂

Cheers!
~ Jillian

March 30, 2012 - 8:40 am

srlacy - Hi Jillian-

It’s similar, but it’s definitely not the same. Softer and a little more mushy, in my opinion. Some people may not like the texture, but I also think it depends on how much you break up the crumbles when you bake it. If you like chunky, keep larger pieces together. I broke mine up into pretty small bits for the most part.

March 30, 2012 - 11:20 am

Michelle - This looks delicious! Do you think the bean crumble would freeze and reheat well? A friend of mine is about to have a baby, and I’ve been looking for meals to cook up and freeze for her to eat the weeks following the baby’s birth.

March 30, 2012 - 11:45 am

srlacy - Hi Michelle-

That sounds so nice of you to do that for your friend!

All I can say is that you can only try it-I’m starting to get the sense that most things freeze well, so it can’t hurt to try it.

March 30, 2012 - 1:48 pm

Julie @ Sugarfoot Eats - I definitely see these in my future!

April 2, 2012 - 8:01 am

Brenda - I’ve been craving food without meat “replacements” lately. I am going to try this. It sounds yummy.

April 2, 2012 - 2:24 pm

Emily (New York, NY) - Ohh these look yum and the “beef” replacement sounds interesting + yummy! I want to give it a try, thanks for sharing this idea!!

April 3, 2012 - 7:45 pm

Kalysta - Made these tonight – massive success! Substituted Panko for the cornmeal, but they were still delicious! Thanks for sharing!!

May 4, 2012 - 5:01 am
May 4, 2012 - 5:36 am

Amanda - This sounds delicious! I’ve been trying to find ways to get more black beans in (only recently tried them! I know…SHAME on me lol) and this is a definite try! Thanks so much!

May 11, 2012 - 1:24 am

Rather Be Baking « corn and pepper salsa - […] Corn and Pepper Salsa Barely adapted from The Curvy Carrot […]

October 1, 2012 - 10:45 pm

Sara - I found this recipe on Pinterest and saved it immediately. I have diet changes to make because of a health issue so I needed to find vegan/vegetarian based food. It also needs to be wheat free and gluten free as much as possible. We made these tonight and I loved them!! I have a huband who is a meat eater as well and he loved them, not to mention my almost 4 year old had two of them! Minus the cilantro and red peppers of course but none the less she liked them which I think is a huge thing for a toddler! Thanks for the recipe, I’ll be making it often!!