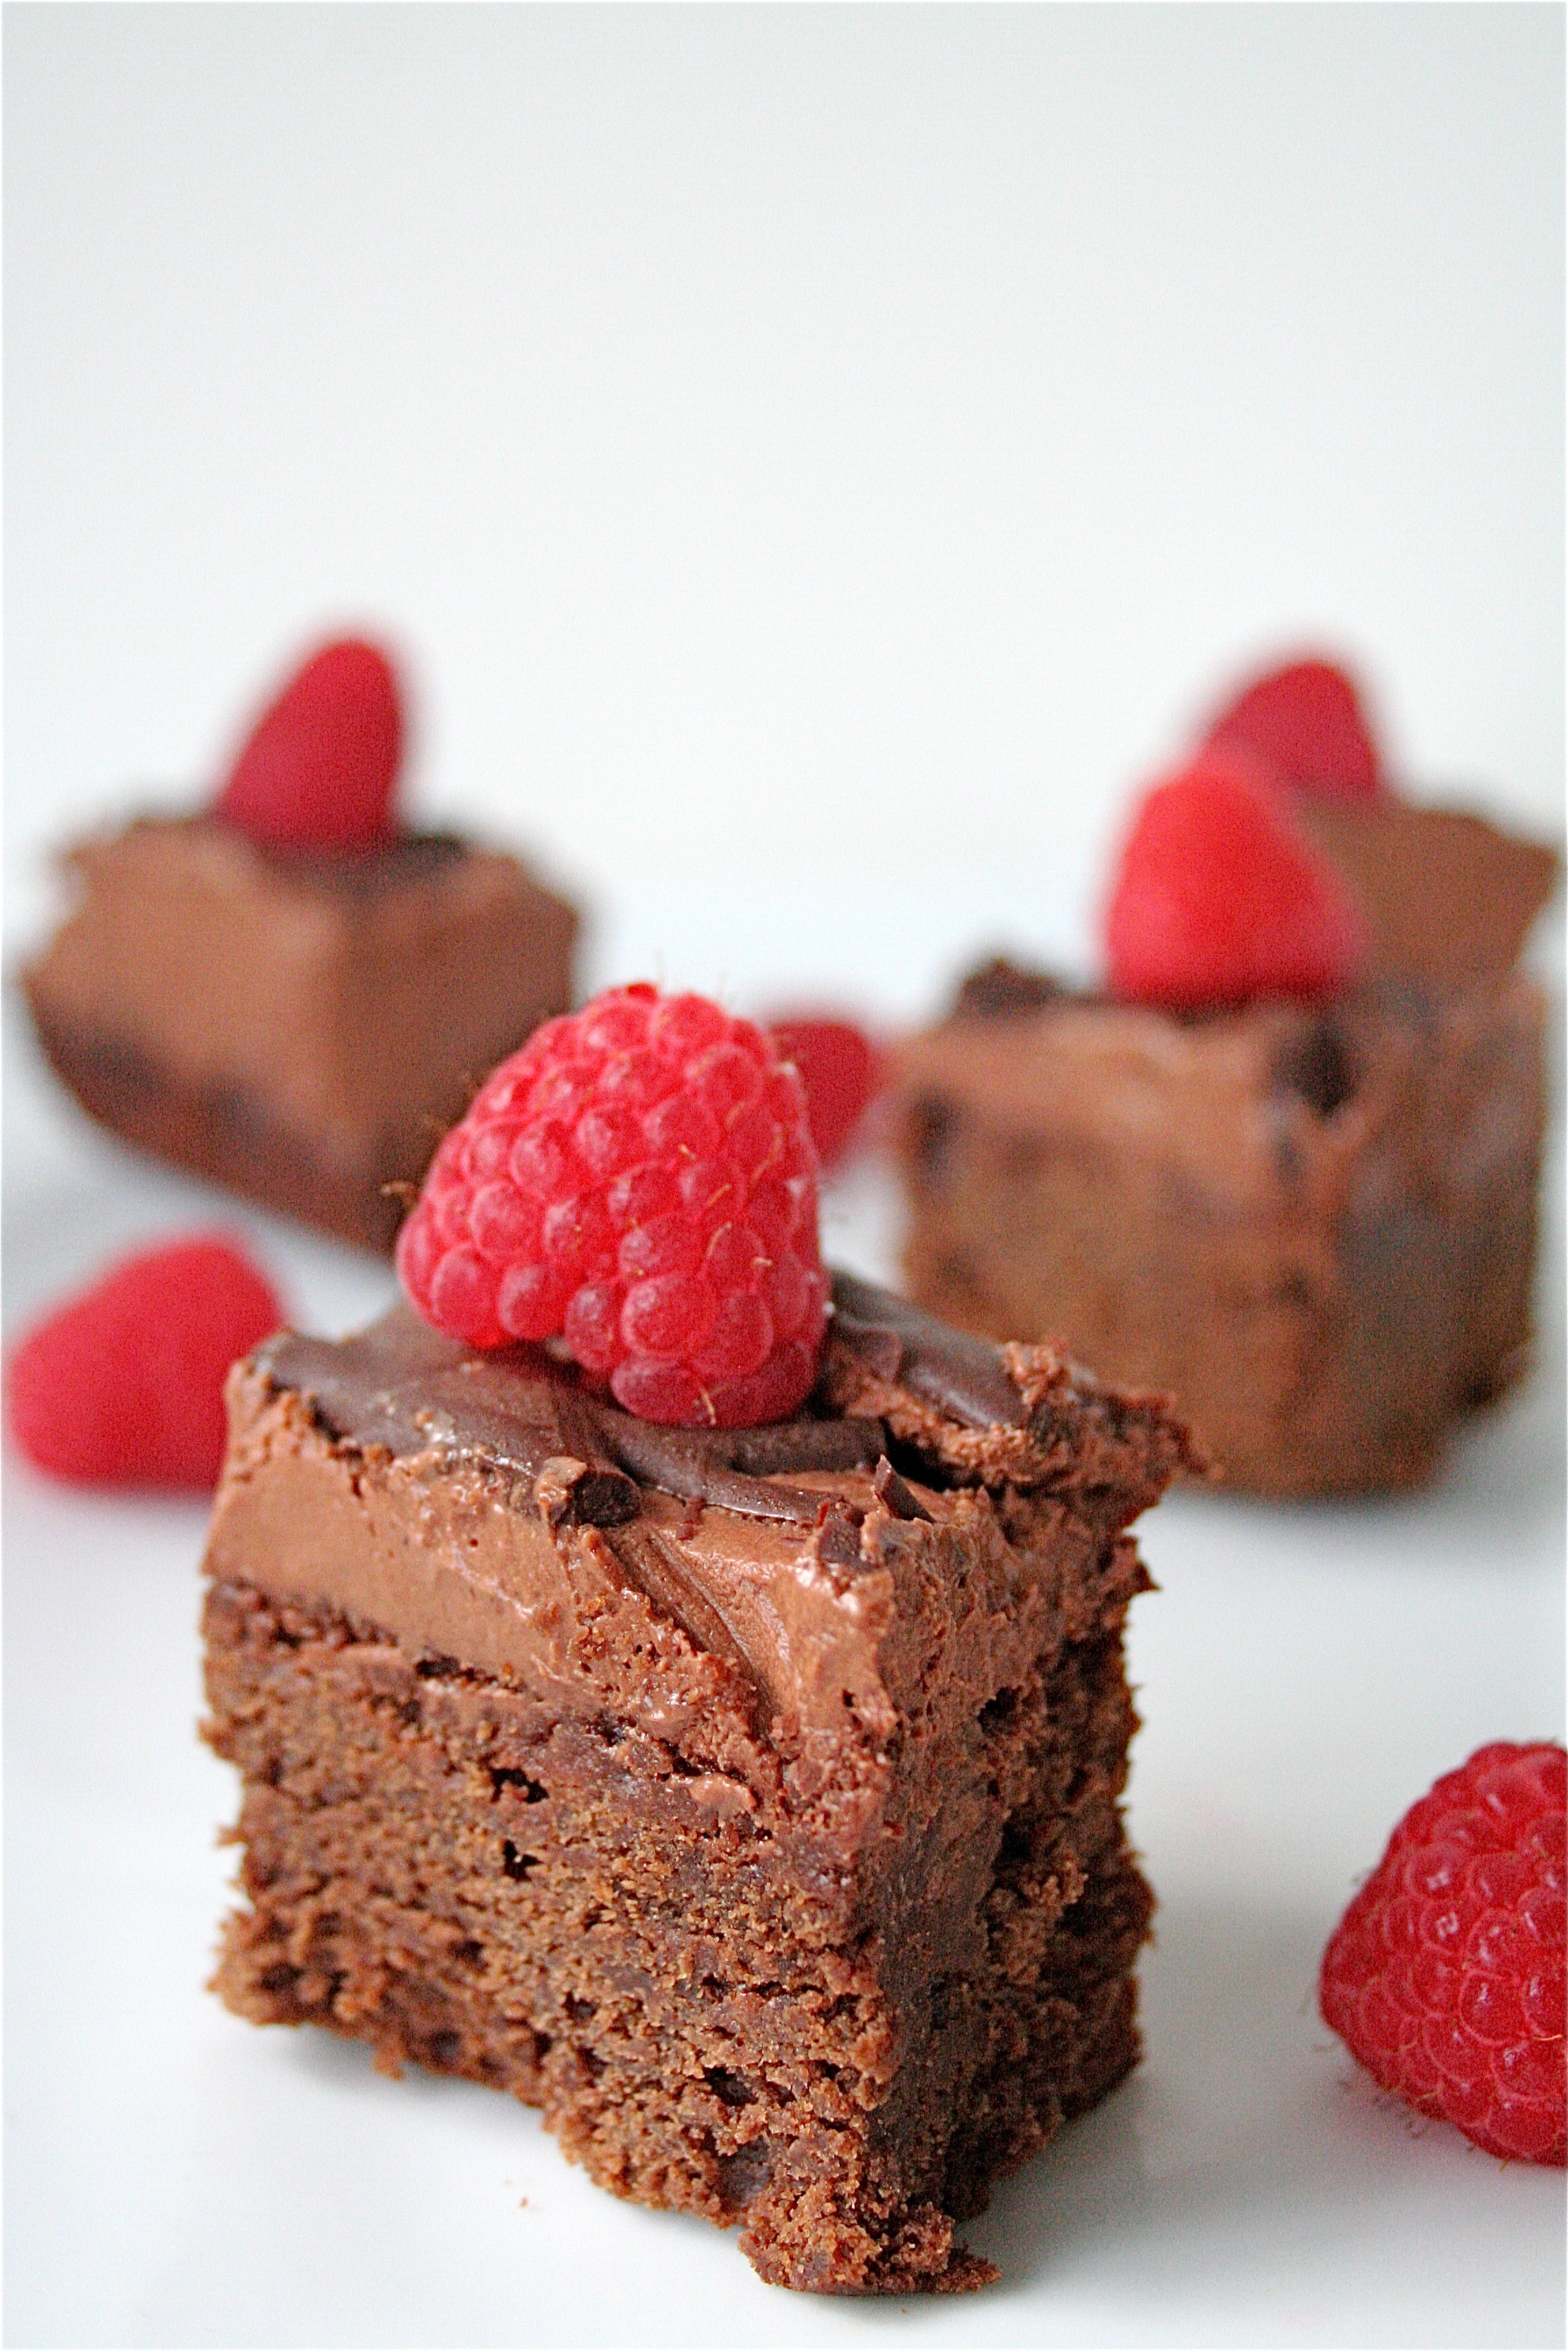
Chocolate Raspberry Truffle Brownies

Hello, True Love.

These are chocolate raspberry truffle brownies. I have been making this recipe since I was in high school.  It’s one of those recipes that I will always go back to…it’s seriously one of the best things I have ever tasted.  A decadent, rich brownie base with an overlying cream cheese/chocolate/raspberry truffle, and then….even a chocolate drizzle on top.  Top it off with a fresh raspberry for garnish, give it to a boy/girl, and he/she might just fall in love with you. 😉

I made these for a party that my friend Kelli and I recently hosted.  I made them the day before and stored them overnight in the refrigerator.  They keep well for a few days if kept cold (that is, if you HAVE any left over…..)  The addition of a little instant coffee really brings out the richness of the chocolate.

But, I have a confession to make.  The recipe calls for semisweet chocolate.  I accidentally grabbed a couple of bags of bittersweet chocolate chips….which I used for the truffle and the chocolate drizzle.  I had enough semisweet chips left in my pantry to make the brownie base, though.  I really liked the slightly less sweet version of the brownie with the bittersweet chocolate chips…believe me, these are sweet enough as it is.

Chocolate Raspberry Truffle Brownies

Servings: about 20 bite-size brownies

Ingredients

For the brownies:

1/2 cup unsalted butter (1 stick)

1 and 1/4 cups semisweet chocolate chips

2 eggs

3/4 cup light brown sugar

1 teaspoon instant coffee crystals

2 tablespoons water

1/2 teaspoon baking powder

3/4 cup all-purpose flour

For the filling:

1 cup semisweet chocolate chips

1 package (8 ounces) softened cream cheese

1/4 cup powdered sugar

1/3 cup seedless red raspberry jam

For the glaze:

1/4 cup semisweet chocolate chips

1 teaspoon shortening

Instructions

For the brownies:

1.  Pre-heat the oven to 350 degrees.

2.  In a heavy saucepan, melt the butter and chocolate chips over low heat until melted, cool slightly.

3.  In a large bowl, beat the eggs and the brown sugar until well-mixed.

4.  Dissolve the coffee crystals in the water, add to the egg mixture with the melted chocolate and mix ingredients well.

5. Combine the baking powder and flour in a small bowl; stir into chocolate mixture.

6.  Spread mixture into a greased 9-inch square baking pan.

7.  Bake at 350 degrees for 30-35 minutes, cool completely.

For the filling:

1.  Melt the chocolate chips and let cool slightly.

2.  In a mixing bowl, beat the cream cheese until fluffy; add the powdered sugar and raspberry jam-mix well.

3.  Stir in the melted chocolate until combined.

4.  Spread the filling evenly over the cooled brownies.

For the glaze:

1.  Melt the chocolate chips and shortening; mix well.

2.  Drizzle the glaze over the brownies.

3.  Chill the brownies before serving.

4.  Garnish with a fresh raspberry, kick your feet up, and be prepared to fall in love.

Adapted from Georgia (aka my mother), originally from Country Woman Magazine (original publication date unknown).

HAPPY BIRTHDAY MOM.  I LOVE YOU AND AM SO THANKFUL FOR YOU.  🙂

August 21, 2010 - 9:20 am

Chef Dennis - those are serious brownies!! the brownie almost looks like fudge, so rich and chocolaty! I love the truffle topping, what a perfect combination of flavors!

August 21, 2010 - 8:54 pm

Melanie - You take amazing photos! I can almost taste this brownie by just looking at the pic! Looks so rich and chocolaty 🙂

August 22, 2010 - 6:52 am

Jane Ko - YUM

I would like to invite you to participate in my $40 gift certificate giveaway http://atasteofkoko.blogspot.com/2010/08/mini-pistachio-tea-cakes-40.html

August 22, 2010 - 11:13 am

Cookin' Canuck - Now THESE are brownies! The truffle topping makes these really special.

August 22, 2010 - 6:41 pm

aunt carole - I can’t wait to make this truffle for my work potlucks.

August 23, 2010 - 1:17 am

Debbie - These look delicious, just added them to my recipe list I can’t wait to make some! Congrats on Top 9 too!

August 23, 2010 - 2:51 am

Sommer J - This looks amazing! I so want try this like now. This will definitely be something I try in the near future! Thanks for sharing!

August 23, 2010 - 7:55 am

Tonya @ What's On My Plate - a nice way to start off my morning! now i’ll be craving these all day.

August 23, 2010 - 8:26 am

Stella - Hey Shanon Lacy! Congrats on The F.B. Top 9. I saw these a couple of days ago on one of the photo sites, and noticed how wonderful they look, so now wonder;)
Glad to find your blog btw…

August 23, 2010 - 8:28 am

Kim - Liv Life - Oh my goodness!!! Your photo is amazing, and I can imagine exactly how these will taste. This is my kind of dessert and will be moved to the top of my “must try” file. Nicely done!

August 23, 2010 - 12:16 pm

ezsrecipes - Wow, these look and sound so utterly delicious. I’ve really gotten into baking lately. I might just have to give these a try!

August 23, 2010 - 1:02 pm

kate - omg yo’ve just made my dream!!!! i love this combination. COPYING!! 😛

August 23, 2010 - 2:11 pm

Angel - HOLY YUM!!!!

August 23, 2010 - 2:12 pm

CheeseGoddess - I NEED TO EAT THESE! I do wonder how this is healthy though!! 😛

August 23, 2010 - 3:30 pm

foodlvr - I can almost taste these right through the monitor. Serious chocolate fix! They sound just delicious. Thanks for sharing your food memories and these wonderful brownies.

August 23, 2010 - 6:30 pm

MummyPages.ie - Wow – these look gorgeous – your photography is just beautiful. Well done on top 9.

August 23, 2010 - 9:40 pm

Christina - Shanon these look fabulous!! I will have to try these awesome brownies. Congratulations on making the top 9 today! 🙂

August 29, 2010 - 3:41 pm

Patty - These sound and look amazing!

August 31, 2010 - 5:11 am

Caramel Corn « The Curvy Carrot - […] Chocolate Raspberry Truffles […]

August 31, 2010 - 10:27 pm

Marie - Literally made my mouth water. This looks like a great recipe, especially for all the chocolate lovers. I love your website and I know you have put a lot of time and effort into your fabulous creations. Your pictures are amazing, as well as the rest of your website. Keep it up! :]

September 7, 2010 - 6:11 pm

Jenny (VintageSugarcube) - Those look amazing!! I have never seen a recipe for a frosting quite like yours. I can not wait to make these!!

January 4, 2013 - 10:11 am

Raspberry Truffle Brownies | Tide and Thyme - […] adapted from The Curvy Carrot via Cooking […]

February 8, 2013 - 7:06 pm

Raspberry Truffle Brownies | Best Friends For Frosting - […] Originally from The Curvy Carrot […]

February 1, 2014 - 7:01 am

Things We Love : Valentine’s Day | The Laundress Blog - […] – check out this delicious recipe for a delicious and healthful indulgence.     1. TheCurryCarrot.com Chocolate Raspberry Truffle Brownies | 2. LAUNDRESS Le Labo Rose 31 Signature Detergent | 3. LAUNDRESS Lady Scented Drawer Sheet | 4. […]

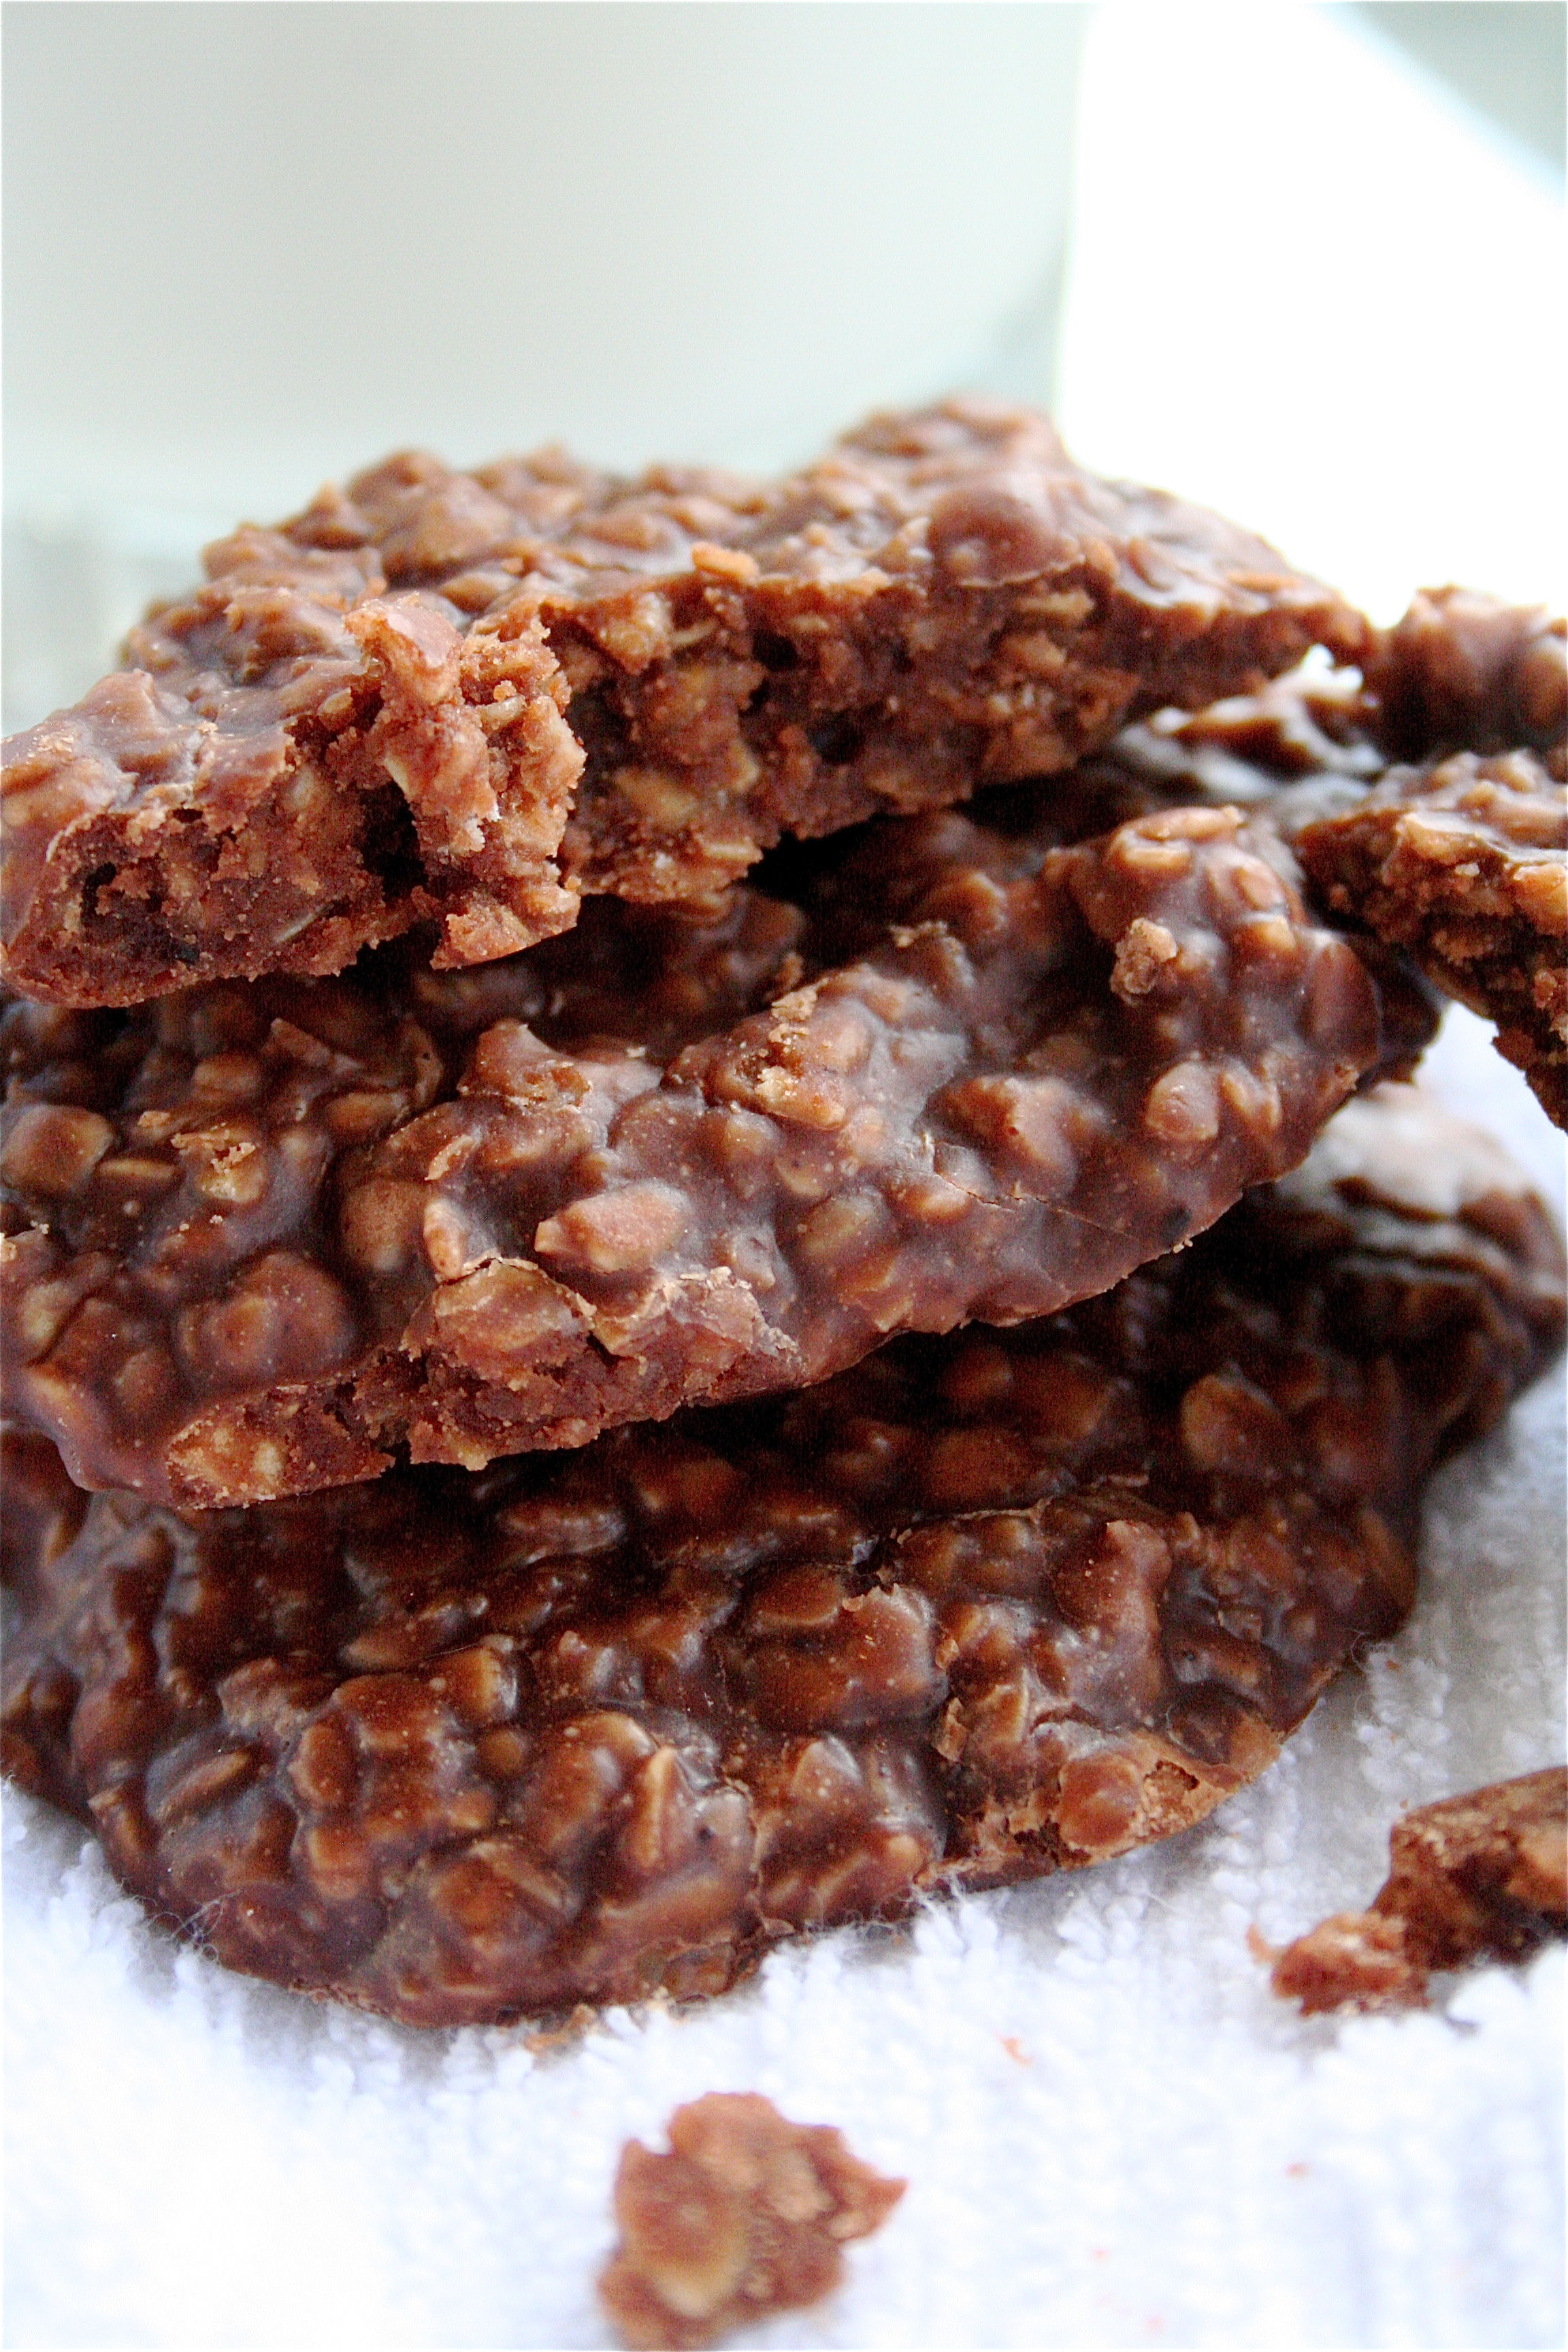
Chocolate No-Bake Cookies

I have Ali, of gimmesomeoven, to thank for these.

When I was little, my grandmother had this recipe for a cookie that she would always make for me when visiting.  She called them “No-Bake Cookies.”  I never understood how they could be a cookie and not be baked.  Of course, I was about 4 years old, so a lot of things really didn’t make sense, but the one thing that was clear to me was that these cookies were my favorite thing that she ever made.

And then, when I was in school and didn’t have access to my grandmother’s handwritten recipe cards, I found Ali’s recipe online.  Speaking of, you must check out her website.  Amazing photography.  Amazing recipes.  I’ve made several things from her website, and I still have several things bookmarked.  I am very thankful that she is letting me feature her recipe on my blog.  Her recipe is simple, straightforward, and, most of all, delicious!

Anyways, the nice thing about this recipe is that you probably already have everything that you need in your pantry.  The ingredients are easy to mix together, taking maybe a total of 15 minutes.  I like to think that they are somewhat healthy (you know, they have OATMEAL in them), but, I’ll let you decide for yourself.

Chocolate No-Bake Cookies

Makes approximately 25 cookies (depending on how big you want them)

Ingredients

1/2 cup (1 stick) butter

1/2 cup milk

2 cups sugar  (sometimes I add only 1 1/2 to 1 3/4 cups sugar.  You know, so I can think that they are better for me 😉 ).

1/4 cup unsweetened cocoa

1/2 cup peanut butter

1 tsp. vanilla

3 cups quick oats

1. In a saucepan over medium-high heat, melt butter.

2. Add milk, cocoa, and sugar to melted butter and mix well, bringing mixture to a boil.

3. Boil for 1-2 minutes; remove from heat.

4. Stir in peanut butter and vanilla, mix well.

5. Add oats and stir until fully combined. (I recommend using a wooden spoon as the mixture will be extremely thick and heavy.)

6. Drop by spoonfuls onto waxed paper, let cool.  The cookies will harden as they cool.

The next time I make these I am going to experiment with adding some dried cranberries or other dried fruit.  I think it might be amazing.

Adapted from gimmesomeoven.

Don’t eat too many!

August 19, 2010 - 12:49 pm

jejune - Oh my..now I am hungry!

August 19, 2010 - 3:33 pm

Michelle - These are very good! I usually make them with carob powder and honey instead of the sugar and the chocolate, so then they are healthier? Also, I’ve seen them made with your recipe, but leaving out the cocoa, so just peanut buttery, which is kind of fun!
Thanks for posting!

August 19, 2010 - 3:52 pm

Sabrina - My mom makes these too, and I made them yesterday. They’re my favorite. Same recipe too.

August 19, 2010 - 7:06 pm

Rachael - I love these cookies. A friend gave me an identical recipe earlier this year and and have made them a couple of times since. You definitely don’t need to use 2 cups of sugar, I think I used 1 cup the last time. I used regular oats too and those worked fine. I like to make them into bars so that it cuts the work significantly but the payoff is still the same!

August 20, 2010 - 1:58 pm

Joan - I love these. My mom used to make these in the 60s for us. We called them “gooey cookies”. 🙂

August 22, 2010 - 12:55 pm

Gretchen - I loooooove no bakes!!! I have been using the Roselyn Bakery recipe which is pretty similar. Yummmm!

August 23, 2010 - 4:24 pm

Annabelle - “Chocolate, peanut butter, and oatmeal-what else do you need?”

Silly goose, of course you need BUTTA!!!! 😀

butter makes everything better!!!….unless you’re on a diet 😛

August 24, 2010 - 5:04 pm

Kat - My family makes these without the peanut butter, I prefer them that way, because more often than not, I’ve discovered that there’s just too much peanut butter in them for me to enjoy.

August 24, 2010 - 5:40 pm

Jessica - OMG I LOVE THESE! My mom grew up eating these and nicknamed them “cow flop cookies.” I haven’t had them in a while, but this makes me nostalgic- off to the kitchen!!!

August 24, 2010 - 8:15 pm

Jeff - The recipe is exactly how I make it, though I eat it fresh (hot) from the stove, glopped into a bowl with a big glass of milk to wash it down. 🙂

August 25, 2010 - 9:19 am

sara - I love these too! We affectionately call them “poop cookies” at our house because Grant thought that’s what they looked like when I first made them for him many moons ago. The name stuck because no one wants to try “poop cookies,” which means there are more for us!

August 29, 2010 - 10:30 pm

Terri - These are delicious with dried coconut and for an extra chocolate kick add chocolate chips when you add the oats.

August 31, 2010 - 10:03 am

Brian - Hi, just stumbled your blog. I made these just recently but added protein powder, almonds, and flaxseed. They were great!

September 9, 2010 - 1:04 pm

Kristina - Just made these, theyre cooling now, and all I can say is YUM! I added dried cranberries to half the batch and chocolate chips to the others. Delicious recipe.

September 13, 2010 - 12:09 am

Shelby - these sound amazing, but do you think it would still work if i made them vegan?
buttery spread instead of butter;
soy milk instead of normal milk..
thanks!!

September 13, 2010 - 6:06 pm

Shanon Lacy - Hi Shelby-

Hmmm…all I can say is try it, and if it works, then you’ve found a new alternative recipe. Let me know if you end up trying it out….it could end up being a phenomenal new cookie!

Shanon

October 24, 2010 - 2:37 pm

Jess - I just made them but cut down to 1 cup of sugar, made it a heaping 1/4 cup of caribbean cocoa, skim milk, and regular oatmeal, and they turned out phenomenal. They are already starting to set but I made one small test one as my first cookie. I gobbled it up by the time I spooned out the rest and it was starting to set already. I am sure the oats will get a bit more soft as they set up, but perfect as they are right now! =) TY!

January 6, 2011 - 7:23 am

Medėja - They look so good and so delicious. Since I cant bake they look perfect for me.

May 2, 2012 - 10:50 am

Elisa - This sounds excellent! A perfect easy recipe 😀 How long do the cookies take to set though?

May 2, 2012 - 10:56 am

srlacy - Hi Elisa-

Usually they take at least a half hour to an hour to set (but I find the not-so-set ones the easiest to munch on while I wait!)

May 5, 2012 - 12:37 pm

Elisa - Thanks! Do they need to be stored in the fridge if you want to keep it for days? or do they just need to be stored in a air tight container?

May 5, 2012 - 1:12 pm

srlacy - Hey Elisa-

I just keep mine in an airtight container at room temperature for up to 5 days (if they last that long…they never do. Who am I kidding? 🙂 )

May 6, 2012 - 2:26 am

Elisa - alright thanks so much! 🙂 I’ll be making them today. so excited 😀

July 1, 2012 - 7:55 pm

Wendy - Anyone know if you could substitute splenda for the sugar? Trying to up the “healthy.”

December 26, 2012 - 6:41 am

สูตรขนมไม่ต้องอบ : คุกกี้ช็อกโกแลตแบบไม่ต้องอบจากข้าวโอ๊ต | อร่อยเหาะดอทคอม แนะนำสูตรอาหา - […] แนะนำสูตรอาหารและสูตรขนมอร่อยๆโดยอร่อยเหาะดอทคอม สูตร/ภาพ : thecurvycarrot […]

December 26, 2012 - 6:42 am

สูตรขนมไม่ต้องอบ : คุกกี้ช็อกโกแลตแบบไม่ต้องอบจากข้าวโอ๊ต | อร่อยเหาะดอทคอม แนะนำสูตรอาหา - […] แนะนำสูตรอาหารและสูตรขนมอร่อยๆโดยอร่อยเหาะดอทคอม สูตร/ภาพ : thecurvycarrot […]

February 25, 2013 - 3:58 pm

Chrystal - This is my exact reciepe (from my husbands grammy). I do add shredded coconut though, keeps them SO moist… (and I don’t even like coconut 😉 )

April 10, 2013 - 11:51 pm

สูตรขนมไม่ต้องอบ : คุกกี้ช็อกโกแลตแบบไม่ต้องอบจากข้าวโอ๊ต | อร่อยเหาะดอทคอม แนะนำสูตรอาหา - […] แนะนำสูตรอาหารและสูตรขนมอร่อยๆโดยอร่อยเหาะดอทคอม สูตร/ภาพ : thecurvycarrot […]

June 18, 2013 - 12:46 pm

Vegan Chocolate No-Bake Cookies » The Curvy Carrot - […] the entire world.  A heavenly concoction of chocolate, peanut butter, and oatmeal.  Here’s a fantastic old-school version, one of my posts from the early […]

December 23, 2013 - 1:24 pm

Kris - This is the same recipe that used to be on the back of the Quaker Oatmeal box years ago. My grandmother made these for us when we were kids, and now I make them for my family. I just made them this week. They are so good. They are perfect just the way they are; however, I see someone posted about adding coconut – that is one thing I might try one day.

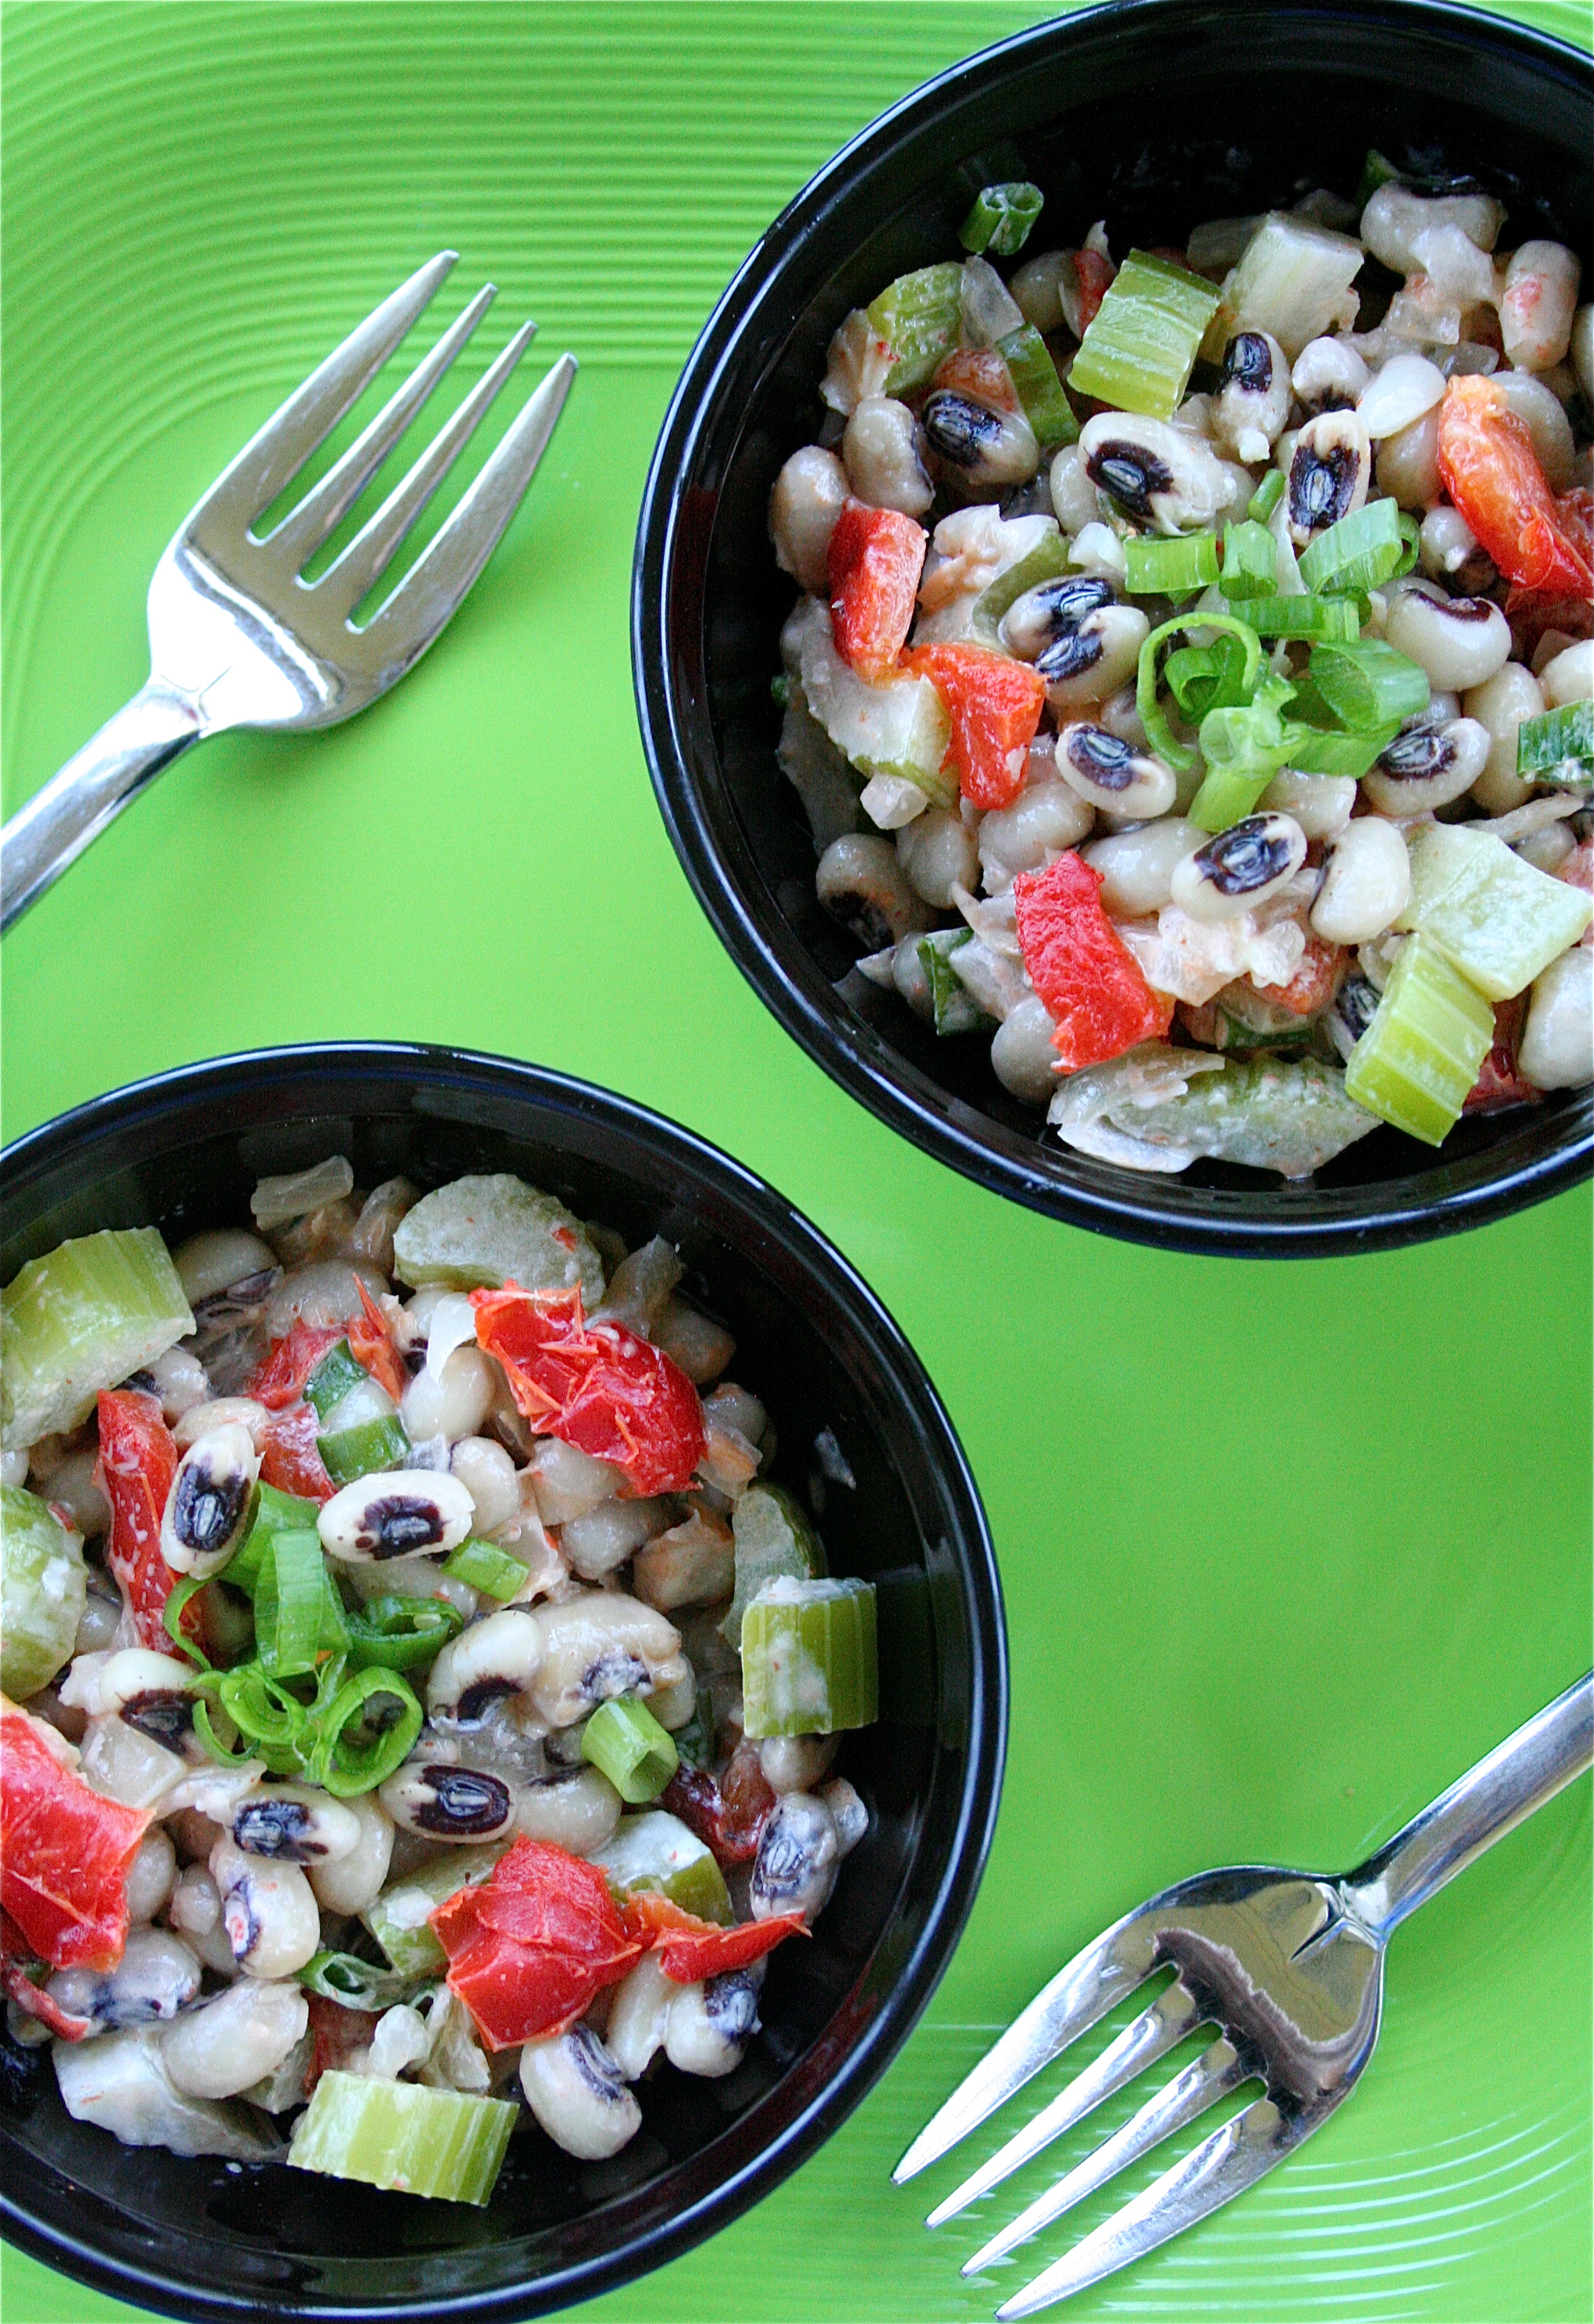
Black-Eyed-Pea Salad

I love Top Chef.  And I especially loved watching Kevin Gillespie a season or two ago. In the September issue of Food and Wine magazine, Kevin features a line-up of vegetarian-friendly dishes.  Believe me, I felt like a kid in a candy store.  I had never really dabbled in black-eyed peas before, but I had always seen them in the grocery stores (knowing that they are good for me), but I always got too shy.  But, then, with a little persuasion from Kevin, I went for it.

And now I will never go back. They are delicious!  The salad was simple to throw together, a little spicy (the way it should be), and perfect as a lunch/leftovers.

Welcome to my world, little black-eyed peas.

Black-Eyed-Pea Salad

Servings: 4

Ingredients

1 cup dried black-eyed peas

2 tablespoons extra-virgin olive oil

1 medium sweet onion, finely diced

Salt

1 red bell pepper

2 large celery ribs, cut into 1/4-inch dice

2 tablespoons low-fat mayonnaise

4 teaspoons cider vinegar

4 large scallions, green parts only, thinly sliced

Freshly ground black pepper

Tabasco sauce, for seasoning (I actually used Sriracha)

Instructions

1. In a saucepan, cover the black-eye peas with water and bring to a boil.  Simmer over low heat until tender, 45 minutes.  Drain.

2.  Meanwhile, in a skillet, heat the oil. Add the onion, season with salt and cook over moderate heat, stirring, until softened.  Cover and cook, stirring occasionally, until browned, 8 minutes.  Transfer to a bowl.

3.  Roast the bell pepper directly over a gas flame or under the broiler, turning, until charred. Let cool.  Peel and seed the bell pepper; cut into 1/4-inch dice.

4.  In a saucepan of boiling salted water, cook the diced celery for 30 seconds.  Drain, rinse under cold water and drain again.

5.  Add the mayonnaise and vinegar to the onion.  Fold in the black-eyed peas, bell pepper, celery and scallions; season with salt, pepper, and Tabasco (ahem, Sriracha).  Chill before serving.

Barely adapted from Food and Wine Magazine, September 2010 issue.

And now since we’ve bonded over black-eyed peas, I will introduce you to another member of my family:  Coz.  He is a very sweet and hungry cat (and, yes, he really is that fat.)  Sometimes he just lays on the back of the chair like that.  I can’t help but laugh.  Thank goodness for animals.