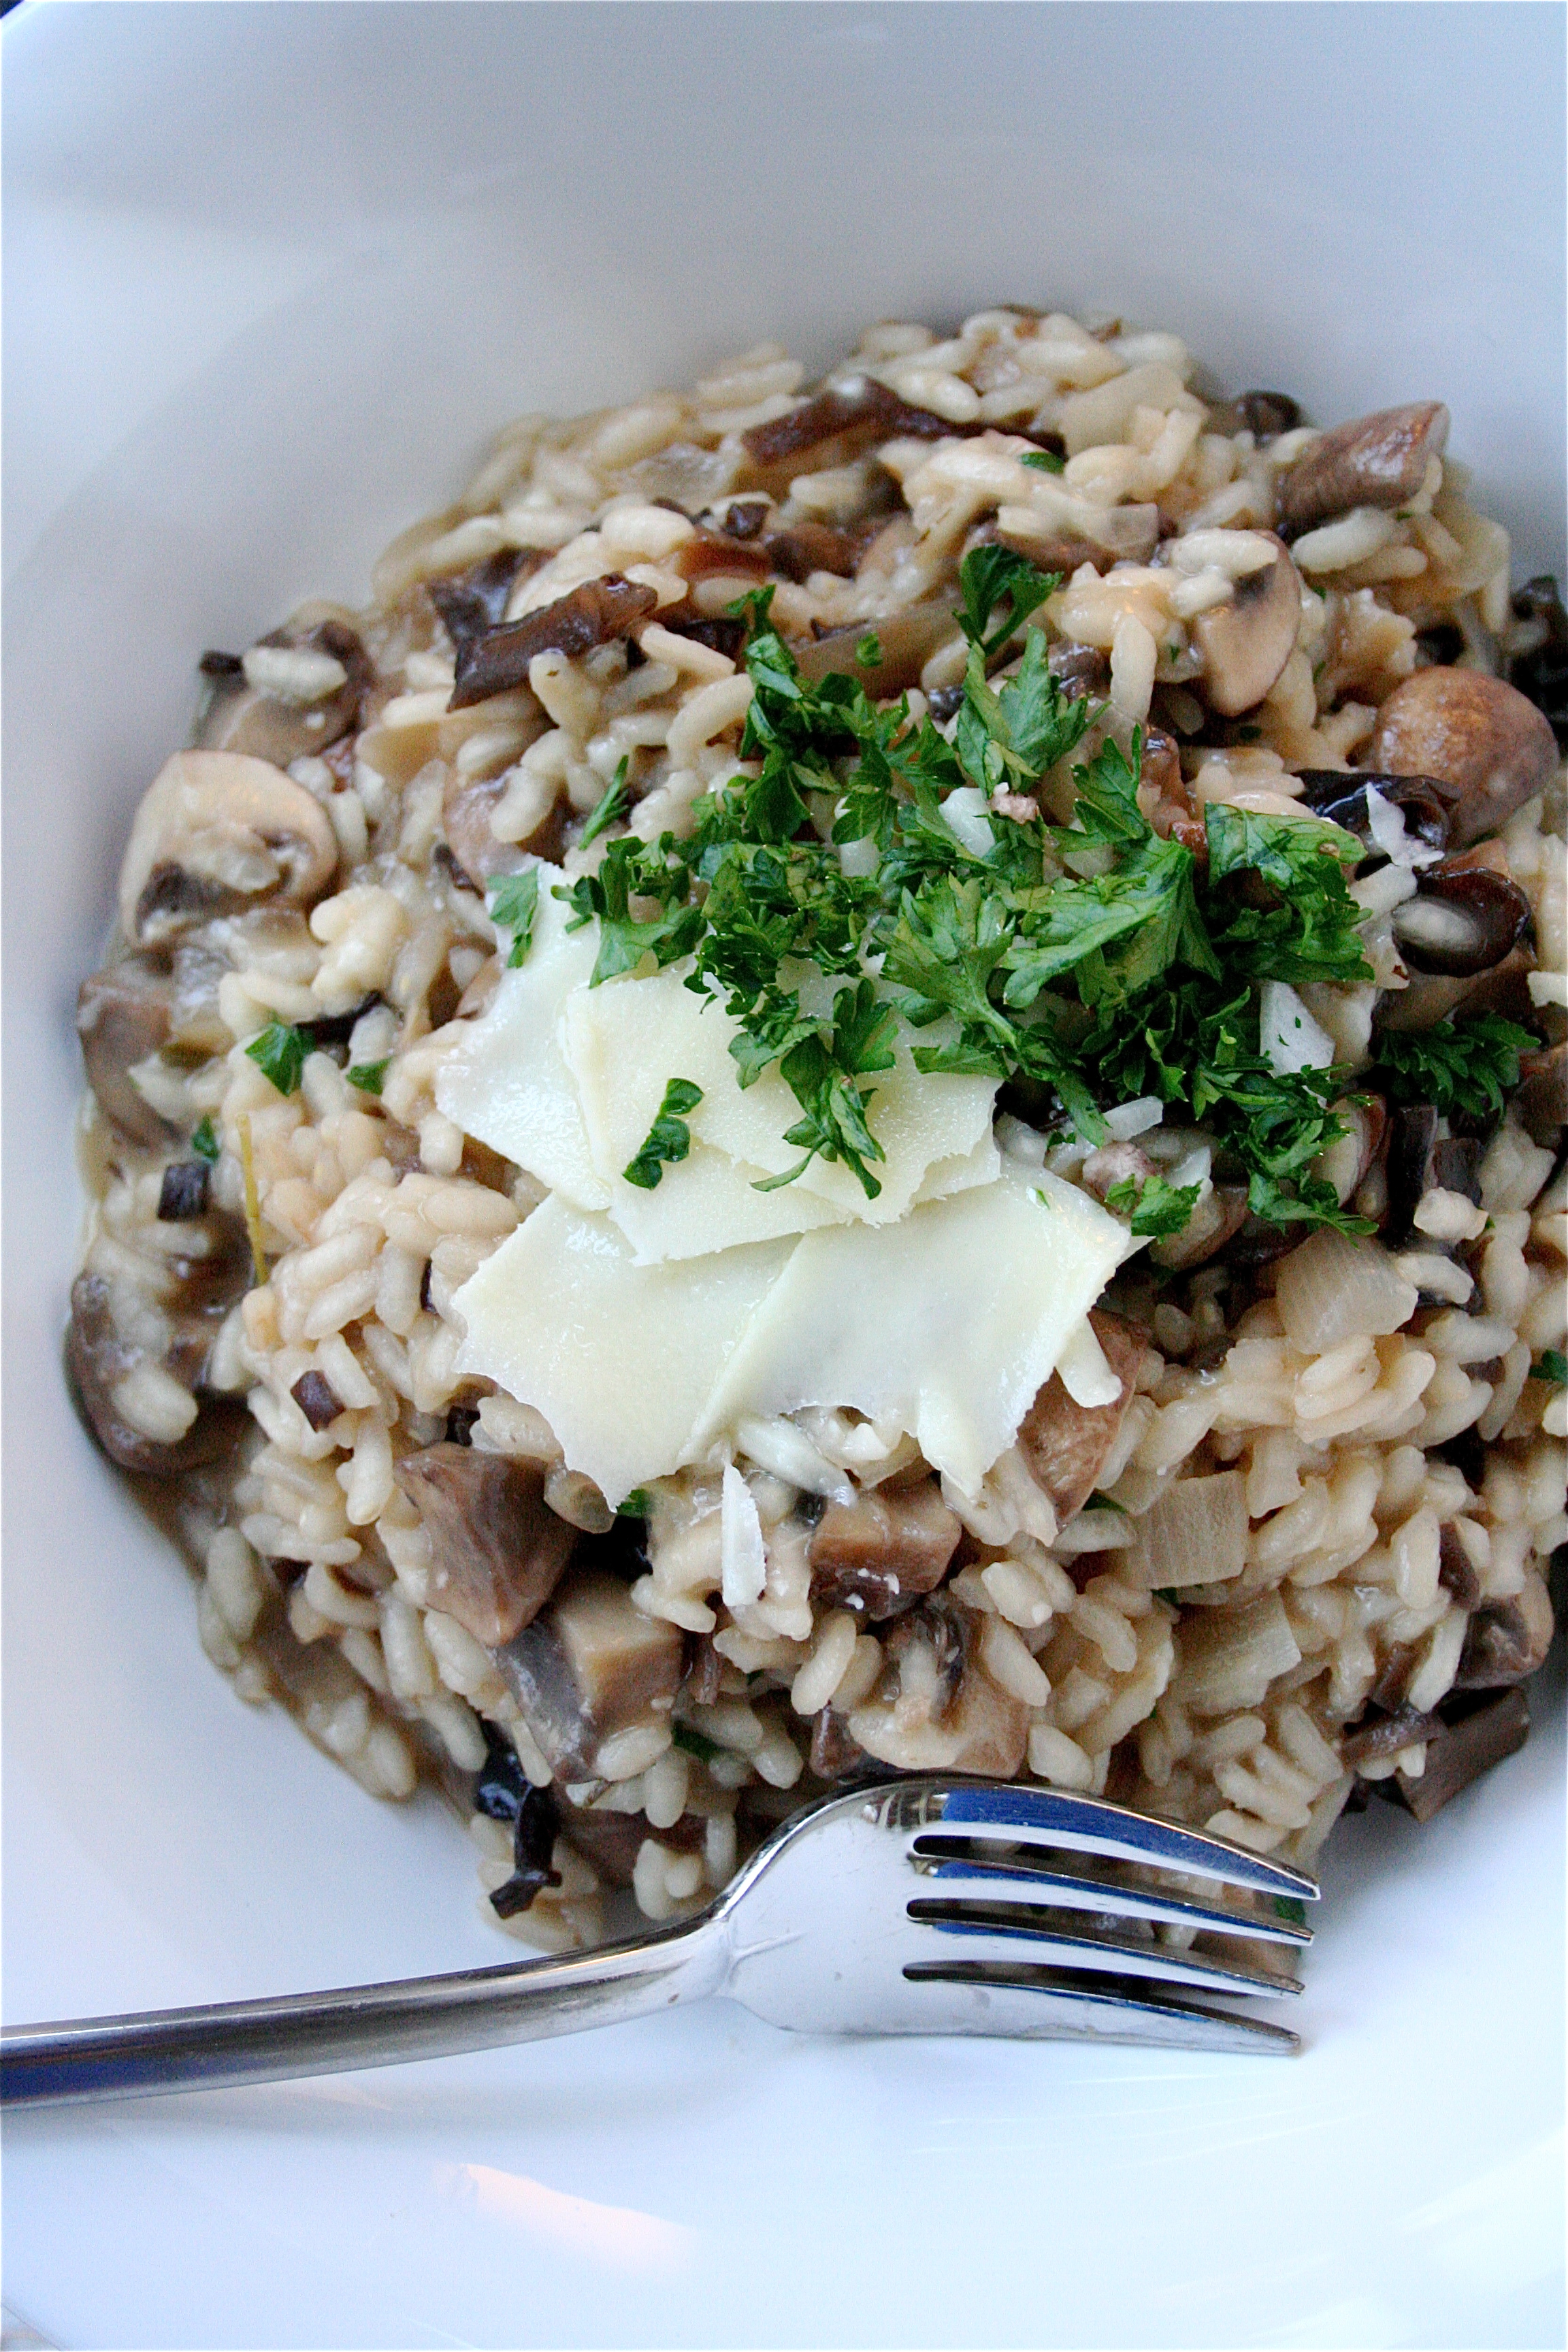
Mushroom Risotto

Beginning to feel a little like fall out there, huh?  It’s dark now when I leave for work in the mornings, and I have to wear a sweatshirt over my scrubs.  The other night I let Scout out to run in the backyard, and I even noticed that I could see my breath.

Welcome, my most favorite time of year.  Glad to have you back.

To celebrate, I decided that I would try something that I had been meaning to since (gasp!) June when I sampled this in Colorado.  For some reason, the hearty mushroom flavor and creamy Arborio rice combo seemed extremely intimidating to me. I had bookmarked so many of other food blogger’s recipes…hoping to one day try it for myself.

So, on a weekend evening when I knew that I would have no other distractions in the kitchen, I bravely pulled out this recipe and silently cheered a mantra:  “Mushroom Risotto.  You do not scare me.”

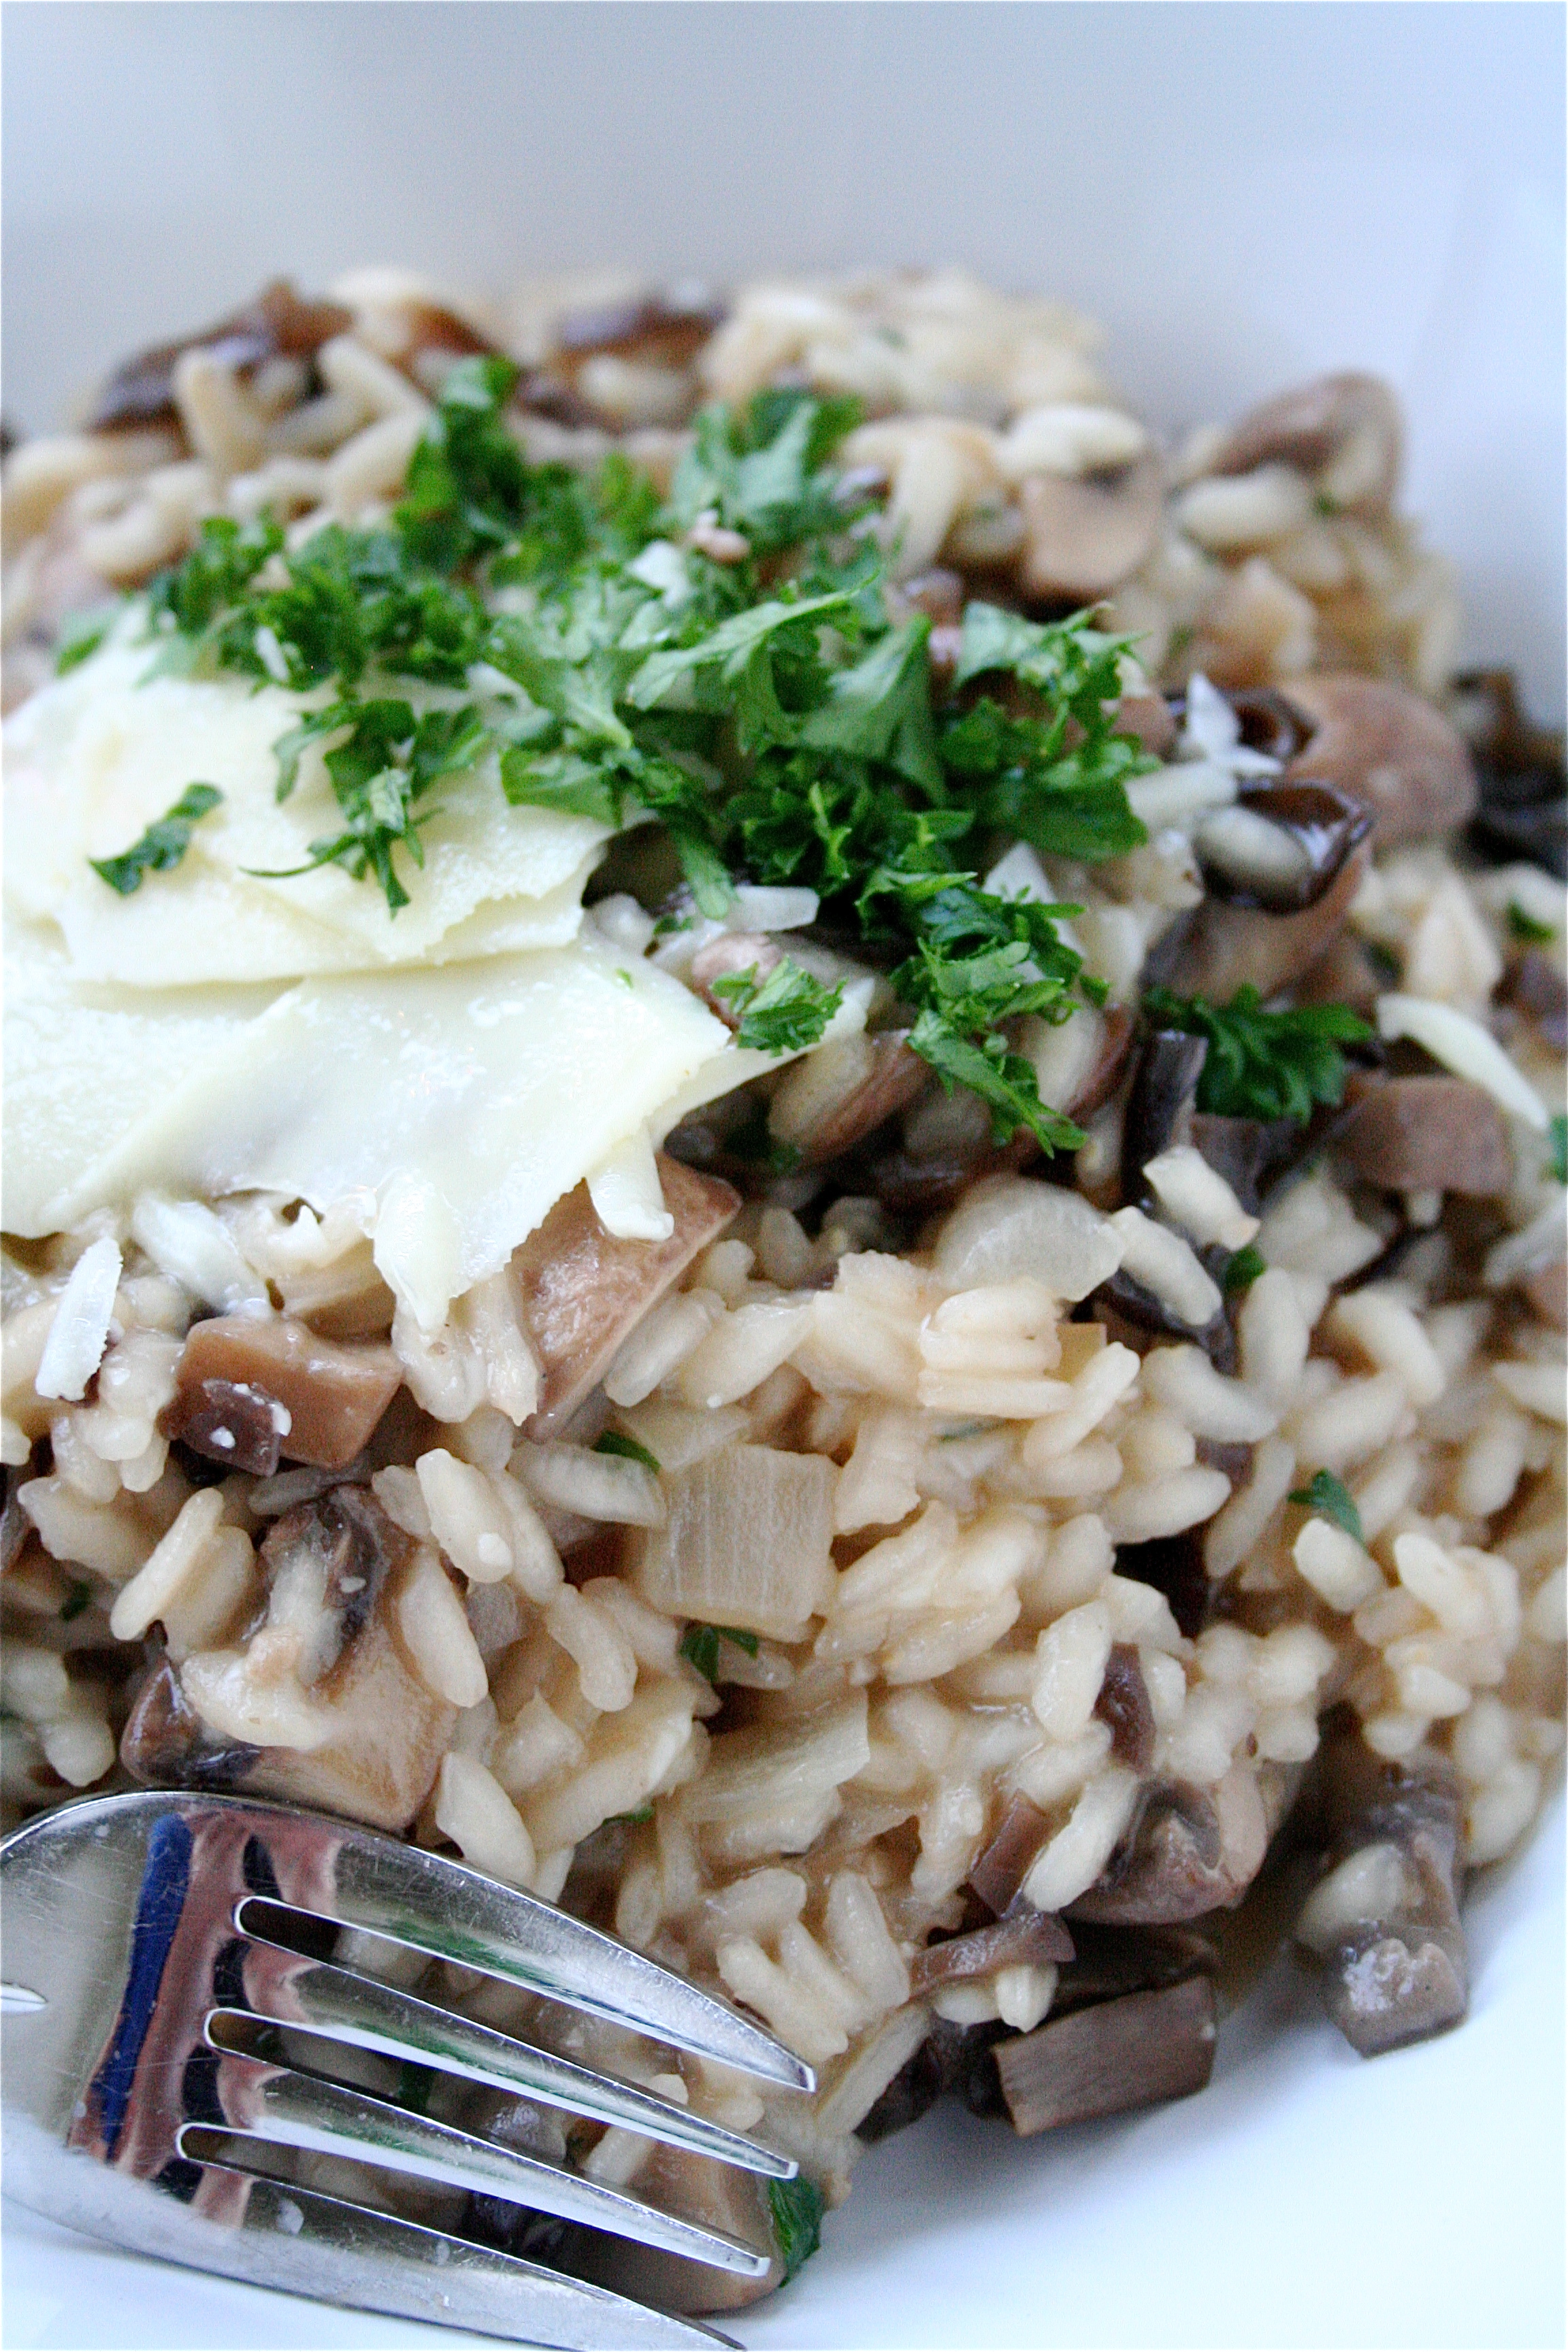
Here’s the good news:  it was an amazing success.  I think the thing that intimidated me the most was the amount of time to put into this recipe….and the amount of pots and pans.  Holy cow.  I ran a full dishwasher after this meal with just the prepping/cooking tools I used.  The end product?  Fabulously rich, creamy, full of earthy flavor, and great texture.

Happy Early Fall/Late Summer, everyone!

Mushroom Risotto

Servings: approximately 6

Ingredients

2 bay leaves
6 sprigs fresh thyme
4 sprigs fresh parsley leaves
1 ounce dried porcini mushrooms , rinsed in mesh strainer under running water ***I ended up using a pre-packaged “Stir Fry” mix from my local grocery store (found it in the mushroom/vegetarian section. ) It was a mixture of unidentifiable dried mushrooms, but it was wonderful!
3 and 1/2 cups vegetable stock***The original recipe calls for chicken stock, but since I don’t eat chicken, I substituted the vegetarian version.  It was still great!
2 teaspoons soy sauce
6 tablespoons unsalted butter
1 and a 1/4 pounds cremini mushrooms , wiped clean with a paper towel, stems discarded, and caps cut into fourths if small or sixths if medium or large***Cremini mushrooms are otherwise known as “baby portobellas”.  I’m sure you could use button mushrooms in a pinch, but they probably do not hold as much flavor.
2 medium onions , chopped fine (2 cups)
Salt, to taste
3 medium cloves garlic , pressed through garlic press or minced (about 1 tablespoon)
1 pound Arborio rice (2 1/8 cups)
1 cup dry white wine or dry vermouth
2 ounces Parmesan cheese , finely grated (about 1 cup)***I substituted Romano because that’s all I had.
2 tablespoons chopped fresh parsley leaves
Ground black pepper

Instructions

  1. Tie together bay leaves, thyme sprigs, and parsley sprigs with kitchen twine. (Optional, but highly recommended.  This just serves to make removing the herbs from the pot easier later.)
  2. Bring bundled herbs, dried mushrooms, vegetable broth, soy sauce, and 3 1/2 cups water to boil in medium saucepan over medium-high heat; reduce to medium-low and simmer until dried mushrooms are softened and fully hydrated, about 15 minutes.
  3. Remove and discard herb bundle and strain broth through fine-mesh strainer set over medium bowl (you should have about 6 1/2 cups strained liquid); return liquid to saucepan and keep warm over low heat.
  4. Finely mince the (now) rehydrated mushrooms and set aside. (But be careful, because they will be really hot.)
  5. Adjust oven rack to middle position and heat oven to 200 degrees.
  6. Heat 2 tablespoons butter in 12-inch nonstick skillet over medium-high heat. When foaming subsides, add cremini mushrooms, 1 cup onions, and 1/2 teaspoon salt; cook, stirring occasionally, until moisture released by mushrooms evaporates and mushrooms are well browned, about 7 minutes.
  7. Stir in garlic until fragrant, about 1 minute, then transfer mushrooms to oven-safe bowl and keep warm in oven.
  8. Off heat, add 1/4 cup water to now-empty skillet and scrape with wooden spoon to loosen any browned bits; pour liquid from skillet into saucepan with broth.
  9. Heat 3 tablespoons butter in large saucepan over medium heat. When foaming subsides, add remaining 1 cup onions and 1/4 teaspoon salt; cook, stirring occasionally, until onions are softened and translucent, about 9 minutes.
  10. Add rice and cook, stirring frequently, until grains’ edges are transparent, about 4 minutes (I actually cooked mine a little longer at this point).
  11. Add wine and cook, stirring frequently, until rice absorbs wine. Add minced rehydrated mushrooms and 3 1/2 cups broth and cook, stirring every 2 to 3 minutes, until liquid is absorbed, 9 to 11 minutes.***Watch carefully because the rice will absorb the liquids very quickly.
  12. Stir in additional 1/2 cup broth every 2 to 3 minutes until rice is cooked through but grains are still somewhat firm at center, 10 to 12 minutes.
  13. Stir in remaining 1 tablespoon butter, then stir in mushrooms (and any accumulated juices), Parmesan, and chopped parsley. Adjust seasoning with salt and pepper; serve immediately.

And, welcome to Heaven.
Barely adapted from Cook’s Illustrated.

September 14, 2010 - 7:34 am

Quay Po Cooks - Looks delicious… I think if you add some roasted chestnuts in it, it will even taste more umami! Just my 2 cents, hope you do not mind my suggestion:D Great pics!

September 14, 2010 - 8:16 am

RavieNomNoms - I looooove mushroom risotto, actually just had some the other night and it was fantastic! Thanks so much for sharing this recipe, I have always wanted a good recipe for mushroom risotto.

September 14, 2010 - 9:11 am

Michelle (Jelly Shot Test Kitchen) - Oh that looks amazing . . . I love risotto. I rarely order in restaurants because its never quite the same as homemade. The downside is, as you point out, a mountain of dishes! This recipe looks fantastic – thanks! Cheers, Michelle

September 14, 2010 - 10:57 am

notyet100 - still to try rissoto,..this one looks yum

September 14, 2010 - 11:41 am

Susi - This recipe looks so decadent! I love risotto, I just don’t make it often enough. I’m bookmarking this recipe as it would certainly satisfy my love for mushrooms. Thanks for sharing!

October 3, 2010 - 9:23 am

Jim - Wow, most excellent! I occasionally make risotto (agree with Michelle, most restaurant risotto – at least in this area – is subpar) but this is, by far, the best recipe I’ve made. Thanks!

April 9, 2011 - 5:02 am

The Curvy Carrot » Primavera Risotto Nests With Fried Eggs - […] with an egg on top, go figure).  And, although I have posted a risotto before (hahaha…a mushroom risotto….seriously), I wanted to give another version a try.  Yes, I have been on a roll lately with […]

May 17, 2012 - 5:00 am

The Curvy Carrot » Sweet Orange Risotto with Strawberries - […]  I love to eat it, but I dislike making it.  The last time I tried it (mushroom risotto or primavera risotto with fried egg on top), I went through about a billion pots and pans, spent a […]

Chocolate Raspberry Cupcakes with Raspberry Truffles

It’s a Sunday.  I’m craving chocolate.  I was holding off on this post for a while, since I’ve been posting a lot of desserts lately.  But, here’s the thing.  A girl (or guy) just needs some indulgence once in a while.  And these cupcakes?  The ultimate in self-indulgence. The chocolate is rich, the surprise filling is an added bonus, and the frosting?  My goodness. (And sometimes when a good thing comes along, well, you just have to grab it and not let it pass you by.) I would like to thank my friend Annie for introducing me to these cupcakes.

I took these to a friend’s birthday party a few weeks ago.  She had requested a chocolate raspberry cupcake, and I knew that these would be a hit at the party.  They certainly were…..

Chocolate Raspberry Cupcakes with Raspberry Truffles

Servings: approximately 24 cupcakes

Ingredients

For the cupcakes:
9 tbsp. unsweetened cocoa powder
1 1/2 cups cake flour
1/2 tsp. salt
1 tsp. baking soda
1/4 tsp. baking powder
8 tbsp. unsalted butter, at room temperature
1 1/2 cups granulated sugar
2 large eggs, at room temperature
1/2 cup strong coffee (or water)
1/2 cup whole or low-fat milk***I used whole because I was on that self-indulgent roll….

For the filling:
Seedless raspberry jam (I also used blackberry jam as well and mixed the two)

For the raspberry truffles:
2 pints fresh raspberries
5 oz. semisweet or bittersweet chocolate, finely chopped***I used chocolate chips, which worked just fine.
1/4 cup seedless raspberry jam
1/3 cup heavy cream

For the frosting:
16 tbsp. unsalted butter, at room temperature
6 cups powdered sugar
1/2 cup seedless raspberry jam
Pink icing color (optional)

Instructions

1. For  the cupcakes: preheat the oven to 350° F.

2. Line two cupcake pans with paper liners.

3. In a small bowl sift together the cocoa powder, cake flour, salt, baking soda, and baking powder.

4. In the bowl of a stand mixer fitted with the paddle attachment, cream the butter and sugar on medium-high speed until light and fluffy, about 5 minutes.  Mix in the eggs one at a time, scraping down the sides of the bowl between additions.

5. In a liquid measuring cup, combine the coffee and milk.

6. Add half of the dry ingredients to the mixer and mix on low speed just until incorporated.  Stir in the coffee-milk mixture and mix until combined.  Add in the remaining dry ingredients, again mixing just until incorporated.

7. Divide the batter evenly between the cupcake liners, filling the cups about 3/4 full.  Bake for 20 minutes, or until a toothpick inserted in the center comes out clean.  Transfer to a wire rack to cool completely.

8. For the filling: once the cupcakes have cooled completely, heat some raspberry or blackberry jam just enough to allow for easy stirring and smooth texture in the microwave for about 20 seconds or so.  Transfer the jam to a pastry bag fitted with a large plain tip, poke into each cupcake and pipe a small amount inside.****Pipe into the top of the cupcake (that way you can cover the hole with frosting.) 🙂

9. For the raspberry truffles: rinse fresh raspberries and transfer to a baking sheet lined with paper towels.  Gently shake the berries around to remove excess water.

10. Place the chocolate and jam in a small heatproof bowl.

11. Bring the cream to a boil in a small saucepan over medium-low heat.  Remove from the heat and pour over the chocolate and jam.  Let stand for about 3 minutes.  Whisk together gently until smooth.

12. Let the ganache cool a bit until it has thickened slightly (enough to be piped through a pastry bag).  Once it has reached the right consistency, transfer the ganache to a pastry bag and pipe into the center of the clean raspberries.  Refrigerate at least 15 minutes to set.

13. For the frosting: place the butter and jam in the bowl of a stand mixer fitted with the paddle attachment.  Cream on medium-high speed until well incorporated, about 2 minutes.  Sift in the powdered sugar and mix until smooth.  Tint with icing color as desired.

To finish the cupcakes, frost with the raspberry jam buttercream and top with a few of the raspberry truffles.

Barely adapted from Annies Eats.  Thanks, Annie! 🙂

September 12, 2010 - 10:40 am

kateiscooking - Annie has the BEST cupcakes, doesn’t she? Chocolate and raspberry are just amazing together. You did a beautiful job with these!! Kate

September 12, 2010 - 10:47 am

Shanon Lacy - Hi Kate!

Oh my gosh, she totally does. She asks each of us residents (there’s 21 of us) plus some of our other co-workers each month what type of cupcake we would like for our birthdays. So, needless to say, everyone does a round of cheers when she brings in a batch, knowing that it’s “Cupcake Day!” (and we’re lucky to have so many of those days) I have to go back and forth between which ones have been my favorites, though. I’ve never had one that I didn’t like. Her frostings are amazing. I’m hoping to post a few more of hers, but I know that I probably won’t even come close. But I will keep plugging away at it, for sure…because they are so worth it! 🙂

September 12, 2010 - 4:25 pm

Susi - Stunning picture and even better looking cupcakes! I’m bookmarking this recipe as I seem to be on a raspberry/chocolate kick lately :o) Thanks for sharing!
BTW I adore your cake stand, care to share where you found it?

September 12, 2010 - 4:36 pm

Shanon Lacy - Hey Susi!

Congrats on all your accomplishments lately…your photos and recipes look amazing.

I found the cake stand at TJ Maxx. That’s actually where I find a lot of my fun plating stuff. The stand is a smidge off-center, but you really can’t tell when there’s something on it. I think I paid $9 for it, which you can’t beat. The ribbon can come out and you can weave in all different colors. It’s wonderful.

Shanon

September 12, 2010 - 4:58 pm

Susi - Shannon,
thanks so much for the congrats. I feel honored especially when it comes from a pro like you :o)
Also thank you for the info on the cake stand. I will take a peak at my local TJ Maxx or Ross, it is darling!
Susi

September 12, 2010 - 5:48 pm

fooddreamer - Wow…all I can say is wow! Chocolate cupcakes filled with raspberry jam, then frosted and topped with a truffle-filled raspberry??? I might be in heaven right now. Or I would be, if I could actually eat one of these!!!

September 12, 2010 - 8:38 pm

delicieux - These cupcakes look fantastic!! I love the combination of chocolate and raspberries and the idea of piping the truffle into the raspberry is fantastic. I love it and will definitely have to try it.

September 12, 2010 - 11:49 pm

Jennifer @ Maple n Cornbread - What a perfect chocolate indulgence and super cute!!!

September 13, 2010 - 12:13 am

notyet100 - thy look so yum

September 13, 2010 - 11:45 am

Jenny - And you wanna know the sad part? That birthday girl didn’t even get the try one of these cupcakes! They all flew off the platter before she made it to the table. 🙁

September 13, 2010 - 1:01 pm

Lindsey @ Hot Polka Dot - They look delicious! Chocolate and raspberry is a wonderful combination isn’t it? And I love those cupcake liners!

September 13, 2010 - 3:40 pm

RavieNomNoms - What beautiful cupcakes!!! Holy moly, these look fantastic! Raspberry buttercream??? whew!

September 15, 2010 - 8:28 pm

Patty - Very pretty cupcakes – and they sound soooooo delicious. 🙂 Love the whole concept of filling a fresh raspberry with chocolate!

September 15, 2010 - 8:34 pm

Lauren Zabaneh - Hey there! thank you for you kind comment on my last post! That apron is one I made when I was 5 months preggers and I just love it. It’s so sentimental to me.

Anyway! Girl, these cupcakes…ugh. I am droooooling. seriously. I think what does it for me is that frosting! I’ve been on a raspberry kick lately, so now I must make these. Great job.

Your pictures are fab, btw. just beautiful!

September 16, 2010 - 9:38 am

Lora - These Are divine! And the picture is gorgeous.

September 23, 2010 - 11:33 am

Bonnie - Hi! Love these and I want to bake them for my daughter’s 3rd birthday. I need to bake about 60 cupcakes. The party is on Sat, can I make these two days in advance? I know I can bake in advance, but how far in advance can I pour the filling in the cupcake? And how far in advance can I do the frosting and refridgerate? And when would be the best time to frost them? I want to do as much as I can in advance! Please advise! Thanks!!!!!

Bonnie

September 23, 2010 - 8:59 pm

Shanon Lacy - Hi Bonnie-

I think you can make them two days in advance and even fill them two days in advance, as well, as long as you keep them all refrigerated.
I would try to frost them as close to the party as possible, but probably the longest that I would go is about a day or so (I’m just basing this on my experiences). It’s really important that they all stay cold because of the butter in the frosting, though.

Good luck with the party-it sounds like so much fun, and Happy Birthday to your daughter! My nephew just turned 3 in July-it’s amazing how fast they grow up.

Thanks for visiting the blog 🙂

November 12, 2010 - 2:28 pm

Victoria - Hi Shannon,

I was wondering if it would be alright to substitute basic all-purpose flour for cake flour. I was going to make these for my Mom’s birthday tomorrow because they look too divine to forego.

Thanks!

November 12, 2010 - 3:10 pm

srlacy - Hi Victoria!

Here is a link that I have used before from Baking Bites. I find it extremely helpful. I’ve definitely been in a pinch before and have substituted all-purpose for cake flour. I’ve never tried it with this recipe, though. I hope they turn out for you-they are one of my favorite recipes in the whole world. Let me know how they turn out for you!

Shanon

November 12, 2010 - 3:11 pm

srlacy - The link would have been helpful to you:

http://bakingbites.com/2007/05/subbing-all-purpose-flour-for-cake-flour/

April 1, 2011 - 9:04 pm
February 9, 2012 - 9:52 am

Carolyn - Loved these! My Daughter wanted them for her teacher’s 40th birthday. It was a big class hit!!! Thanks.

March 14, 2012 - 7:24 am

Lemon & strawberry-chocolate cupcakes. « to draw attention - […] found this recipe at the Curvy Carrot’s blog, but adjusted it a little for my needs. It also showed, that the dough wasn’t quite […]

Lemon Whoopie Pies

Lemon whoopie pies.  I had seen a ton of whoopie pies on the boards and photography sites lately, but I saw this recipe in a cookie cookbook my older sister gave to me.  I thought the addition of the lemon zest, as well as the lemon cream cheese frosting filling would be a good twist on a classic.  And, seriously, can one go wrong with anything made with cream cheese?  Let’s be honest.

I made a batch for a party that my friend, Christie, had. (Christie, by the way, is a wonderful and great friend to me.) The theme was desserts.  How perfect.  And what I noticed was this:  I think I made these cookies way too big.  Maybe they were a little intimidating.  Towards the end of the evening, people were cutting pieces off the cookies with knives and forks (a la Seinfeld).  It made me smile.  Hopefully these lemon whoopie pies will make you smile, too.

Lemon Whoopie Pies

Servings: 8-10 cookie sandwiches

Ingredients:

For the cookies:

1 and a 1/2 cups unbleached all-purpose flour

1/2 teaspoon baking powder

1/4 teaspoon baking soda

1/4 teaspoon salt

6 tablespoons (3/4 stick) unsalted butter, at room temperature

1 cup sugar

1 teaspoon finely grated lemon zest

1 large egg

1 tablespoon fresh lemon juice

1 teaspoon vanilla extract

1/2 cup buttermilk, any fat content

For the lemon cream cheese filling:

6 tablespoons (3/4 stick) unsalted butter, at room temperature

6 ounces cream cheese, at room temperature

1 teaspoon vanilla extract

1 teaspoon finely grated lemon zest

2 tablespoons fresh lemon juice

2 and 3/4 cups powdered sugar

Instructions:

1. Position a rack in the middle of the oven.  Preheat the oven to 350 degrees.  Line 2 baking sheets with parchment paper and butter the paper.

2.  For the cookies: Sift the flour, baking powder, baking soda, and salt into a medium bowl and set aside.

3.  In a large bowl, using an electric mixer on medium speed, beat the butter, sugar, and lemon zest until smoothly blended, about 1 minute.  Stop the mixer and scrape the sides of the bowl as needed during mixing.

4. Add the egg, lemon juice, and vanilla, mixing until blended, about 1 minute. (The batter will look curdled-ewwww.)

5.  On low speed, add half the flour mixture, mixing just to incorporate it.

6.  Mix in the buttermilk.

7.  Mix in the remaining flour mixture just until it is incorporated and the batter looks smooth again.

8.  Drop heaping tablespoons (about 3 level tablespoons each) of dough onto the prepared baking sheets, spacing them 3 inches apart.

9.  Bake the cookies one sheet at a time until a toothpick inserted in the center comes out clean and the tops feel firm, about 10 minutes or so. (With the exception of a thin line at the edges, the tops of the cookies should not brown.)

10.  Cool the cookies on the baking sheets for 10 minutes, then use a wide spatula to transfer them to a wire rack to cool completely.

11.  For the filling: In a large bowl, using an electric mixer on low speed, beat the butter, cream cheese, vanilla, lemon zest, and lemon juice until thoroughly blended and smooth, about 1 minute.

12.  Add the powdered sugar and mix until smooth, about 1 minute. (If the filling is too soft to hold its shape, refrigerate until it is firmer, about 30 minutes.)

13.  Turn half of the cookies bottom side up.  Leaving a 1/4-inch plain edge, use a thin metal spatula (or a pastry bag fitted with a tip of your choice!) each one with about 1/4 cup of the filling.

14.  Gently press the flat bottoms of the remaining cookies onto the filling.  ***Try to find matching “partners” that fit each other.

15.  Wrap each cookie in plastic wrap and refrigerate for at least 1 hour.  Serve cold.  The wrapped cookies can be stored for up to 4 days.

A big thank you to all my fantastic friends at this party.  Glad to be back.

Adapted from Big Fat Cookies, by Elinor Klivens.

September 10, 2010 - 8:59 am

Jenny - These were SOOO good and we just finished the leftover that Christie sent us home with the other night. I’m not usually a lemon dessert fan, but these were incredible. And just because we were cutting them in sections doesn’t mean we each didn’t eat a whole one by the end of the night. It just feels better to each the entire thing in 4 sections! 🙂

Thanks for always making and bringing fabulous food to our parties!! 🙂

September 10, 2010 - 9:23 am

RavieNomNoms - WOW!! What a fantastic photo and lemon whoopie pies?! WOWWWWIEEE, yumalicious!

September 10, 2010 - 10:56 am

The Cilantropist - Love that first photo, your filling looks divine!

September 10, 2010 - 11:17 am

May Ling Wu - I’m impressed! I tried to make pumpkin for thanksgiving last year epic fail 🙁

September 10, 2010 - 11:52 am

Sara - ha! I totally failed whoopie pies (but still posted about it). I asked for a good recipe and…here it comes…I have to try this one. Now THESE look like whoopie pies. Beautiful pic, btw!

September 10, 2010 - 1:35 pm

notyet100 - feel like picking one.

September 10, 2010 - 4:09 pm

Joy - hmmmmmmm lemon

September 10, 2010 - 4:30 pm

Susi - I love whoopie pies and your citrus version with the cream cheese filling looks amazing! They are making my mouth water!

September 10, 2010 - 6:09 pm

Laura - These look wonderful. A nice change from the heavy chocolate cream cake. Definitely want to try these, thanks for sharing!

September 10, 2010 - 8:08 pm

Jessica - I love lemon!! They look so good!

September 11, 2010 - 4:08 pm

Joanne - Haha I like my cookies large – no knife and fork for me! These look fantastic, although I am slightly biased as I am a lemon fanatic!

September 12, 2010 - 2:28 pm

Sprinkled with Flour - Yum! Whoopie pies + lemon = deliciousness. These look wonderful, thanks for sharing:)

September 14, 2010 - 8:14 pm

PlateSpiller - Every Tuesday I get together with my team at work for ‘Tea.’ Someone bakes and we gather to talk about everything but business.

I made these for today’s meeting and they were a hit!

September 14, 2010 - 8:33 pm

Shanon Lacy - Oh my gosh…thank you! That kind of comment is why I do this….I love these recipes and want to share. You just made my day! 🙂

September 20, 2010 - 10:46 am

Sophia - I’ve seen so many recipes lately for lemon desserts! So far, I think yours must be the best! The other one I really like is Ina Garten’s Lemon Yogurt Cake. What do you think? Thanks again for sharing this delicious lemon recipe!

June 15, 2012 - 6:44 am

Janet - YUMMY! This by far looks like the best recipie!! Heading to the store to get everything I need to make them.. YUM!! thanks for sharing !