The Best Corn Muffins

I’ve been making my way slowly through Dorie’s book.  I have plans to pretty much try everything in this cookbook, as everything I have made (some I have posted, like the Pumpkin Muffins…and some I have not posted) has been pretty much amazing.  If you need another go-to baking cookbook, I highly recommend this one.

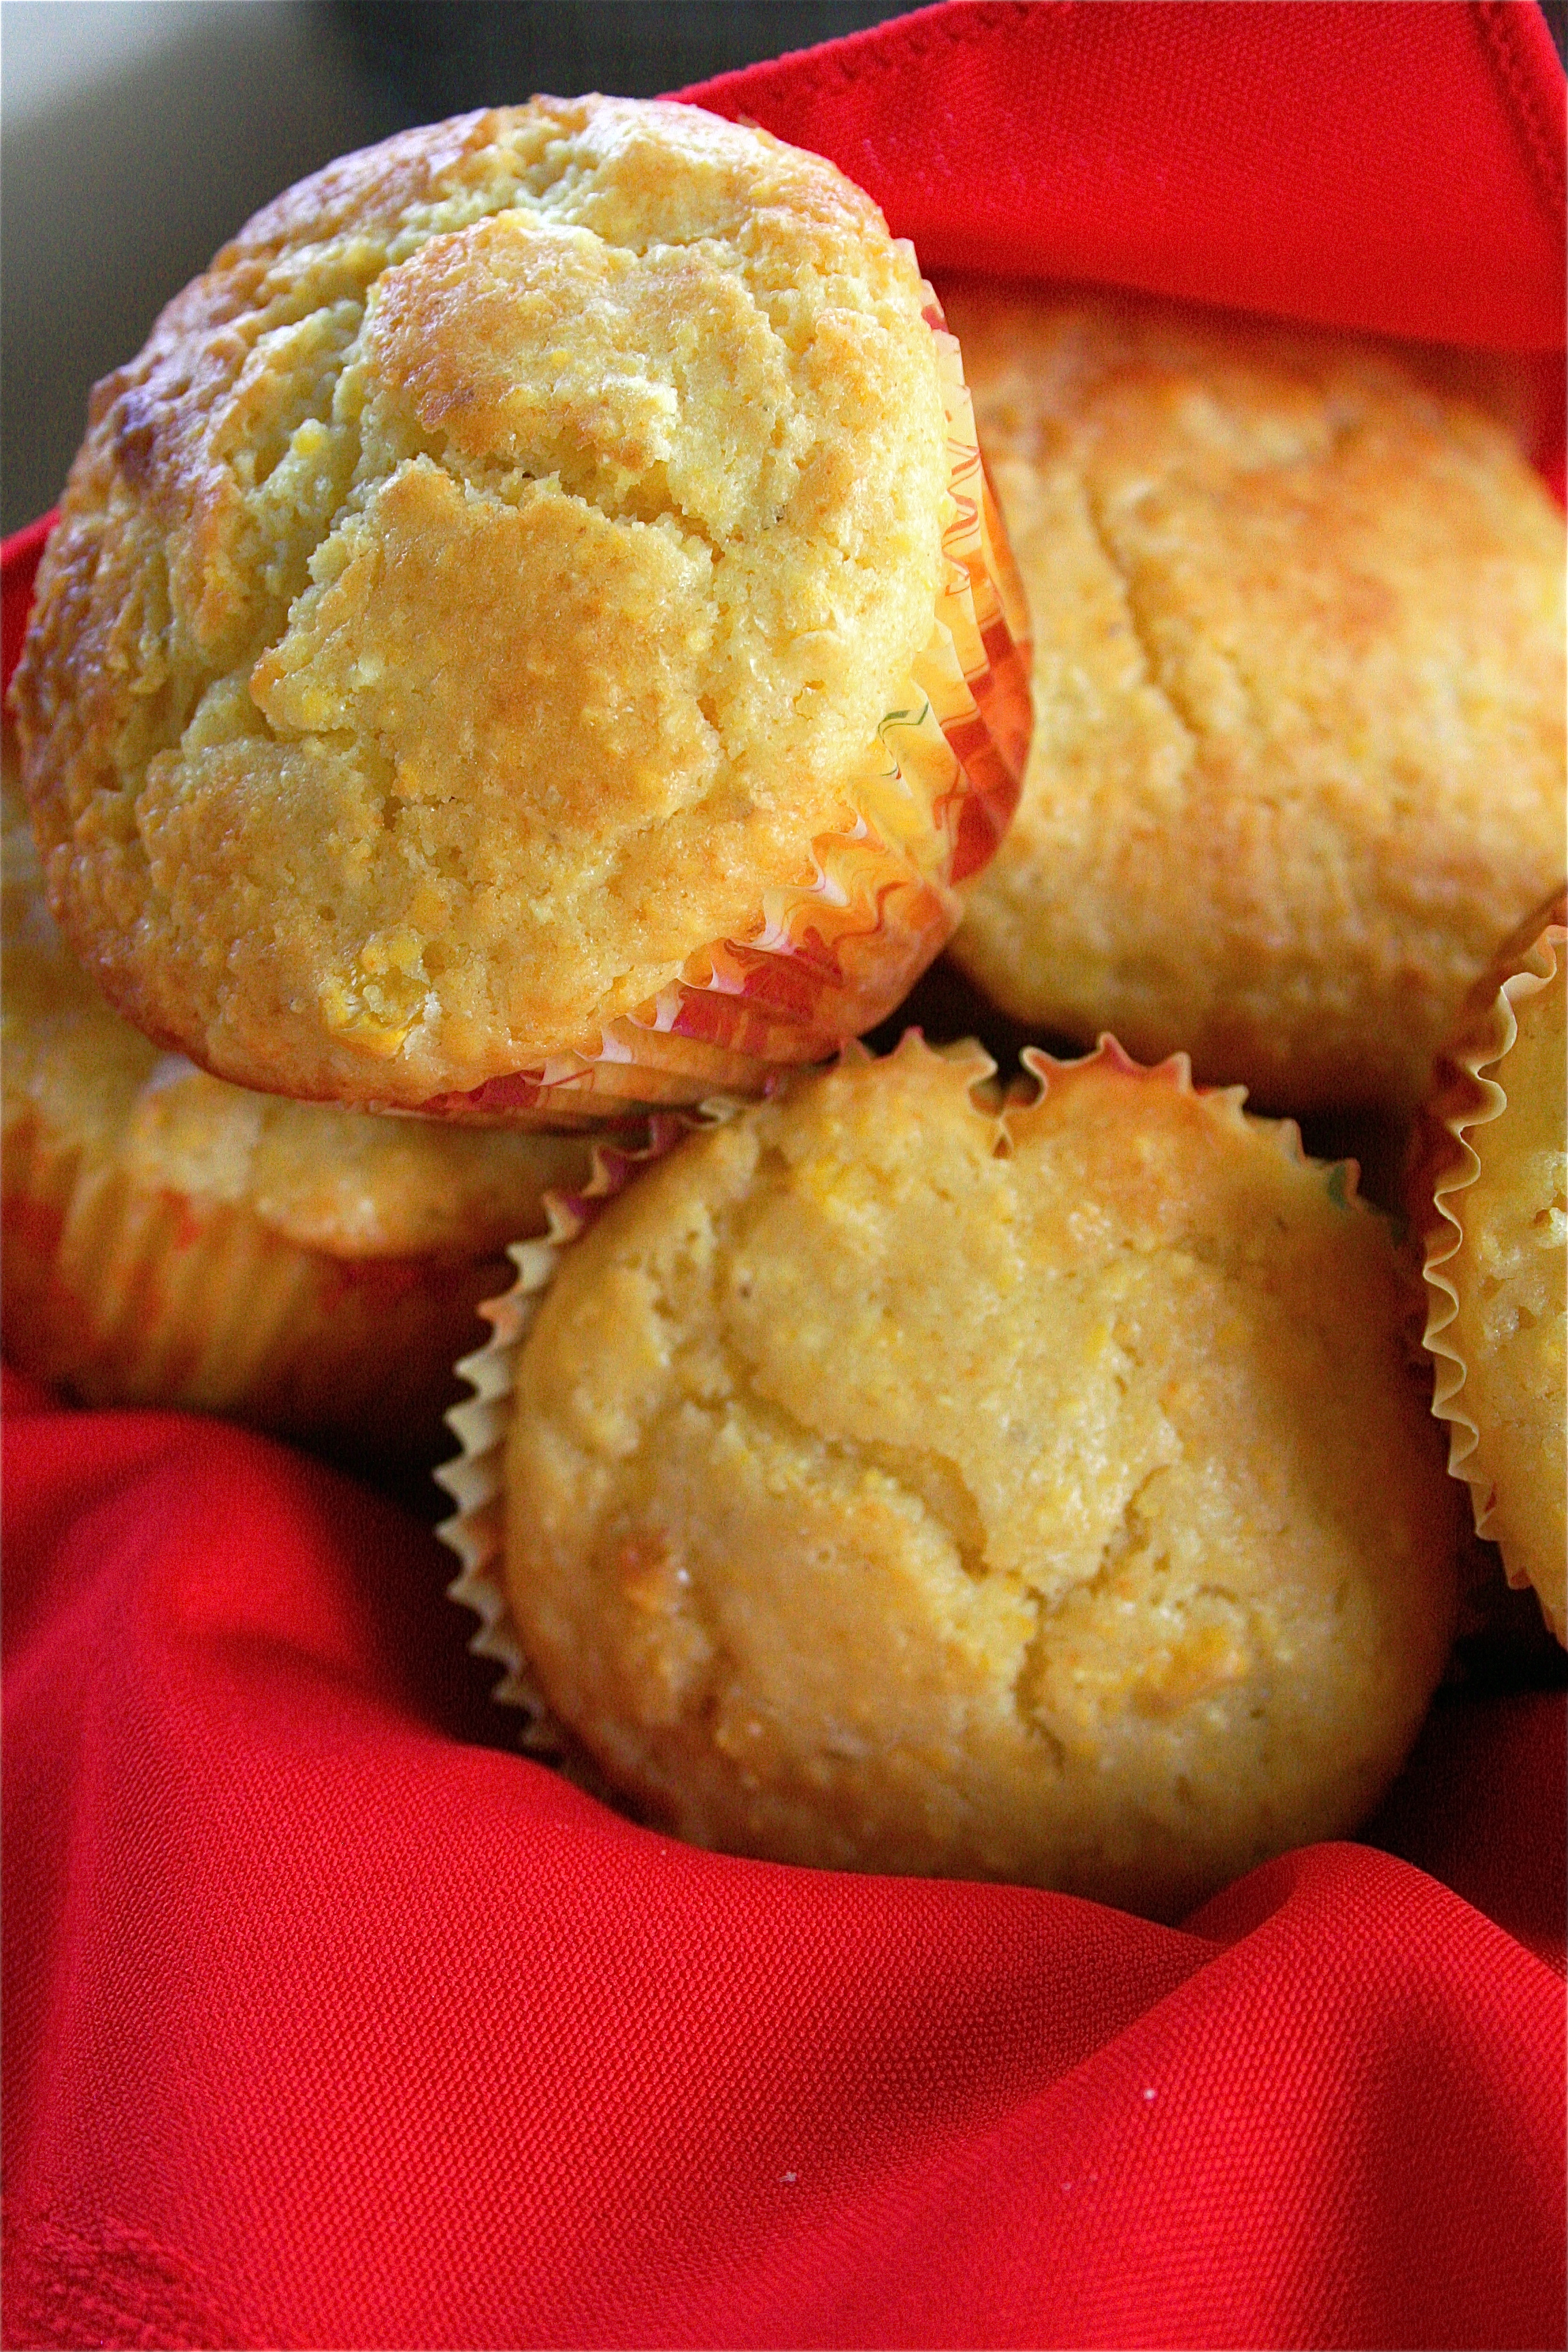
Anyways, I was making a vegetarian chili (post to follow), and I figured a cornbread muffin would be a perfect side.  I used stone ground cornmeal, which I had never used before-holy cow.  This stuff is amazing.  Although a little gritty, it added a ton of flavor and texture to the muffins. I used frozen corn in the recipe, but I can only imagine what these would taste like with fresh corn off the cob (which she recommends in the recipe).  I served these with a little butter and some honey.  Pure perfection.

The Best Corn Muffins

Servings: 12 muffins

Ingredients:

1 cup all-purpose flour

1 cup yellow cornmeal, stone-ground

6 tablespoons sugar

2 and 1/2 teaspoons baking powder

1/4 teaspoon baking soda

1/2 teaspoon salt

Pinch of freshly grated nutmeg

1 cup buttermilk

3 tablespoons unsalted butter, melted and cooled

3 tablespoons corn oil

1 large egg

1 large egg yolk

1 cup corn kernels-fresh, frozen, or canned, drained and patted dry

Instructions:

1. Center a rack in the oven and preheat to 400 degrees.

2. Line a muffin pan with paper liners.

3. In a large bowl, whisk together the flour, cornmeal, sugar, baking powder, baking soda, salt, and nutmeg.

4. In a large glass measuring cup or another bowl, whisk the buttermilk, melted butter, oil, egg, and egg yolk together until well blended.

5.  Pour the liquid ingredients over the dry ingredients and, with the whisk or rubber spatula, gently but quickly stir to blend. (It should be lumpy.)

6. Stir in the corn kernels.

7. Divide the batter evenly among the cupcake liners.

8. Bake for 15-18 minutes, or until the tops are golden.

9.  Transfer the pan to a wire rack and cool for 5 minutes before serving.

Barely adapted from Baking: From My Home to Yours by Dorie Greenspan

andybridge.bbnow.org/index.php

October 6, 2010 - 6:27 am

notyet100 - muffins look so good

October 6, 2010 - 9:48 am

Rachel - Corn muffins and chili are a match made in heaven! I’ll be watching for the chili recipe.
Thanks for the book recommendation. I’ve been craving a new baking cookbook!

October 6, 2010 - 11:34 am

KeepItSweet - i love adding corn kernels to corn or muffins, just makes it so much better

October 9, 2010 - 5:37 pm

Heavenly Housewife - Oh, this sounds simply wonderful the way you describe it. I love corn bread. Looking forward to your chilli recipe too.
*kisses* HH

Chocolate Halloween Bark

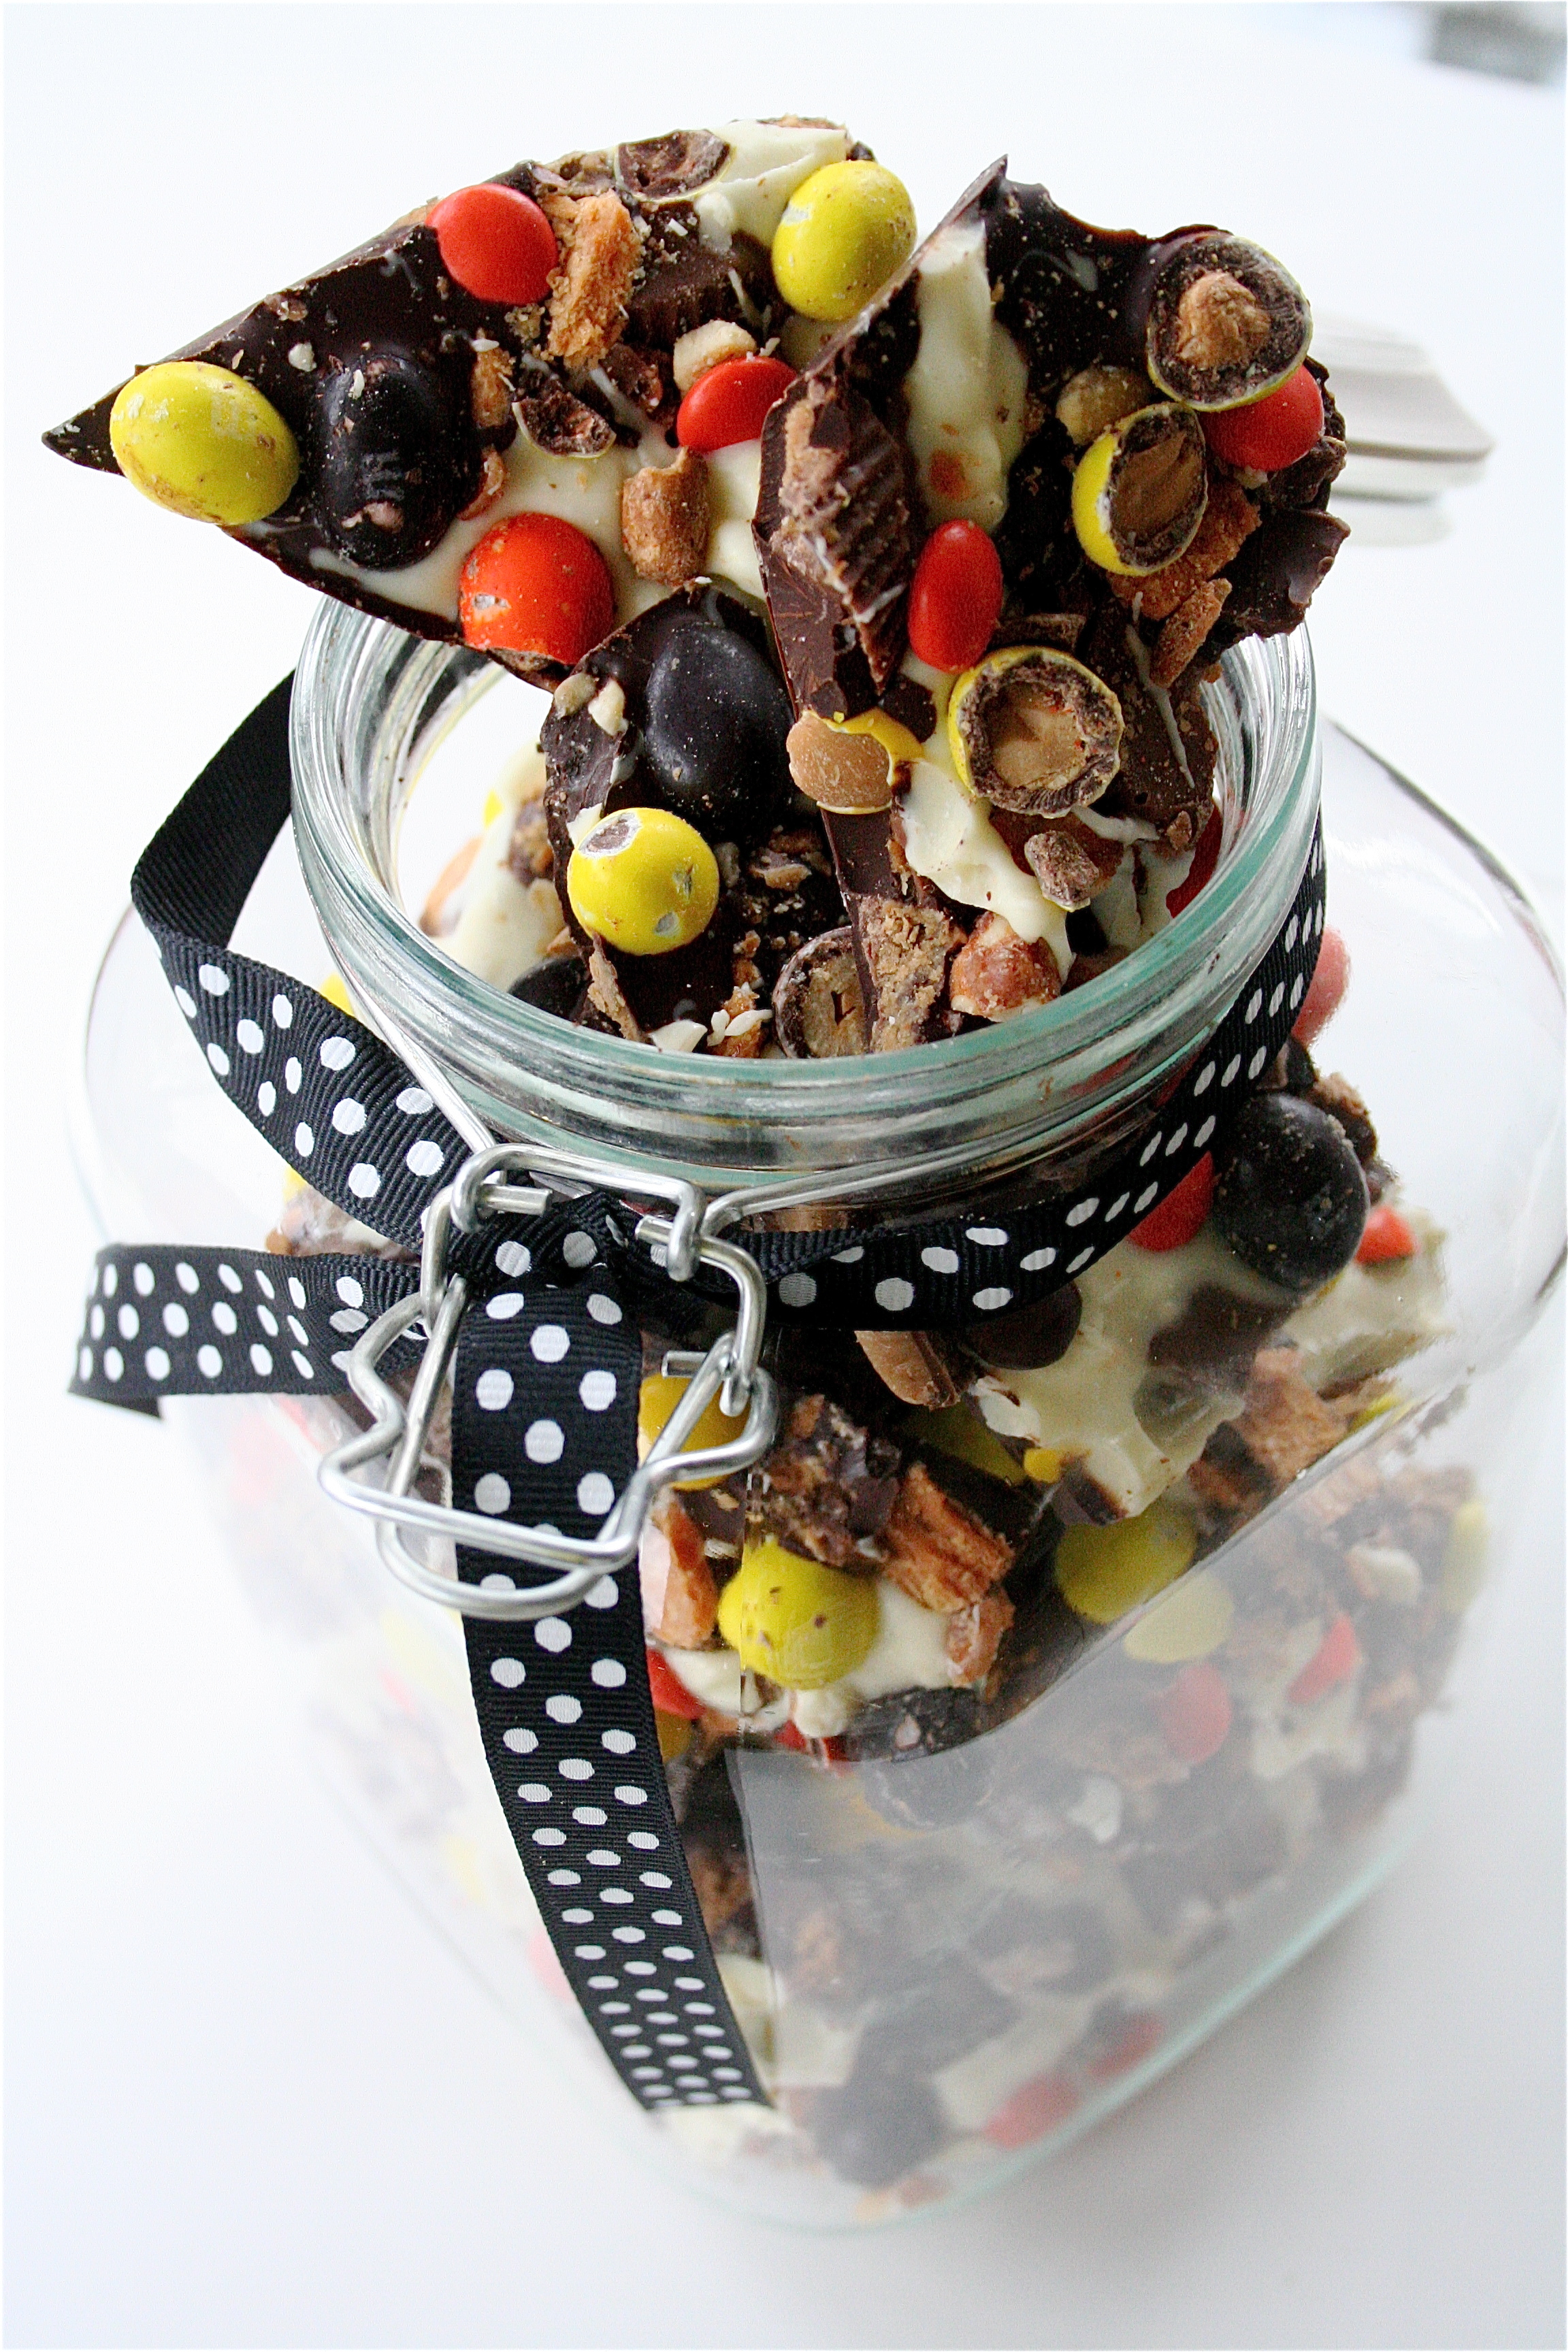
Has anyone else seen this in the October 2010 issue of Bon Appetit?  As I was flipping through the magazine and I saw this, I sat up straight and immediately planned when I would be making this.  It looked amazing.  All my favorite candy…on top of chocolate.  What could be better?

I whipped up an extra large batch of this to take to a dinner party and to send off to some friends out of town.  I bought some cute little jars from my local craft store, pretty ribbon, and soon enough, I had a great gift.  Let alone that I saved some for myself…and, admittedly, I cannot stop eating it.  It’s like a candy bar on steroids.

I couldn’t wait to post this.  It’s too good to pass up.

Chocolate Halloween Bark

Servings:  Approximately 30 2-inch pieces

Ingredients

1 pound bittersweet chocolate chips

3 2.1-ounce Butterfinger candy bars, cut into irregular 1-inch pieces

3 1.4-ounce Skor or Heath toffee candy bars, cut into irregular 3/4-inch pieces

8 0.55-ounce peanut butter cups, each cut into 8 wedges

1/4 cup honey-roasted peanuts****I used butter toffee coated peanuts from my local grocery store instead (excellent decision, in my opinion 🙂 )

3 ounces high-quality white chocolate (such as Lindt or Perugina), chopped

Reese’s Pieces

Yellow and orange peanut M&M’s

Instructions

1. Line baking sheet with foil.

2. Stir chocolate chips in heavy medium saucepan over low heat until melted and warm (not hot) to touch.

3. Pour chocolate onto foil; spread to 1/4-inch thickness (about 12×10-inch rectangle).

4. Sprinkle with Butterfinger candy, toffee, peanut butter cups, and nuts, making sure all pieces touch melted chocolate to adhere

5. Put white chocolate in heavy small saucepan. Stir constantly over very low heat until chocolate is melted and warm (not hot) to touch. Remove from heat.

6. Dip spoon into chocolate; wave from side to side over bark, creating zigzag lines.

7. Scatter Reese’s Pieces and M&M’s over, making sure candy touches melted chocolate.

8. Chill bark until firm, 30 minutes. Slide foil with candy onto work surface; peel off foil. Cut bark into irregular pieces.

Source:  October 2010 Bon Appetit

Please click on this link to send support to Andy and spread the word: Friends of Andy Bridge

October 4, 2010 - 10:53 am

Lori @ RecipeGirl - I did see this recipe. Looks really pretty- I’ve done versions before w/ white chocolate, pretzels, candy corn + M&M’s. Your photo is great!

October 4, 2010 - 11:33 am

naomi - Wow. I love this! It would be great for kids and adults alike!

October 4, 2010 - 11:36 am

Maria - I love making bark. Great additions!

October 4, 2010 - 1:04 pm

Sophia - Wow, great job here. Awesome picture too! You should really consider submitting this to Recipe4Living’s Ghoulishly Good Halloween Recipe Contest! It looks delicious!

October 4, 2010 - 1:05 pm

Sophia - Wow, great job here. Awesome picture too! You should really consider submitting this to Recipe4Living’s Ghoulishly Good Halloween Recipe Contest – http://www.recipe4living.com/articles/ghoulishly_good_halloween_recipe_contest.htm – It looks delicious!

October 4, 2010 - 1:28 pm

Paul - It looks beauyiful. Well done!

October 4, 2010 - 1:53 pm

Jenny - I think I might need to make this for Boo Bash, assuming you are not already. Yum!!

October 4, 2010 - 2:19 pm

KeepItSweet - i recently made a chocolate bark as well- love this combo of toppings, though!

October 4, 2010 - 4:36 pm

Rebecca (Indecisive Baker) - Oh this is being made as soon as I have people to share it with around! I’d eat this all alone and my pants wouldn’t be able to button!

October 5, 2010 - 1:06 am

Pam @ Kitchen Cookware set - I had not seen the recent Bon Appetite so thank you for sharing it, looks surely great for kids and adult alike. Only problem, I am not sure I can wait till Halloween to make it or keep it till then.

October 5, 2010 - 5:31 am

notyet100 - looks yum

October 5, 2010 - 11:03 am

Katy - That looks AMAZING!!!! and super festive.

October 5, 2010 - 11:29 am

Ashton Keefe - I love this, I make Christmas bark during the holidays which is the same type of thing, you’d love it! I think you’d like my blog as well!

October 5, 2010 - 11:35 am

kitchenarian - Great post and great recipe! I will make this soon.

October 5, 2010 - 3:56 pm

Kathryn - What a fun treat! That would be the perfect entry for our Halloween Recipe Contest! You can read all about it here. I hope you decide to enter it!

October 6, 2010 - 2:41 pm

Latest halloween news – The Office Halloween episodes | OfficeTally | Senorita Costumes - […] Chocolate Halloween Bark « The Curvy Carrot […]

October 6, 2010 - 7:02 pm

Shanon - Hey Shanon! Just found your blog! I love this idea. Also, I am a one ‘n’ Shanon. 🙂

October 7, 2010 - 3:11 pm

natalie (the sweets life) - yum!!!! I’m tempted to make this but worried I’ll eat it all 🙂 What a fun gift!

October 10, 2010 - 11:17 am

Aussies Kitchen - I also found this recipe and made it… I loved it!

October 16, 2010 - 11:42 am

Kori - Love this!!! Such a fun, festive treat!

October 17, 2010 - 9:23 am

Cassie - This looks amazing!!!
Love the color!!!
=)

October 17, 2010 - 10:21 am

Pink Haired Momma - OH MY GOODNESS!!! How divine! This may work well for my husband to take to work for their halloween fest!! Thanks for sharing!

October 17, 2010 - 7:10 pm

Abby - Yes, please! Looks amazing!

October 17, 2010 - 10:40 pm

Rachel - That looks amazing! I can’t wait to make this! I’d also love to link to it if you didn’t mind.

October 20, 2010 - 3:03 pm

Dina - I LOVE this!! I am a teacher and made this with my class. They loved it. It is all my favorite sweets all rolled up into one!!!

October 23, 2010 - 5:41 pm

Velva - As soon as I saw the recipe in Bon Appetit, it was on my list to try. Oh my, it is good. I plan on serving it up tomorrow afternoon with friends.

Your photo is a really nice one.

My post will go live tomorrow at 6:00 a.m. EST.

Cheers!
Velva

October 28, 2010 - 11:58 pm

Lauren - I just made this for my Halloween party tomorrow and I can’t wait to eat it!!!

October 30, 2010 - 8:57 pm

Almond joy bark « Baker's Notebook - […] many examples of chocolate bark made with Halloween candy, like this one here, and this other one here.  Every year for Christmas, I usually make a couple of batches of peppermint bark, and it is soooo […]

November 7, 2010 - 11:35 pm

Robyn - i made this last weekend as a halloween treat and my co-workers loved it! i’ll be making it again at christmas time with red & green m&ms!

October 28, 2011 - 11:21 am

Halloween Bark » Dooley Noted Blog - […] I saw this recipe, my restraint went out the window. I went to the store, stocked up on a bunch of chocolate […]

September 21, 2012 - 11:30 am

Hilani@Handmade by Hilani - This is so great. I plan to make for a football get together this Sunday.

October 30, 2012 - 10:07 am

50 Leftover Halloween Candy Recipes - […] Leftover Candy Cookies 2. Chocolate Halloween Bark {pictured} 3. Leftover Candy Cake 4. 5. Leftover Candy Popsicles 6. Candy Corn and Pretzel Bark […]

November 2, 2012 - 4:46 am

Leftover Halloween Candy {A Ridiculous Recipe Roundup} « Blessings in Disguise - […] start with this Chocolate Halloween Bark from The Curvy Carrot. See what I mean by over-the-top?? I feel like I gain two pounds each time I […]

April 21, 2013 - 6:41 pm

Chocolate Halloween Bark | Well Cooked - […] Recipe Link […]

September 26, 2013 - 2:19 pm

Nickie H. - Hi! I stumbled on your website and I cannot wait to make this bark!I had never thought to mix peanuts in with the chocolate flavors. YUMM!

In fact I loved it so much I featured it on my Top 15 easiest, cheapest, and quickest Fall recipes list. If you want a badge for your site or just to check it out feel free to look at it out here:
http://nickieslittlebubble.blogspot.com/2013/09/the-top-15-fall-recipes.html
Have a good day!

Baked Eggs with Brie and Herbs

Happy Weekend.

I’d been thinking about making these for a while now.  I used to be a huge breakfast person.  I know it’s bad, but nowadays I usually just drink coffee in the mornings and eat lunch later instead.  All the excuses I ever had about making a breakfast do not apply with these baked eggs, though.

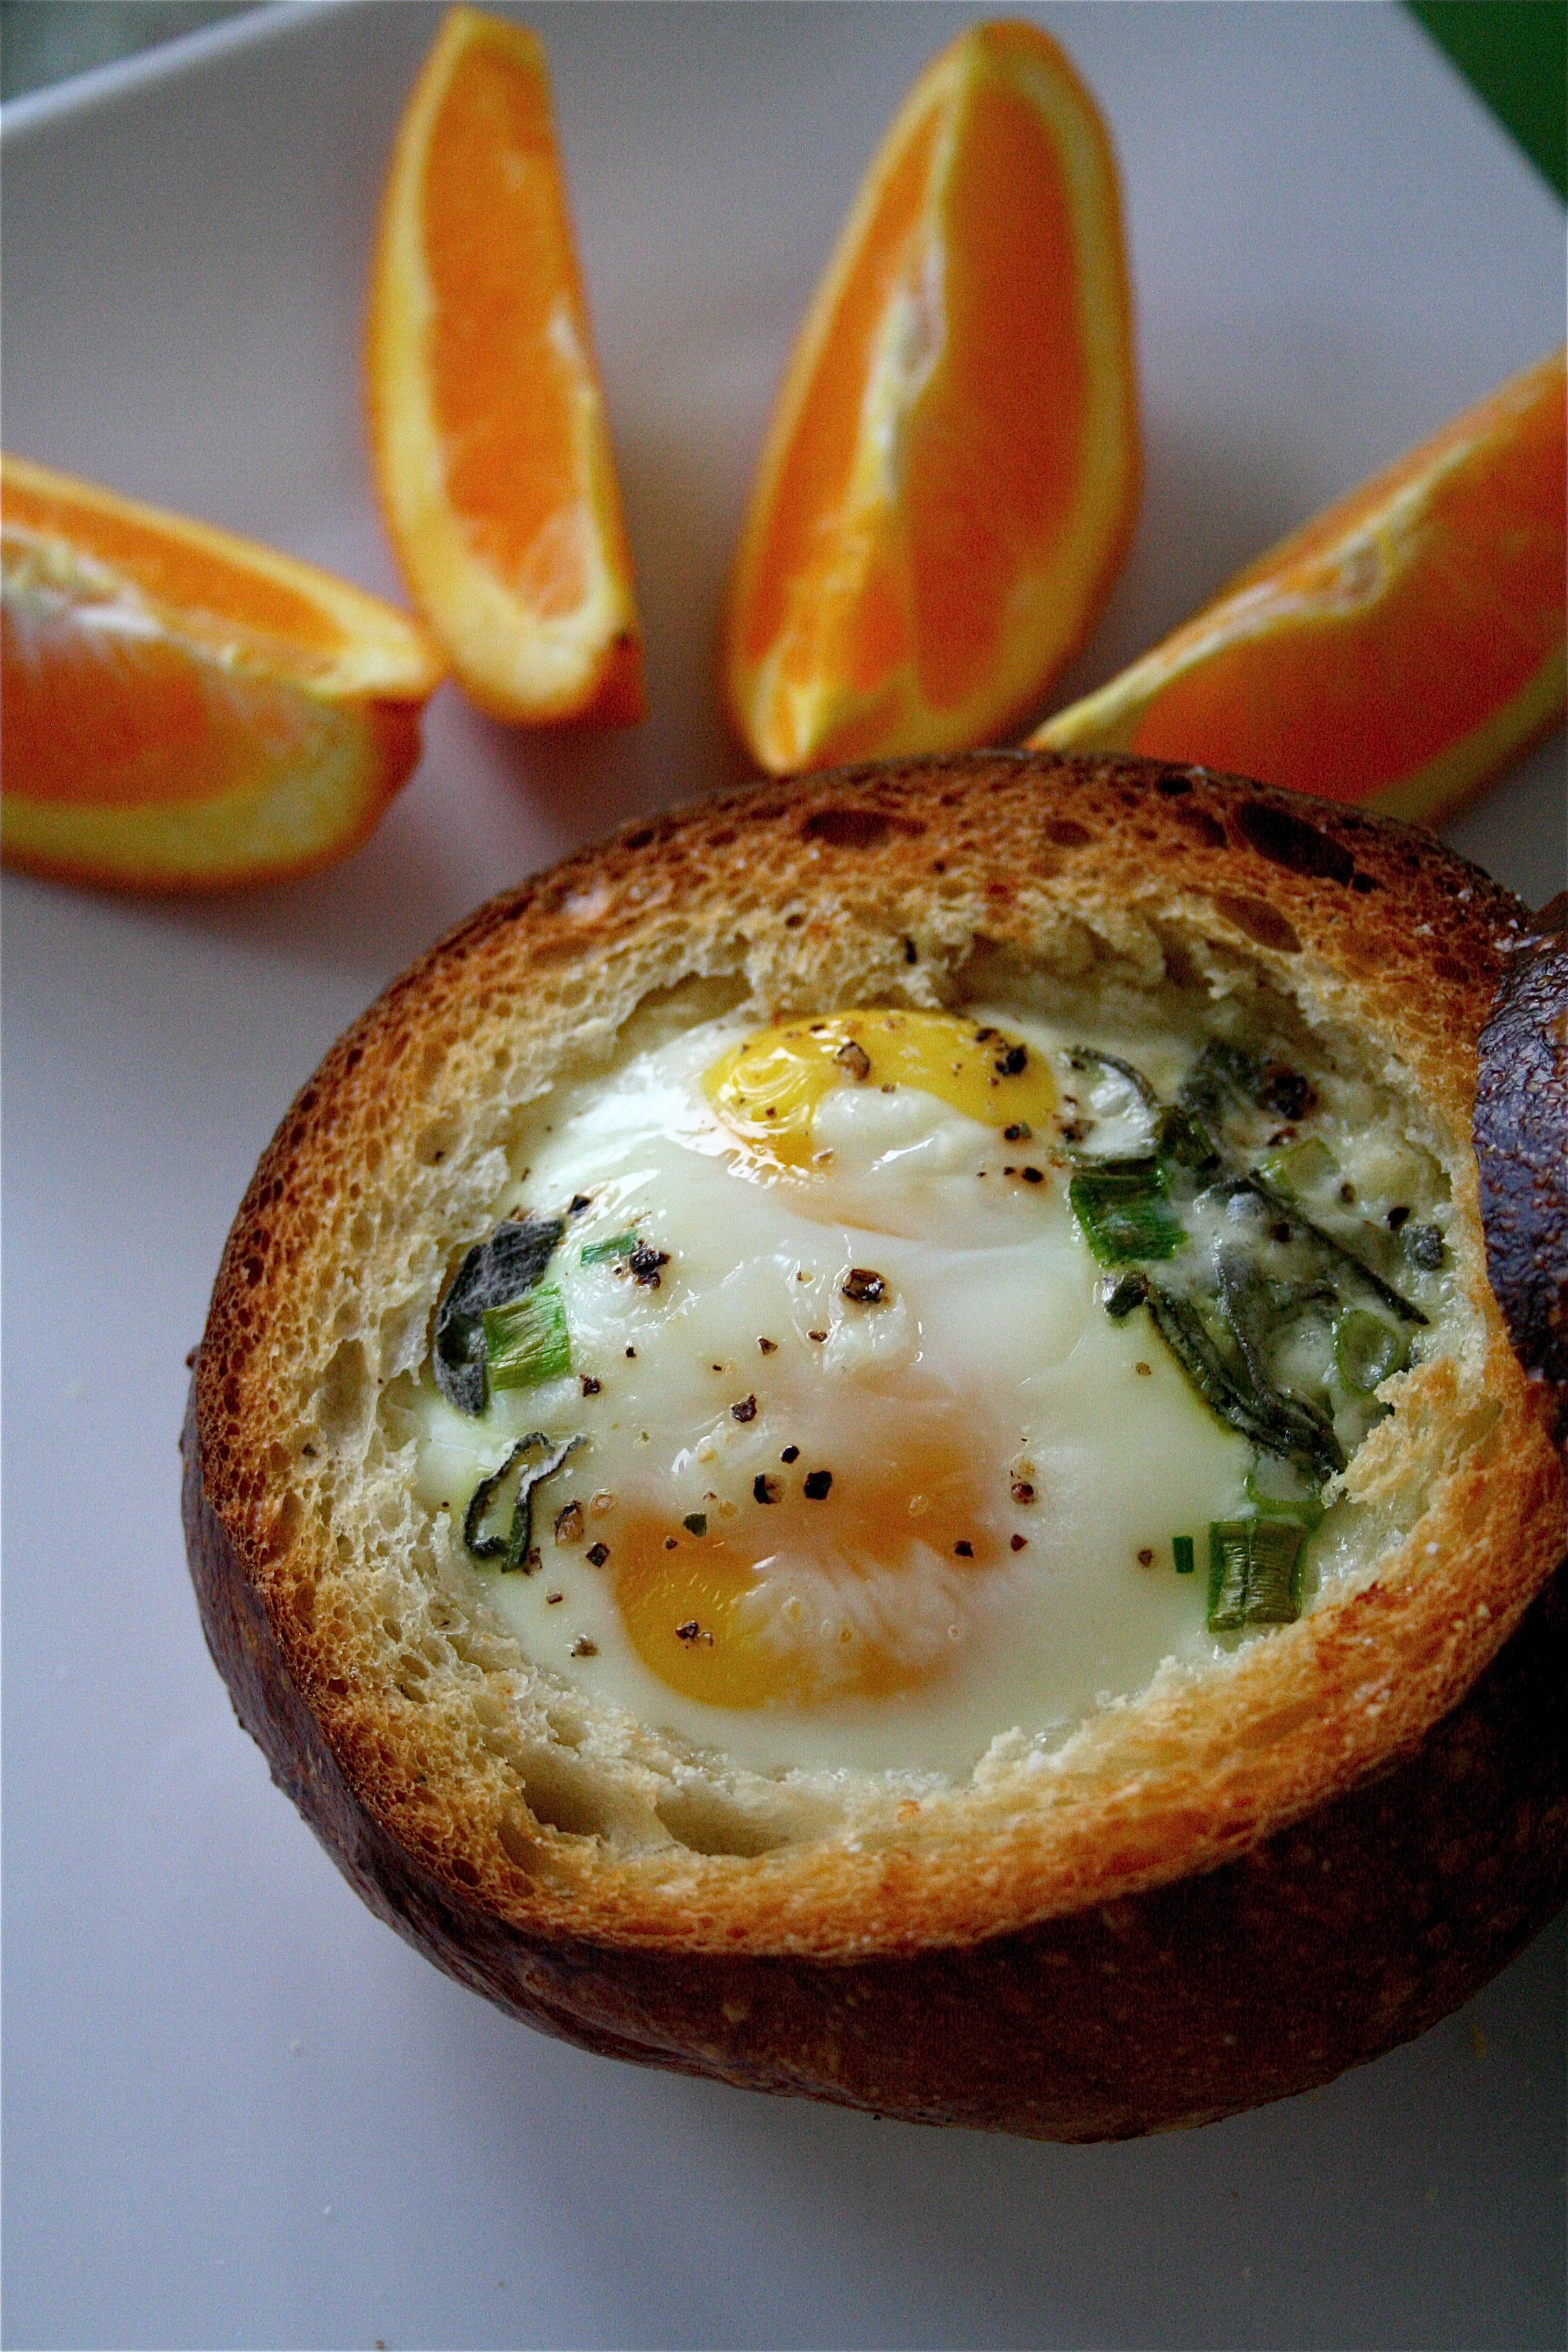
This recipe is simple.  The baking time isn’t too long.  They are delicious.  And the presentation?  They look pretty fabulous for only taking 5 minutes to prepare.

Baked Eggs with Brie and Herbs

Servings: 3

Ingredients:

3 large sour dough bread bowls (if I had enough time, I would have tried making them, however, I purchased these at my local Panera)

6 eggs

3 teaspoons heavy cream

2 teaspoons Brie****I eyeballed this.  I bought a Brie “log” in the cheese section of my grocery store, and I cut the log into thin slices.  I put enough cheese in the bowls to completely cover the bottoms.  You can add as much or as little as you like.

2-3 tablespoons of chopped green onions

2-3 tablespoons of fresh sage, chopped

Salt and pepper, to taste

Instructions:

1. Pre-heat the oven to 350 degrees.

2. Cut the tops off of the bread bowls and hollow out the bowls, if not already done and place on a rimmed baking sheet.

3. In each bowl, place your desired amount of cheese to cover the bottom of the bowls.

4. Crack two eggs into each bowl.

5. Place a teaspoon of the heavy cream over the eggs.

6.  Sprinkle with herbs and salt and pepper.

7.  Bake in an oven for about 20 minutes or so, until the eggs are completely cooked.  (**My oven is a little challenged, so I ended up baking mine for about 30-just keep an eye on them).

8.  In the last 5 minutes or so, place the tops of the bread bowls on the baking sheet to toast.

Adapted from My Recipes.

October 2, 2010 - 10:02 am

To Kiss the Cook - THere are very few breakfasts I love as much as eggs en cocette and you’ve gone and upped the ante with an “eggs in the nest” hybrid. I love it. Really pretty shot on top as well.

October 2, 2010 - 10:02 am

KeepItSweet - these look awesome! i am starving as soon as i wake up and can never skip breakfast

October 2, 2010 - 11:13 am

notyet100 - looks so healthy

October 18, 2010 - 5:28 pm

Amy - About how big r those bowls? Size of a large orange? This looks so good. I am going to make it this weekend.

October 18, 2010 - 5:49 pm

Shanon Lacy - Hi Amy-

I bought the rolls from Panera Bread, and they were the smaller of the two kinds of sourdough rolls they offer. I would estimate that they were about the size of a grapefruit or so-enough to hold two eggs.

Thanks for stopping by!

Shanon

December 31, 2013 - 5:12 pm

Broken Yolk Sandwiches » The Curvy Carrot - […] Baked Eggs with Brie and Herbs […]