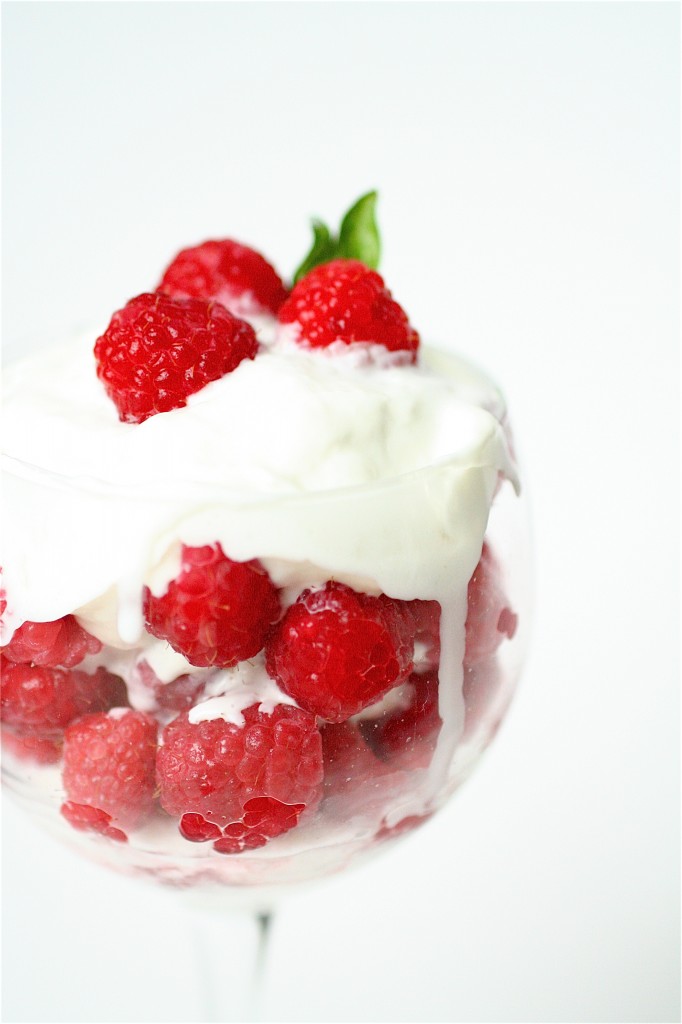
Raspberries in Zinfandel

I owe this post to my dad.  Why?  Because he found this recipe, he made it to share with me, and it was so good, I asked him if I could share it with you.

My dad has a holiday and special occasion tradition for mixing fresh fruits with different kinds of alcohol.  On Easter he had cherry vodka-soaked grapes out in the freezer, but then he realized after all the family festivities were over that he had forgotten to serve them.   You should have seen the look on his face.  I felt so bad for him.  His prized special contribution to the family dinner was lost and forgotten.  (But still good for dessert the next night!)

He made these zinfandel-soaked raspberries a few weeks ago when he saw some fresh raspberries at the store.  Being a diabetic, it’s often hard for him to find treats that satisfy his sweet tooth but also keep his sugars in good control.  I’m really proud of my dad-in the last few months, he’s lost 13 pounds and has started exercising again.  Eating “desserts” like these make losing weight easy for him.  He ate his fruit plain, just out of a bowl.  I took the liberty of adding a little whipped cream to mine to make it almost like a parfait, and it was incredible.  The alcohol taste is very subtle-the berries are plump and sweet.  And since I am more of a chocolate dessert fan than a fruit kind of dessert fan, I was pleasantly surprised by how much I enjoyed this dessert.  And, seriously, what is better than a dessert that calls for three ingredients and two steps in the instructions?
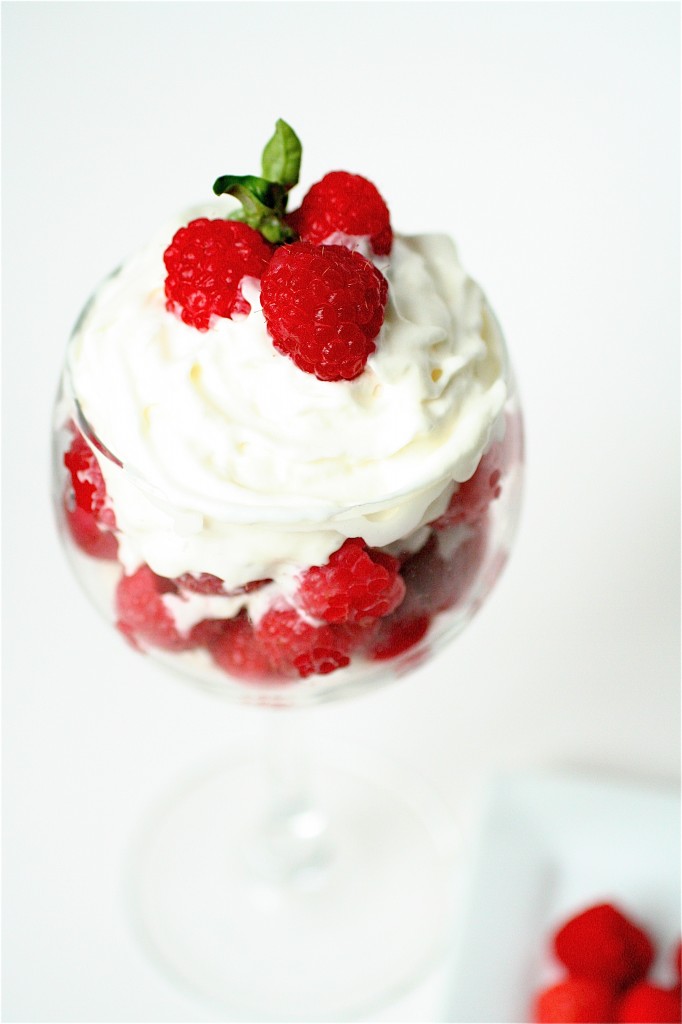
Raspberries in Zinfandel

Servings: about 2 cups


Ingredients

2 cups fresh raspberries, rinsed

2 tablespoons sugar (or sugar substitute, if you prefer that)

1/4 cup zinfandel (whatever kind you prefer)

Whipped cream, for serving (optional)


Instructions

1. In a medium bowl, combine all the ingredients and mix well.

2.  Cover and allow the mixture to marinate for at least one hour, at room temperature.  ***I would advise putting them in the refrigerator to marinate if you will not eat them immediately.  They tasted fantastic chilled!

3. Serve as desired.
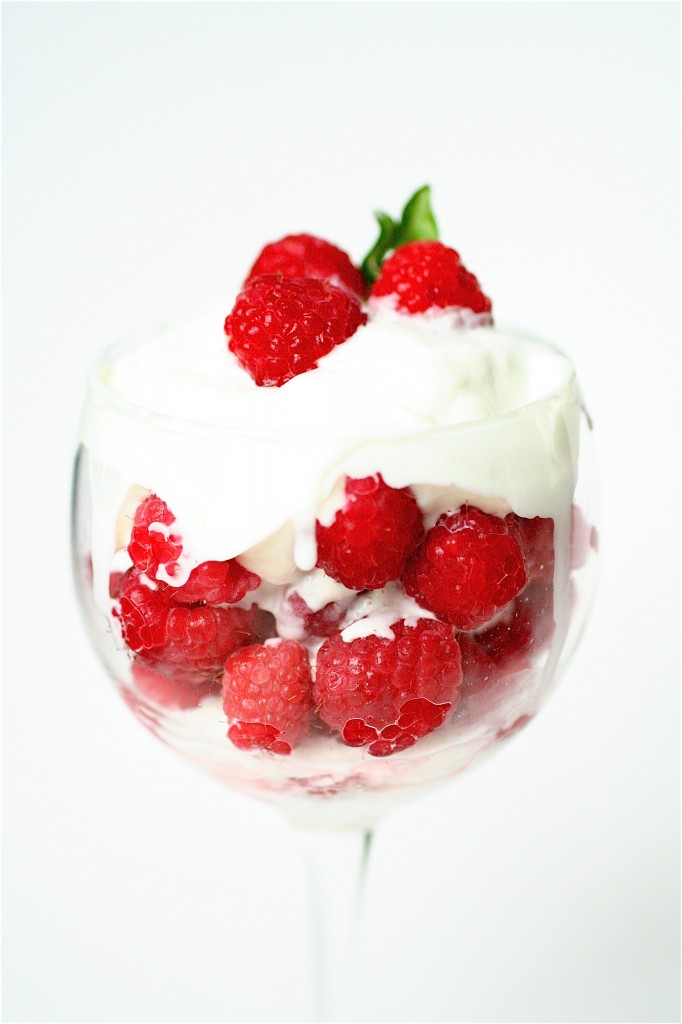
Source: Diabetes Forecast via the American Diabetic Association.  (Thanks, Dad!)


May 21, 2011 - 5:11 pm

Cara - What a wonderful summer dessert!

May 22, 2011 - 5:25 pm

Yuri - Ohh I love zinfandel. Too bad I can’t find raspberries here, might try this with strawberries 🙂

May 23, 2011 - 5:46 pm

Shawnda - How beautiful and simple. Looks like a great summer dessert!

May 30, 2011 - 11:52 pm

The Honey Nut - I love how you served it in a wine glass! Sounds perfect for a hot summer day 🙂

Super Peanut Butter Drops

I love peanut butter.  I really do.  And I love chocolate.  So these cookies are what I would call pure perfection. 😉

I know I just recently posted the chocolate chip cookies, but I’ve been in a cookie mood lately.  And I figure you can never have too many cookies.  Right?  Right!


These are drop cookies-which happen to be my favorite kind of cookie.  Which really means a low maintenance kind of cookie.  The kind where you just mix everything together in a bowl and “drop” the cookies onto the baking sheet.  No use of cookie cutters.  No special frostings or sprinkles.  No “let it chill until firm” (my least favorite kind of cookie, by the way, because I like instant gratification when it comes to sweets….). Just plain old-fashioned cookies that are ready in 15 minutes.

I was surprised when I read the list of ingredients and realized that there was no butter in this recipe.  Yes, there is lots of peanut butter, but no butter.  Which was great because I only had one stick left in the refrigerator and knew that I would probably need it in the coming days. And I decided to use my mini chocolate chips up, but you could add any kind of chocolate chip you like.  Bits of real peanuts would be good, too.  The cookies are moist and chewy…and absolutely wonderful with some milk.

Super Peanut Butter Drops

Servings: 24 cookies

Ingredients

1 cup peanut butter **I used creamy

1/2 cup granulated sugar

1/2 cup packed brown sugar

1 teaspoon baking soda

2 eggs

1/2 cup all-purpose flour

1 cup miniature chocolate chips, plus more for garnish

Instructions

1. Preheat the oven to 325 degrees.

2.  In the bowl of your standing mixer fitted with the paddle attachment, combine the peanut butter, granulated sugar, brown sugar, and baking soda until well mixed.

3.  Add the eggs, one at a time.

4. Add in the flour, mixing until well combined.

5. Stir in the chocolate chips.

6. Using a cookie dough scoop or your hands, form the dough into 1 and 1/4-inch balls, slightly flattening each one, and place onto an ungreased cookie sheet.

7. Bake the cookies for about 10 minutes or until the cookies are slightly puffy and light brown around the edges.

8. Let cool on a wire rack.

9. Garnish with additional chocolate chips, if desired.

Source: The Ultimate Cookie Book.


May 19, 2011 - 5:07 am

Apron Appeal - Chocolate chip peanut butter cookies? Not a terribly difficult cookie to wrap my brain around, I wonder why this is the first time I’m seen anything like it.

May 19, 2011 - 6:35 am

Lauren at Keep It Sweet - Cookies ready in 15 minutes? That is my kind of cookie, too:-) Especially when it involves chocolate and peanut butter!

May 19, 2011 - 6:58 am

branny - Yesterday I made some chocolate chip pretzel cookies and I Was just thinking “I wonder how these would turn out with replacing the butter with PB…” I should totally try it!

May 19, 2011 - 10:23 am

Yuri - These cookies look so good! no butter = they must be good for you 😉

May 19, 2011 - 12:25 pm

Emily - Peanut butter and chocolate? You can’t go wrong! Those look delicious!

May 19, 2011 - 1:48 pm

sherri lynn - ooh these look so yummy!

May 19, 2011 - 3:46 pm

Patricia Scarpin - I would love one of these right now. Or maybe 3. 😀

May 20, 2011 - 3:37 pm

marla - I had to dash over from Foodgawker to see these goodies – delish indeed 🙂

May 20, 2011 - 10:47 pm

Karen (Cooking with Karen) - I love peanut butter & chocolate chip cookies — especially moist & chewy ones. I’m definitely going to have to try this recipe soon!

May 21, 2011 - 10:40 pm

Alexis - I tried these out today and they were super simple and delicious!

May 22, 2011 - 11:11 am

sara - These cookies look AMAZING! I love the combo of chocolate and peanut butter so much, yum! 🙂

May 22, 2011 - 11:21 am

Jan - I haven’t had a peanut butter cookie in years! I’ve gotta make these. Thanks for the recipe 🙂

June 11, 2011 - 12:50 pm

Paigeandlizzy - At first, they didn’t look like the picture, so i was nervous. But i brought them down to the lake and everyone raved about them! They kept saying how soft and delicious they were and EVERYONE was asking me for the recipe. Biggest hit ever 🙂 Thanks!

June 17, 2011 - 8:50 pm

Peanut Butter Chocolate Chip Cookies | Koko Likes - […] out the window. So instead I made these Peanut Butter Chocolate Chip Cookies that I had seen on The Curvy Carrot a few weeks […]

September 15, 2011 - 6:39 am

Tamar - These could actually be made gluten-free by simply omiting the flour! That’s how I make mine, anyhow. Sure, they’re a totally different consistency (mine only have 1 egg, too) but I mean, it’s peanut butter. And chocolate. It can’t be bad 😉
I will totally try making these, though. They seem chewy and delicious and perfect.

December 9, 2011 - 3:24 am

Peanut Butter Chocolate Chip Cookies — Koko Likes - […] out the window. So instead I made these Peanut Butter Chocolate Chip Cookies that I had seen on The Curvy Carrot a few weeks […]

January 6, 2012 - 5:00 am

The Curvy Carrot » Soft and Chewy Chocolate Chip Cookies - […] Super Peanut Butter Drop Cookies […]

April 22, 2012 - 9:53 am

Katie - There is a butter shortage in Nairobi and I’m desperate for cookies, so I’m glad I stumbled on your recipe!

September 8, 2012 - 9:32 pm

Amber - I tried this new recipe since I developed lactose intollerance. It was my first time making PB cookies without butter and was pleasantly surprised! I recommend sprinkling sugar on top for added sweetness. Try this recipe!!!

February 1, 2013 - 12:35 pm

Alicia Wait - Thank you for sharing your fantastic recipe. Not only was it delicious, it was easy. Having had a stroke and with right side paralysis your recipe was easy enough to make with one hand. Thank you so much. Alicia

June 25, 2014 - 8:14 pm

Crystal - These are delicious!! Just made them for my family bc I was looking for a sweet treat to make (with no butter…..cause I’m always out of something!) and these were better than expected. Will be making these again…..soon!

Radish-Chive Tea Sandwiches

Don’t tea sandwiches make you want to sit up straighter, politely curtsy, and say, “don’t mind if I do…”?

OK, well, maybe not.  Maybe it’s just me.  But tea sandwiches DO make me feel a little more lady-like.  I think I decided to make these because I was inspired by all of the Royal Wedding hoopla; I bet people like the Queen have tea sandwiches everyday.  These were appealing to me for several reasons.  I made these as part of my Mother’s Day finger food line-up, and my mom loves radishes, especially the big ruby-red ones that I picked up at Whole Foods the day before.  I loved the idea of mixing the radishes with Asian flavors..a little crunch with a little ginger?  Interesting.  The nice thing was that I had all of the ingredients on hand after I got the radishes, so they were also very budget-friendly.  And the last reason why I decided to make these?  Because they took 10 minutes to prepare and assemble.  And look at them.  Radishes are so pretty.  If I was a little more creative with my knife skills, I would have tried to make those little radish roses that you see sometimes……but don’t worry.  I’m working on that part.

Some readers have asked for more dinner party ideas.  I think this would be a great starter for a dinner party, but an even better addition for a bridal or baby shower menu (and it’s that season again…). I’m in the process of revamping my archives to include an Entertaining section for things like this.  I’m always trying to make this blog better for my readers and friends.  If you have any ideas/suggestions, please send them my way.  I would love to hear from you.

Radish-Chive Tea Sandwiches

Servings: approximately 16

Ingredients

4 tablespoons unsalted butter, room temperature

3 to 4 tablespoons chives, minced and divided

1 tablespoons sesame seeds, toasted, plus more for garnish

3/4 teaspoon fresh ginger, grated

1/4 teaspoon Asian sesame oil

10 radishes, thinly sliced

1 French baguette, sliced diagonally into 16 slices

Sea salt, to taste

Instructions

1. In a small bowl, combine the butter, 2 tablespoons of the chives, 1 tablespoon of the toasted sesame seeds, grated ginger, and sesame oil.

2. Spread the butter mixture over each slice of bread (as much as you want!)

3. Top each slice of bread with 2-3 radish slices.

4. Garnish with remaining sesame seeds, chives, and sea salt.  ***Add the sea salt right before serving for best results.

Source:  barely adapted from Bon Appetit, April 2008 via Epicurious.


May 17, 2011 - 8:16 am

Tes - What a gorgeous sandwich! I can’t wait to try this on my party 🙂

May 17, 2011 - 9:17 am

Apron Appeal - My eight year old thinks he likes radishes. I think I’ll try this to find out for sure. 🙂

May 17, 2011 - 4:53 pm

Mike - I love radishes! Whenever I see a group of them at the market I can’t resist them. This looks great!

May 17, 2011 - 6:47 pm

Jen of My Tiny Oven - These are so pretty! You take such amazing photos! Amazing!

May 17, 2011 - 8:38 pm

torviewtoronto - love the presentation colourful

May 17, 2011 - 10:05 pm

Lori - I planted radishes for the first time this year, and they are growing like crazy. I have been looking for things to make with them, and this appetizer looks amazing! Can’t wait to try it!

May 19, 2011 - 9:31 am

Audrey Ellen @ My Scene and Herd - There is something so fresh about little veggie tea sandwiches. Yum!

May 19, 2011 - 3:26 pm

Jessica - This sounds great and perfect for summer! I recently got some Himalayan pink salt from Sustainable Sourcing https://secure.sustainablesourcing.com and I’ll have to try it out in this recipe. Thanks for sharing!

June 22, 2012 - 4:54 pm

Cheap Recipe Blog » Cheap Picnic Food Ideas - […] Radish-chive tea sandwiches from The Curvy Carrot – Pretty little tea sandwiches that are perfect for a light lunch or picnic potluck. […]

April 4, 2013 - 12:07 pm

5 Colorful Ways to Cook Radishes — Eat Well 101 - […] Radish Chive Tea Sandwiches –  by The Curvy […]

April 10, 2013 - 10:06 am

Spring Radish Crostini | The Curvy Carrot Spring Radish Crostini | Healthy and Indulgent Meals Dangling in Front of You - […] made some radish tea sandwiches before.  Simple, elegant and completely “in season.”  These, however, add a little […]

July 24, 2013 - 8:01 am

Time for Tea - Serving Seconds - […] radish chive sandwiches // assorted sandwiches // scones […]

December 17, 2013 - 1:10 pm
December 19, 2013 - 4:38 am
July 11, 2014 - 5:12 pm

Foods by Color: Radishes - […] Radish Chive Tea Sandwiches from The Curvy Carrot […]

July 12, 2014 - 12:48 am

The Ultimate Summer Produce Guide & Recipes | Live Simply - […] Radish-Chive Tea Sandwiches […]

February 20, 2015 - 9:49 pm