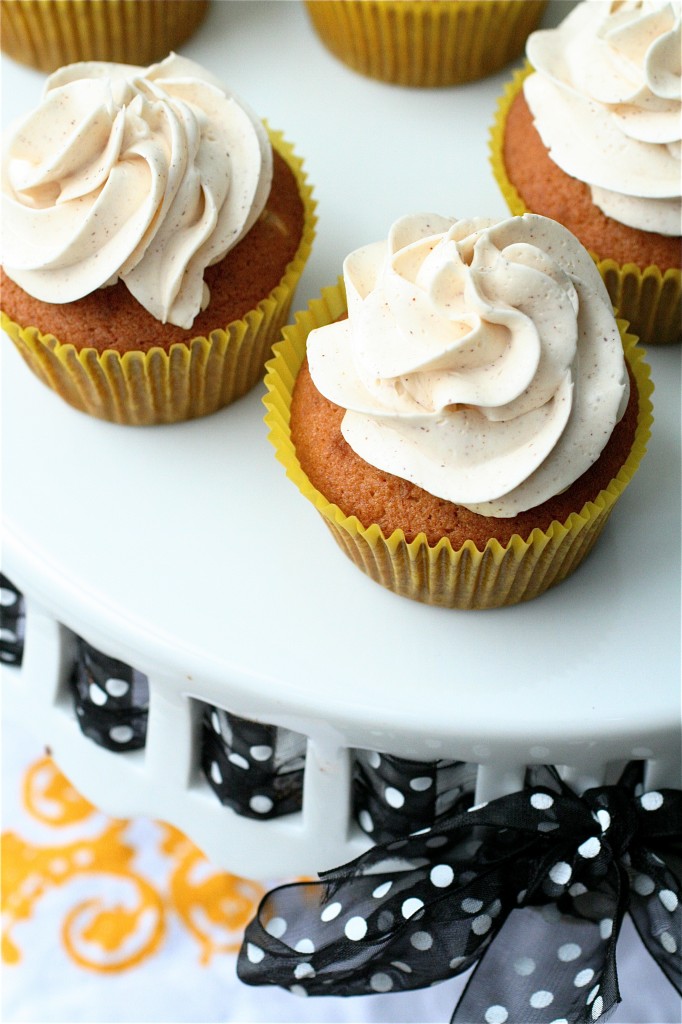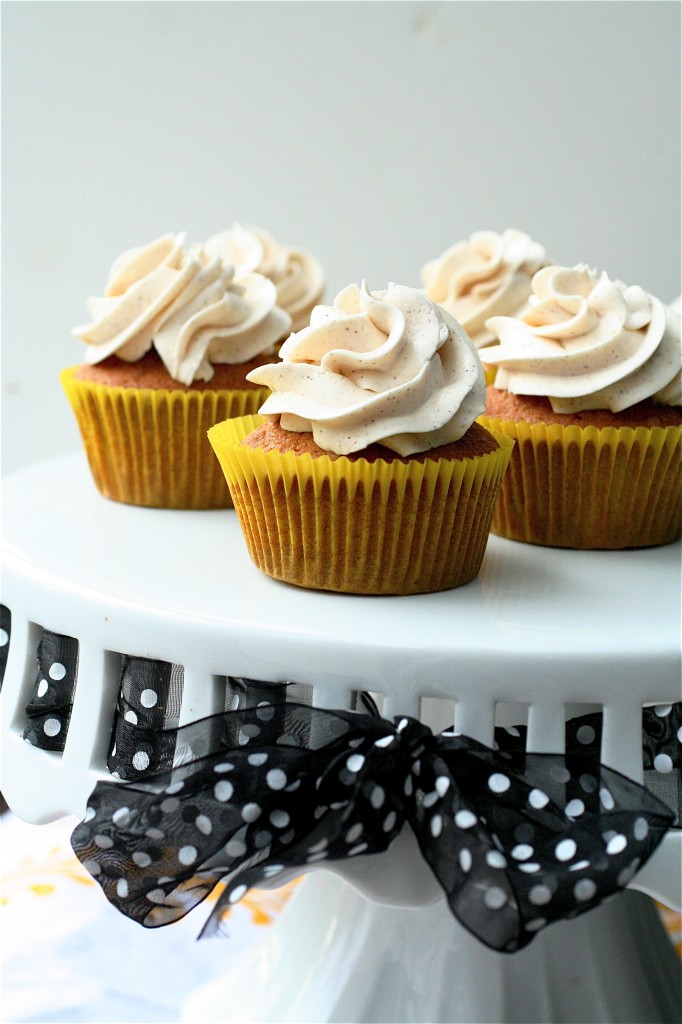
I couldn’t help myself.
I’ve had a busy week. I sold my house. Considering I am moving to New England in just three and a half short months, this is a huge relief, and it’s especially a huge relief because it seems like every other house in the neighborhood is for sale as well. So cross your fingers that all goes well, and closing is the final straw for a series of events that have been a very long time coming.
So what do I do? I pull out the big guns in the “recipes I have been meaning to try for a very long time” arena. Bananas Foster has always been one of my favorite desserts (I mean, come on, who doesn’t love a good solid flambé table-side? Or, even better, in your own kitchen?). So this was a dessert I wanted to tackle in my celebration of (hopefully) not being a homeowner for much longer and for the very beginnings of a new start out East. I have my medical boards coming up, so after a long day of intense studying, some culinary therapy was in order. And, there is nothing better to me than spending an evening in the kitchen, trying something adventurous, and listening to some new music. Ahhh, heaven.
Now, I will not lie. These are complicated. I added to the complication by deciding to create a Swiss meringue cinnamon rum buttercream. I would have gone for a cream cheese based frosting, but I was slightly concerned that the sweetness of cupcakes (especially having real Bananas Foster in them) combined with an in-your-face, thick, sweet frosting would be way too much. I love Swiss meringue for its subtle sweetness and heavenly texture. Light as air, but full of flavor in the form of cinnamon and rum. I thought it was a great compliment for the cupcakes. The best part about this dessert? The fact that you actually get to make Bananas Foster on the stove! I got to flambé for the first time. Just make sure you have a long match for this, and be careful! It can be super intimidating, I know, but you can do it!!!!
Bananas Foster Cupcakes with Cinnamon Rum Swiss Meringue Buttercream
Servings: approximately 32 cupcakes
Ingredients
For the actual Bananas Foster:
3/4 cups (1 and 1/2 sticks) unsalted butter, room temperature
1/2 cup light brown sugar
1/2 teaspoon cinnamon
2 firm but ripe bananas, sliced into 1/4-inch thick cross-section slices
2 tablespoons spiced rum
1/2 teaspoon vanilla extract
For the rest of the cupcake:
3/4 cup (1 and 1/2 sticks) unsalted butter, room temperature
1 and 1/2 cups granulated sugar
2 and 1/2 cups all-purpose flour
1 teaspoon baking soda
1/4 teaspoon salt
3 large eggs
1 teaspoon vanilla extract
1/2 teaspoon spiced rum
3/4 cup sour cream
For the Cinnamon Rum Swiss Meringue Buttercream:
5 large egg whites
1 and 1/2 cups granulated sugar
6 sticks (yes, I know, I know….) unsalted butter, room temperature, cut into 2-inch pieces
2 tablespoons spiced rum
1 teaspoon cinnamon
Special equipment: a candy thermometer

Instructions:
1. For the Bananas Foster: Over medium heat in a large sauté pan, combine the butter, brown sugar, and cinnamon, stirring frequently.
2. Once the brown sugar is completely dissolved, add the sliced bananas and cook until tender, about 4-5 minutes, making sure to evenly coat the bananas with the butter “sauce”.
3. Add the rum and vanilla to the pan.
4. Turn off the heat (especially if you have a gas flame), and very carefully, using a long match, light the rum near the outer edge of your pan.
5. Shake the pan and flame very gently from side to side. The flame should only last about 10 seconds, at the most.
6. Once the flame is out, stir the mixture to evenly coat the bananas, and set aside.
7. For the cupcakes: Preheat the oven to 350 degrees.
8. Line your cupcake pan with the desired liners.
9. In your standing mixer using the paddle attachment, combine the butter and sugar, mixing well until light and fluffy, about 2-3 minutes.
10. Meanwhile, combine the flour, baking soda, and salt in a separate bowl.
11. Add the eggs to the butter/sugar mixture, one at a time, mixing well after each addition.
12. Add the vanilla and rum to the wet ingredients to the wet ingredients.
13. Very carefully (it will still be hot) and with the mixer off, add the Bananas Foster mixture to the standing mixer bowl. Resume mixing at low speed until mixed well.
14. Add the flour mixture and the sour cream in thirds, mixing alternatively with each other. Mix the batter until well combined.
15. Pour the batter into the prepared cupcake pan.
16. Bake the cupcakes until golden brown and a cake tester inserted in the center comes out clean, about 20-25 minutes total, rotating the pans halfway during the baking process.
17. Cool the cupcakes completely on a wire rack before frosting.
18. For the Cinnamon Rum Swiss Meringue Butter Cream: In a heatproof bowl over gently simmering water, lightly whisk the egg whites and granulated sugar until well-combined. Using your candy thermometer, heat the mixture, whisking frequently, until the temperature registers 140 degrees (this took me about 20 minutes or so.)
19. Once hot, pour the mixture into your standing mixer (make sure your mixing bowl is room temperature) bowl and, using the whisk attachment, whisk until the whites have doubled in volume, about 5 minutes or so. The mixture should be thick and creamy in consistency, and it should not move around the bowl once the whisk stops moving.
20. Remove the whisk attachment and attach the paddle.
21. Add half of the butter pieces, and, stopping and starting your mixer in 1-2 second pulses, pulse the mixture until the butter pieces are all evenly coated with the meringue.
22. Add the remaining half of the butter pieces and pulsate the mixer several more times.
23. Starting with the lowest mixing speed, mix the meringue for about 10 seconds, increasing the speed of your mixer consecutively, at each speed for about 10 seconds, until you reach a medium-high speed.
24. Continue mixing at a medium-high speed until the butter is completely melted and the mixture is light and fluffy, stopping to scrape the sides of the bowl as necessary.
25. Add the rum and cinnamon and mix at medium-high speed for another minute or so.
26. Refrigerate the frosting for about 10 minutes to firm up a little before piping. ***Leftover frosting can be frozen for up to 3 months.
27. Pipe as desired (I used my go-to Wilton 1M tip) onto the cupcakes.

Cupcakes adapted from The Little Things, originally from Food.com, and Frosting adapted from The Well-Decorated Cake via Epicurious.


.jpg)


Lauren at KeepItSweet - Congrats on selling your house! These look like they are worth all of the work!
Kelli - Wow, Shan. Amazing! I would seriously WALK to your house right now to be able to taste one of these! 🙂
srlacy - Haha! Well you will be getting your own box of them for you and J this morning…..in 2.5 hours when I meet you for brunch!!! I packaged them up for you ladies yesterday :).
Tracey - Congrats on selling your house!! These cupcakes sound (and look!) fantastic 🙂
Blog is the New Black - Congrats on the sale of your house!!! These cupcakes look awesome.
Julia - Congrats once again on selling the house! The cupcakes look fantastic! 🙂
Jenn@eatcakefordinner - Wow, now this is a cupcake that sounds incredible. I bet the frosting is so yummy. I only have one question? I’m not sure what spiced rum is? Does the bottle say spiced? Do you think I could use rum extract?
Patty - Woohoo! Felicidades! Congrats!
srlacy - Hi Jenn-
That’s a great question! I used spiced rum (it says it on the bottle), because that is what I had on hand. I wanted to stay as true to what I did when making it as possible. The original recipe called for dark rum, I believe. I think I bought the spiced rum because it was the cheapest (and since I really don’t drink rum in the first place-I have used this exclusively for my baking).
However, I found a useful link which explains the different types of rum out there-who knew that there were so many different kinds? 🙂
http://www.ehow.com/how_4552391_differences-between-types-rum.html
As far as substituting rum extract, here is a useful link on what equivalents you can use since the extract will be way more concentrated than the real thing. You can forgo the real thing in the actual bananas foster (you don’t need to light it on fire in that case).
http://www.ochef.com/508.htm
Thanks for the great questions! And let me know if you try it this way and how it turns out-I am curious!
Shanon
Joanne - These are so bookmarked for when I have to start studying for the boards in April. I will need them. Maybe with extra rum.
Medeja - Its nice that you put rum everywhere 🙂 I guess they tasted really lovely
Katy - DELICIOUS!!!! I love that you did the flambé.
Angie B. - Oh Shannon! This is my dream dessert! I am so glad Annie showed us your blog, wish you were on Wishard rotation!!!! I don’t know if I’m ambitious enough to make these, but I will mark this page!
Georgia @ The Comfort of Cooking - Congratulations on your house sale! These banana cupcakes look just divine, and good job for you on pulling off a rather tricky recipe! The banana flambe sounds like it must have been a very fun challenge, and what wonderful flavors you used… I love this recipe!
Rachel - These sound and look super super yummy!
Sara - Can you send some home with the boys on Wednesday? They sound and look AMAZING! 🙂
Tweets that mention The Curvy Carrot » Bananas Foster Cupcakes with Cinnamon Rum Swiss Meringue Buttercream -- Topsy.com - […] This post was mentioned on Twitter by MoBetterFunk and Sutton Gourmet Paper, Shanon Lacy. Shanon Lacy said: Bananas Foster Cupcakes with Cinnamon Rum Swiss Meringue Buttercream. Because I sold my house this week, and… http://fb.me/ERSFm6si […]
Samantha - These look absolutely fantastic! I just turned 21 on Sunday, so now that I can legally buy rum, I might just go get some and make this!
Also, I LOVE Love Love your cake platter! It’s adorable and I love how you’ve threaded ribbon through it. Where did you get it?
srlacy - Hi Samantha!
HAPPY BIRTHDAY! I have a little sister, Samantha, who will also be turning 21 this year! How funny is that?
I actually got the cake platter at TJ Maxx-it says “Antique Reflections by Godinger and Company” on the bottom. Mine is actually lopsided (I have to strategically take my pictures with it), but I got it for about $7, but I still use it all the time.
If you end up making these, let me know how they turn out for you!
And, enjoy being 21! (It goes by way too fast!) 🙂
Lauren Ochoa - I love this recipe! Tried Annies basic Swiss meringue buttercream a few weeks ago and it got rave reviews at work, so I may have to pump it up a notch with these ones soon. Beautiful pictures as well.
AngieJoy - I had some leftover spiced rum from making bananas foster for over ice cream and wanted to make cupcakes…thank you so much for this recipe and detailed instructions! The cupcakes turned out beautiful – so moist, eye-appealing, and with a very distinctive “Bananas Foster” flavor!!! Very well done!
Kristin - I’ve had these bookmarked for over a year and I just finished taking Step 1 so I celebrated by making them! Amazing 🙂 As a third year med student I love following your blog!